Showing posts with label Chroma Mists. Show all posts

Tuesday, November 29, 2022

Fall Florals with Brutus Monroe


Hello everyone!  I am writing this after a long weekend off from work!  How
lovely to have the time to create!  Today I'll be using products from


I wanted to really think outside the box on this project.  I did this by taking a
themed stamp set - fall - and making it into a not-so-fall card!  Let me show you
what I did!
I first took a piece of heavyweight white card stock and the Basket Weave Stencil
and used Chroma Mists.  I used Lilac and Candy Apple Red Chroma mists watered
 down with water that had mica powder in it.  I used a stencil brush to apply the Mists.


While I was waiting for that to dry, I stamped and heat embossed in black my
5 flowers.  I stamped 3 of the pansies and 2 of the mums.


I painted these flowers with the same mix of Chroma Mists.  I watered some
of it down with the water/mica powder.  To get darker areas, I waited until the
first coats were almost dry and then went in and added more.  As long as
you wait for the layers to dry, you can keep adding color to get darker shades.


Once these were dry I added the black beard part with my black Copic marker and then
 added a small yellow part in the center with a Yellow Posca Pen.  Then I die cut them with 
the coordinating dies.


I next cut an A2 size side folding white card base.  I folded it and then cut
off 1 1/4" on the right front.


I then cut a piece of black dotted acetate from my stash that I adhered to the back 
of the front panel and just the 1 1/4" of it shows on the front of the card.


I cut down the stenciled panel to fit on the front white card stock piece.
It measures 2 3/4" x 5 1/4".  


You can see some weird markings on the right side of this panel.  I was going to
go in a completely different direction, but it didn't work out.  However, I knew these
markings would be covered up by my flowers.  I adhered this panel to the front of the card.


Time to adhere my flowers!  I adhered one pansy at the top and one at the bottom
flat to the card and straddling the space between the card stock and acetate.  Next
I added the mums.  I popped those up on foam tape.  I placed one facing one way
and the other facing the opposite.  And lastly I added my last pansy to the middle
also on foam tape.  I added some mirror confetti and my project was done!


This card was fun to make!  I stepped out of my comfort zone to do the
acetate on the front, but I love the effect.  I might have to send this card
to my bestie!  I hope you enjoyed today's tutorial.  You can find the
products I used at


Thank you so much for being here and taking an interest!

Betsy

In my capacity as a design team member for Brutus Monroe, I do receive the products I use from them. 
All opinions and creative decisions remain my own, and I only work with companies/use products that I love.


Tuesday, October 25, 2022

Baked Fresh - Pumpkin Pie with Brutus Monroe


Hello everyone!  I don't know about you, but I love pumpkin pie!  I
don't make good piecrust so I don't get to have it that often - only when 
someone else makes it! LOL  Today I'll be using products from


I really wanted to incorporate some blue into my project today.  It
looks so good with oranges and yellows.  Let me show you how I made
my card.  I started by taking 2 heavyweight A2 size white card stock panels.
I took one and smooshed it in Turquoise Chroma Mist.  I added water to 
my mat and kept smooshing and when it was still wet I splattered it with
full strength Chroma Mist.  I did the same with Tangerine Orange on
another piece of card stock.  After smooshing it in just plain Tangerine
Orange, I added a bit of Candy Apple Red and Ornament Gold.  I kept smooshing
until I was happy with the coverage.  Then I splattered with it with the 3 colors.
After they were dry, I cut them into strips - 3/4" for the Turquoise and 1/4"
for the Tangerine Orange.


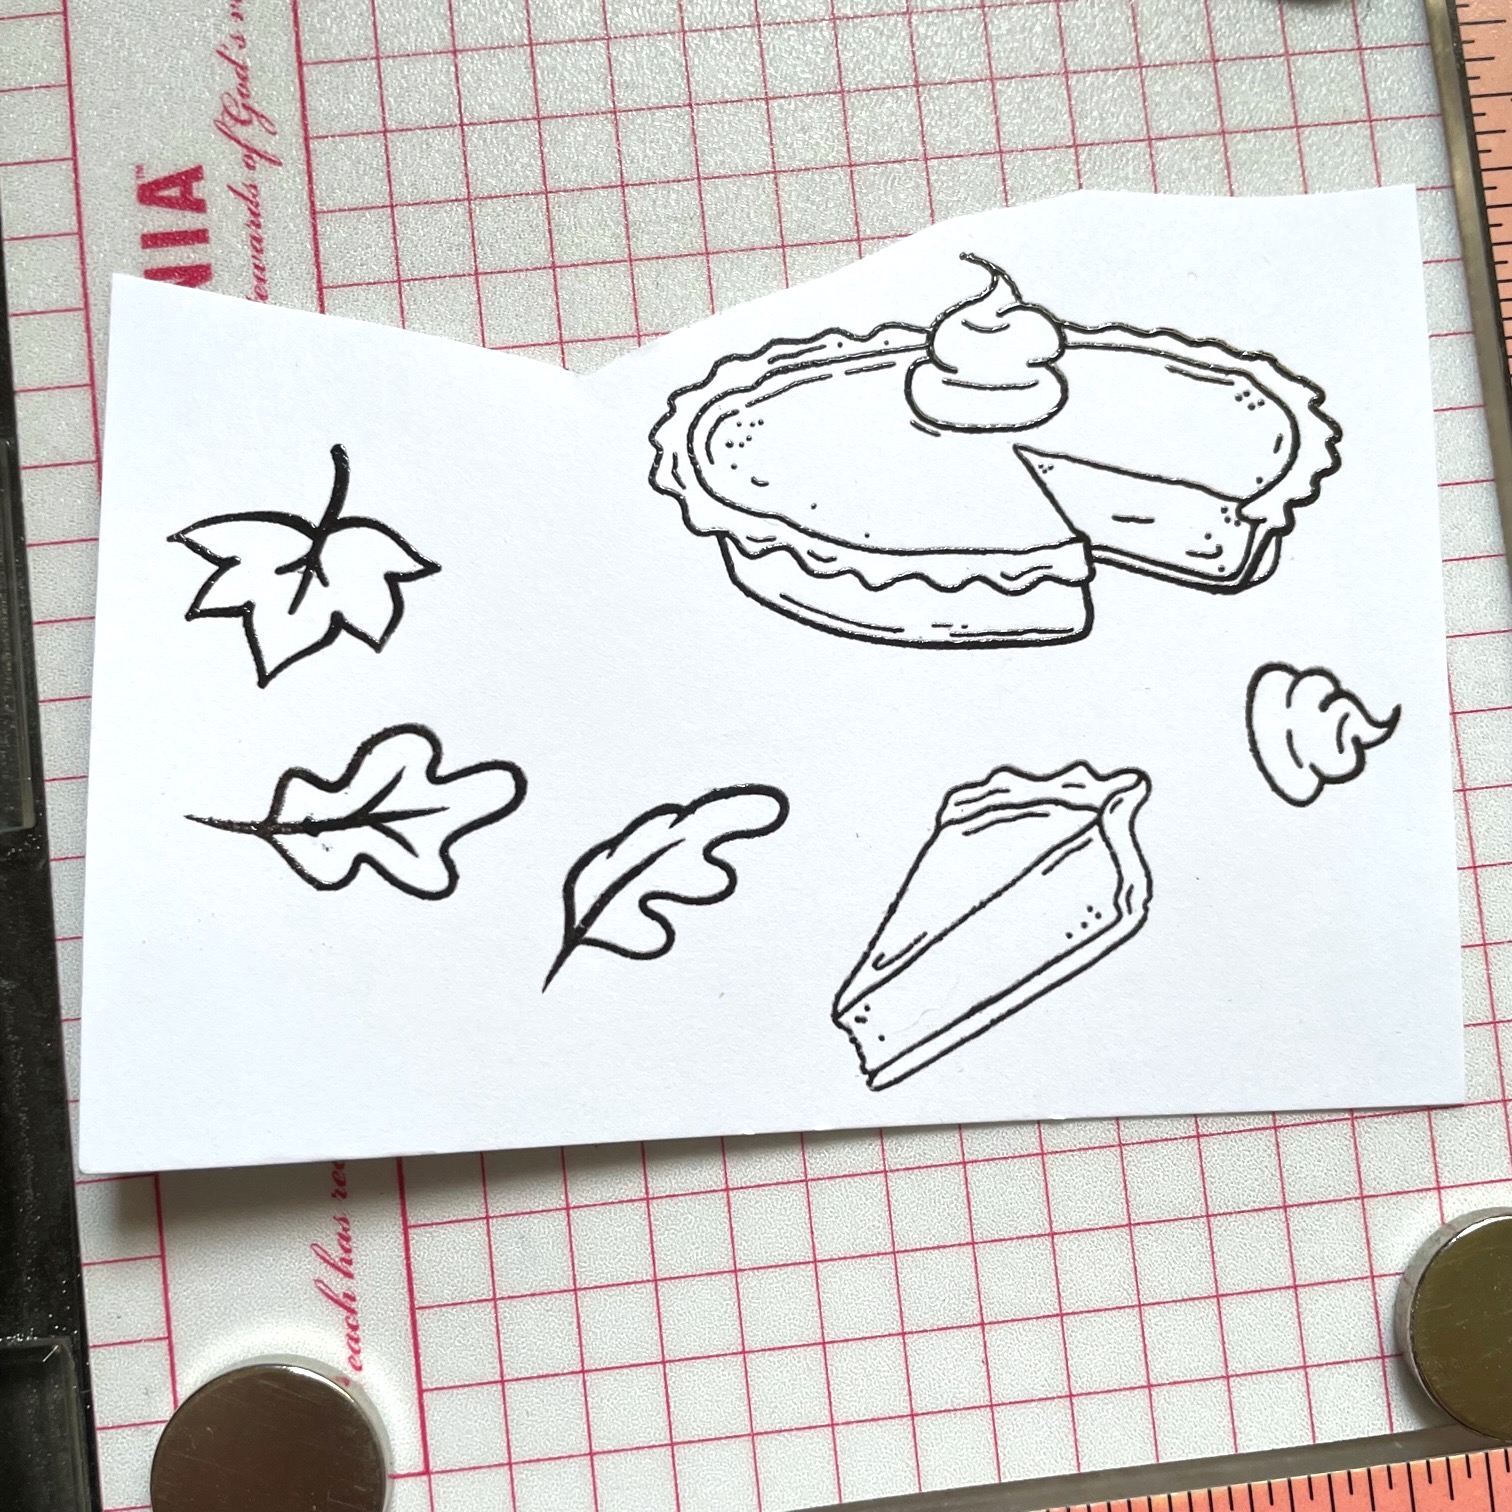
Next I heat embossed with dark brown ink my elements from the
Baked Fresh Stamp Set.


I decided to color these with my Copic Markers.


For colors I used:  YR31, YR07, YR15, E08, E31, B00, B01, B02
After they were colored I fussy cut them.  I took a piece of creamy
yellow card stock from my stash and made an A2 size card base and
I cut a panel that was 4" x 5 1/4" and ran it through a dotted embossing
folder. 


 I took the largest piece of left-over card stock with the
Turquoise smooshing on it and heat set my sentiment from the
Baked Fresh Stamp Set with the dark brown ink.  Then I die cut it
with a banner die.


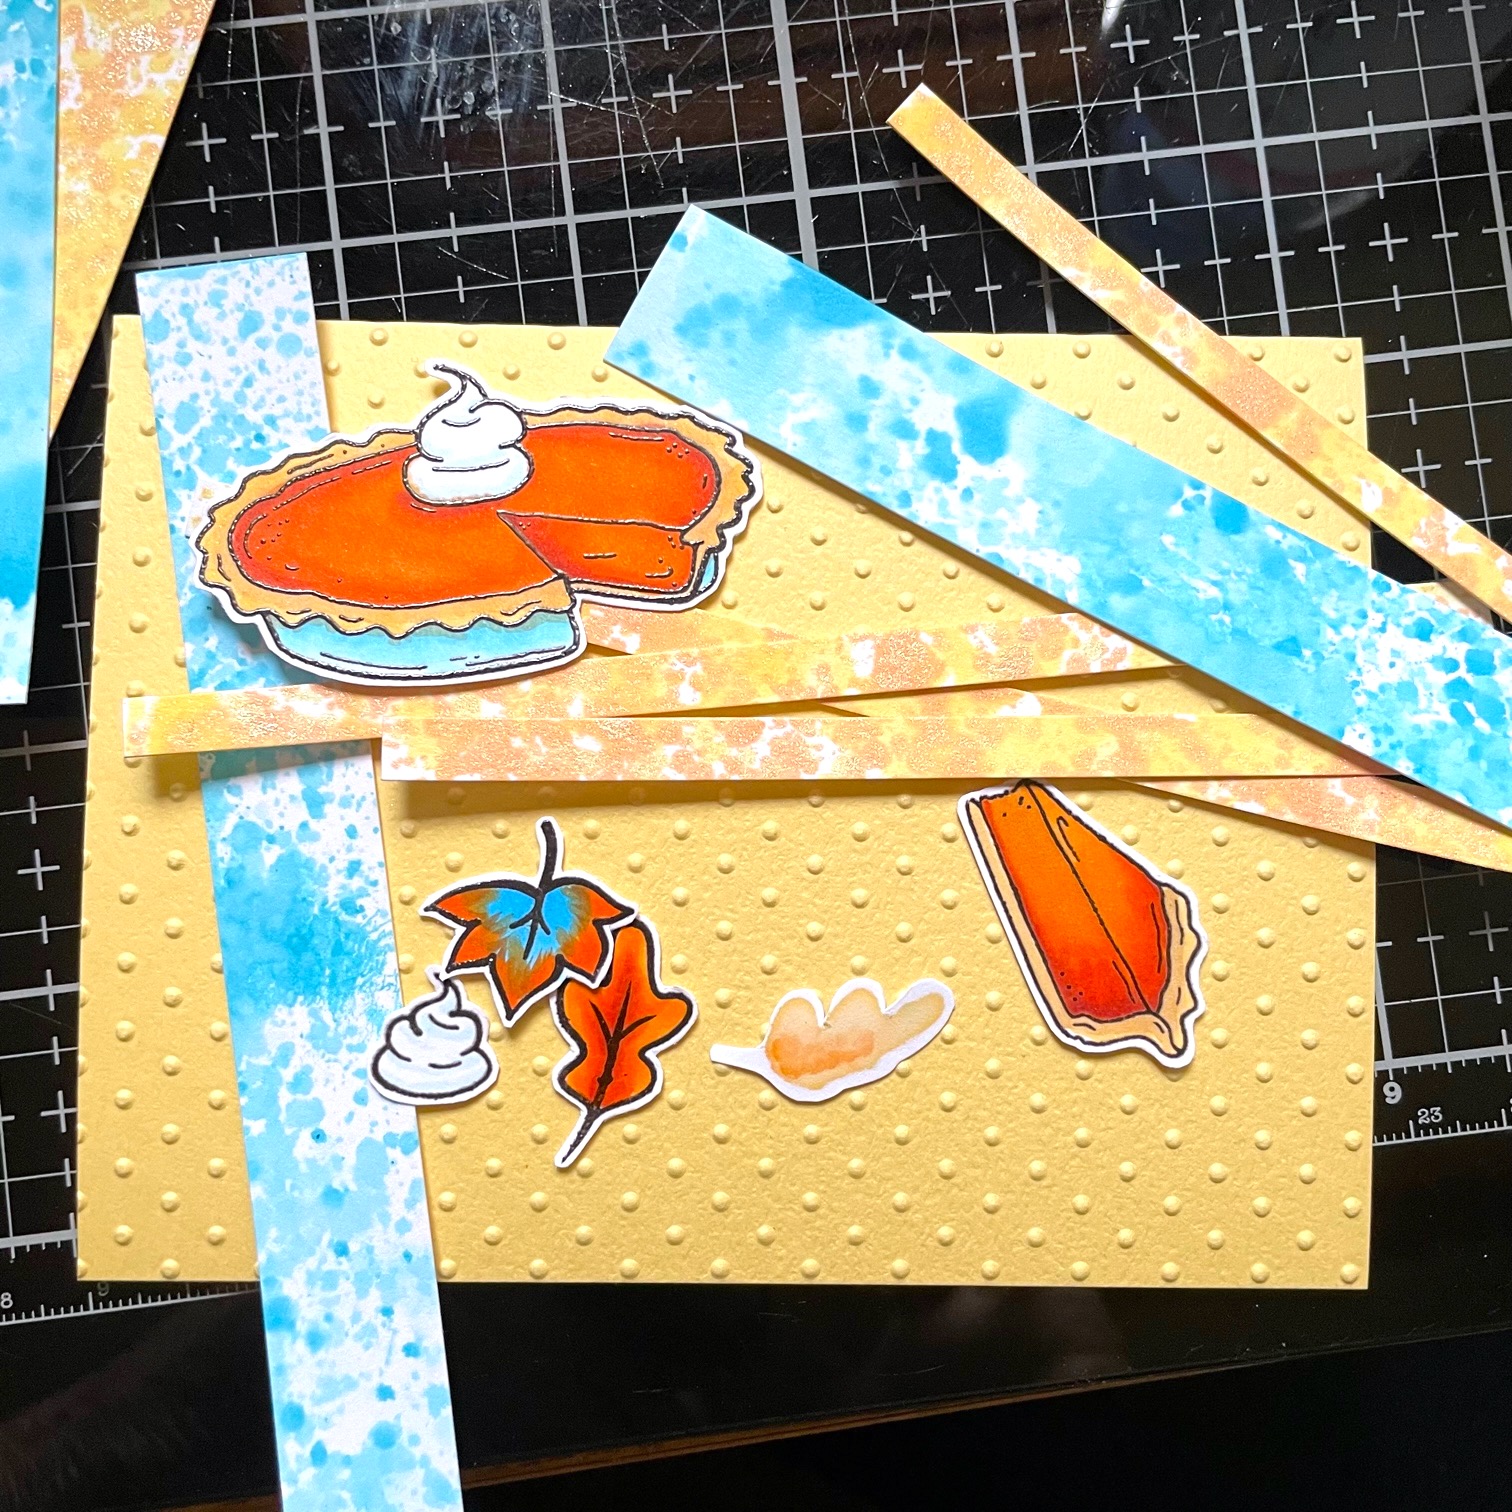
To put my card together I layered all of the background pieces together
inserting a piece of plain white card stock between the 2 yellow ones.  I
made a criss-cross pattern with my cut strips.  I popped up my elements
with foam tape including the sentiment banner.  I had to cut the right end
of the sentiment banner off because it was too long and that made a nice
flag for the top left of the card.  I put Glossy Accents on the whipped cream.  
I added two-tone pearls and that finished this card!


I love how this card turned out.  I really like how the Turquoise strips
are very much like an autumn sky with clouds!  It went so well with the 
sentiment!  You can find the products I used at


Thanks so much for stopping by!

Betsy

In my capacity as a design team member for Brutus Monroe, I do receive the products I use from them. 

All opinions and creative decisions remain my own, and I only work with companies/use products that I love.


Tuesday, September 27, 2022

Autumn Branches with Brutus Monroe


Hello everyone!  The leaves where I live are just starting to turn as the
temps start to get cooler.  Today I'm bringing you more fall
inspiration with products from


True confession, I made a card prior to this one and it came out so awful
it could not be saved!  ðŸ˜ž  So, I went back to something a bit more
different and I love how it turns out.  Let me show you how I made my
card!  I first cut a piece of plaid paper from the Playful Plaid Paper
Collection and trimmed it to 4" x 5 1/4".  Using my Stick & Stamp Mat
I stenciled this piece using the Autumn Branches Stencil and Tangerine
Glitter Glaze.  This particular plaid is so pretty with the Tangerine Glitter!


You can see my Stick & Stamp Mat has seen cleaner days!  I keep one
especially for working with Glitter Glaze and other shiny stuff.  I have
another one for inks that clean up nicely.  ðŸ˜‰. While that was drying,
I stamped out my images from the Fall Florals Stamp Set.  I used
Chroma Mists to paint them.  I heat embossed them onto watercolor paper
using a brown pigment ink and clear embossing powder.  This was a
 hot press watercolor paper so it's smooth and easy to cut.


 For Chroma Mist colors I used:  Yellow Green, Candy Apple Red,
Tangerine Orange, Leaf Green, Yellow Green and Bumblebee
Yellow.  I used more than one color on each element.  When 
these were dry, I fussy cut them.


I also took a Q-tip and made random dots around my wreath 
with the Tangerine Glitter Glaze just as a fill in. 
 These didn't take long to dry. I heat embossed my sentiment from the Fall 
Florals Stamp Set with a dark brown.   I made a top folding card base
from Whitewash Card Stock and added a orange panel that was 1/8" 
smaller all around.  I adhered my now dried stenciled panel.


I foam taped one of the big maple leaves and the 2 Chinese lanterns onto
the lower left of the stenciled wreath.  Just using liquid glue I tucked in
the rest of the elements.  For a finishing touch, I used both gold and turquoise
confetti.  And that finished my card!


This card really came out sweet and I love the turquoise with all of
the yellow and orange...only in the autumn!!!!!  You may purchase
the products I used in today's tutorial at


Thanks so much for stopping by!

Betsy

In my capacity as a design team member for Brutus Monroe, I do receive the products I use from them.

 All opinions and creative decisions remain my own, and I only work with companies/use products that I love.


Tuesday, August 30, 2022

Bowl of Strawberries with Brutus Monroe


Hello everyone!  As the last of summer slips away from us I am sharing one
more luscious strawberry card using products from


I love the color combo of red, white and turquoise!  So clean and fun!  Let me
show you how I made my card.
I started with my background panel.  I used a piece of Lagoon card stock and
the Basket Weave Stencil.  I cut the panel bigger than I needed and stenciled
with Opal Chroma Glaze.  This is a great way to add texture and dimension
without adding more color.


I chose the elements from the Strawberry Social Stamp Set for my card
and stamped them onto watercolor paper.


I used Choma Mists to paint my images.  I used Candy Apple Red for the
strawberries.  Yellow Green was used for the strawberry tops. 


 For the bowlI painted stripes using Turquoise and a touch of the Yellow Green.  
I mixed it once and painted the top and bottom stripe.  This really was too blue
so I added more of the green and painted over them.


I didn't painted the whipped cream at all. I fussy cut my images. I created a white A2 size
 card base with the fold along the top.  I cut a piece of red card stock that is 4" x 5 1/4".
I cut my stenciled panel to 3 3/4" x 5" and adhered both of those to the white
card base.  I made my sentiment using white card stock.  I stamped the
sentiment in black ink and then added red die cut card stock behind that.


  I cut a thin strip of white card stock and layered that on top of a die
cut scalloped piece of red card stock.  To adhere my bowl of strawberries
only the extra whipped cream piece is adhered flat to the card.  I added
the double strawberry piece to the top of the pile of strawberries and
 foam taped the entire bowl piece to the right side of the card over the
striped border.  I added the extra strawberry at the bottom on top of
the bowl on foam tape.  I added some iridescent confetti and Fallen
Snow Glitter Glaze to the berries.  I adhered a red acrylic heart under
the sentiment and my card was done!


I hope you enjoyed today's tutorial.  It's always sad to see summer go along
with all of the delicious fresh fruit!  You can find the products that I used at


Thanks so much for being here!

Betsy

In my capacity as a design team member for Brutus Monroe, I do receive the products I use from them. 

All opinions and creative decisions remain my own, and I only work with companies/use products that I love.



Tuesday, May 10, 2022

Beach Bum with Brutus Monroe


Hello everyone!  Summertime is right around the corner and today I'm
sharing a cute summertime card with products from:


This is a really cute set to get creative with to make beach themed cards!  Let
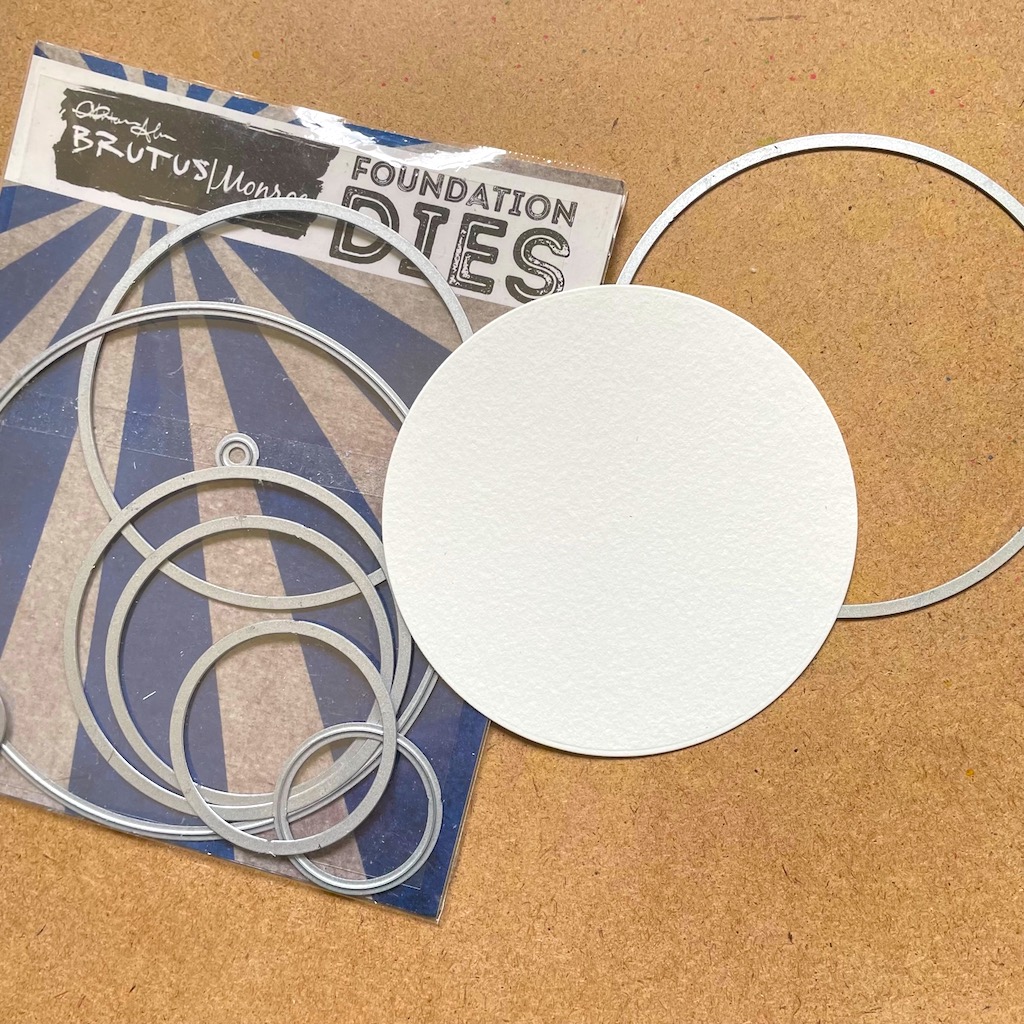
me show you how I made my project!  I first took the Circle Foundation Dies and
cut a 3 3/4" circle from 140lb watercolor paper.


Next I stamped my bear image, masked off his feet and then stamped the
beach ball and the sentiment with pigment ink.


I chose a piece of paper from the Sea Life Paper Collection to key my
colors for painting with Chroma Mists.  


I started with the sand.  To make
the sand color, since there is no brown Chroma Mist, when any 2 secondary
colors are mixed together they usually create brown.  I used the Yellow Orange
and Lilac Purple.  I made a watery mix of this for the sand.


I made this mix stronger - with no water added - and painted my bear.  After
painting the sand I moved onto the rest of the background round which was
straight Turquoise and water added.  After the background was done I painted
the rest of the elements.


I used Pink, Bumblebee Yellow, Turquoise, Lilac Purple and Yellow Orange.
Notice I still have a black ink smudge between the drink and the sentiment.
I'll be dealing with that next!  I took a white gel pen and made dots in the
bear's shirt and where the sand meets the blue water and also coming
off the drink (particularly on top of the ink smudge!).


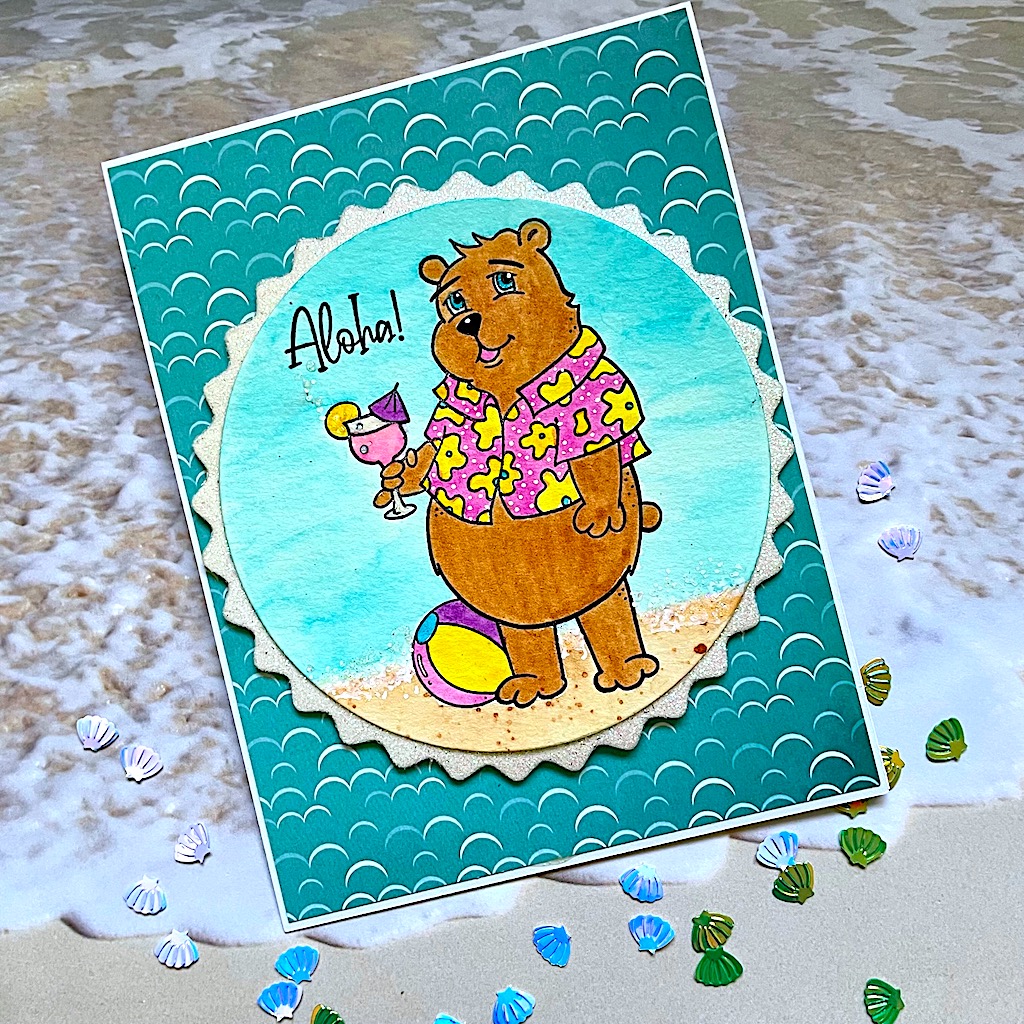
I prepared a standard A3 size top folding white card base.  I die cut
a wavy circle out of white glitter paper and adhered it behind the
focal circle.  This give it a bit of a frame.  Using Fallen Snow Glitter Glaze,
I applied with a Q-tip to the waterline, the lemon on the drink, and the
little bubbles coming out.  This completely took care of the ink smudge.
I used Glossy Accents on the glass and a shimmer pen on my bear's eyes
and my card was finished!


This was a fun project to create!  This is a huge 17 pc stamp set!  So
many possibilities - keep your eye out all month long for creations from
the Inspiration Team!  Find the products I used at


Thanks so much for stopping by!

Betsy

In my capacity as a design team member for Brutus Monroe, I do receive the products I use from them. 

All opinions and creative decisions remain my own, and I only work with companies/use products that I love.




Tuesday, March 29, 2022

Love Grows Here with Brutus Monroe


Hello everyone!  Today I'm sharing this sweet little card using products from

Love Grows Here

This is one of the new little stamp sets at Brutus Monroe.  I love this set!  It's small but
there's so much you can do with it.  Let me show you how I made my card.  I started
by stamping my 3 plant images 3 times each with black waterproof ink.


Using Chroma Mists, I chose a color palette of Turquoise, Orange and Lime
Green.  I didn't do anything but lay in color - no shading.  I started by
painting in the leaves.


Next I moved onto the orange parts and I added yellow for the flowers
in the pots.  I was keeping in mind how I was going to place these on 
my card panel.


I added the Turquoise last.  I didn't add extra water to the Chroma Mists
before painting with them.  I used a damp brush, not wet and I always
spray the Chroma Mists out onto my glass mat and pick up color with
my paintbrush.  After the painting was done and dry I fussy cut the images.


I knew I wanted my sentiment on a heart but I didn't have a die that the sentiment
fit on.  I took a piece of copy paper and folded it in half.  I laid my stamp on it for
measurement and drew a half heart and then cut it out.  This would be my
template for the heart.  I took a scrap piece of watercolor paper and sprayed it
with a bit of water.  I then dropped in the 3 colors I wanted to use.  The colors
don't moved a lot on their own, but by tilting the paper and using a brush
just a bit, I was able to get the colors to blend just a little.  I really needed to
keep the Turquoise away from the Orange. 


Once this was completely dry, I used the template I had made from copy
paper and drew the heart and cut it out.


Next I stamped the sentiment in the middle with black ink.


I applied foam tape to all of the pieces except one pot of flowers.  That would be a
left over that I would adhere inside the card.  I cut a white panel that measures
4" x 5 1/4" and applied my pieces where I wanted them placed.  I was mindful
of the way I painted them to get my colors right.  I foam mounted this panel onto
a standard A2 size top folding card base.  I added some confetti that was in
the same colors as the Chroma Mists and my card was done!


I really enjoyed making this card.  It's quite simple but I love the
bright summery colors against the white background.  You can find
the products I used at


Thank you so much for stopping by and spending time here!

Betsy

In my capacity as a design team member for Brutus Monroe, I do receive the products I use from them. 

All opinions and creative decisions remain my own, and I only work with companies/use products that I love.


Tuesday, February 8, 2022

Spring Chicken with Brutus Monroe


Hello everyone!  Today I'm sharing the newest cutting die
set from


How fun is the new Spring Chicken Cutting Die Set!  I just fell in
love with this rooster!!!!  I mean, come on - who doesn't need a
hug from a rooster!!!!!  ðŸ˜†
Let me show you how I made my card!
First, I Google imaged roosters.  I had a particular color way in my head,
but wasn't quite sure how far to go with my colors.  I did find a really
good image with the colors I had envisioned.  I laid out about 10
colors of Chroma Mists.  I used Candy Apple Red, Yellow Orange,
Bumblebee Yellow, Blue Violet, Noble Fir, Leaf Green, Seaweed from
the Mermaid Mist Collection and Ornament Gold for shimmer.  I cut
up a piece of cold pressed watercolor paper (90 lb) and smooshed the
Chroma Mists on.


I started die cutting all of my pretty papers.  I used the brownish/red for his
head, the teal for his tail, the red for the comb and waddle and the orange/yellow
for his beak and feet.


I die cut the main body from black card stock and painted on a coat
of the Seaweed Chroma Mist to give the piece an overall shimmer and subtle color.
I pieced together my rooster...adding a bit of extra shimmer where I needed it
with a shimmer pen.  I prepared my flat shaker base by taking a piece
of barn board paper in teal and cutting it to 4 1/4" x 5 1/2".  I used a
piece of acetate from some packaging and made a flat shaker.  I made my
sentiment by using a piece of smooshed yellow/orange paper for the
actual letters and the shadow from black card stock with the Seaweed
Mermaid Mist on it.


I adhered the base to a top folding A2 size card base in Warm Sunset card
stock and then adhered my rooster and sentiment to the front of the card.
I added Glossy Accents to the eyes and beak and my card was finished!


I love this rooster so much!  I like the little chicks as well!  You can
find the products I used in my project at


Thanks so much for stopping by today!  I appreciate your time and I
hope I've inspired you!

Betsy

In my capacity as a design team member for Brutus Monroe, I do receive the products I use from them. 

All opinions and creative decisions remain my own, and I only work with companies/use products that I love.