Showing posts with label Joy Clair Designs. Show all posts

Wednesday, August 24, 2022

Above & Beyond with Joy Clair Designs


Hello everyone!  Today I'm sharing a floral card with a fall feel!  I am always ready for fall after the heat of the summer and fall cards are just so wonderful to create!  Today I've chosen one of the images in the Above & Beyond Digital Stamp Set from the Summerlicious Release from Joy Clair Designs!  

Let me show you how I made my card.  For this card, I chosen some elements to work with that would govern the colors that I used.
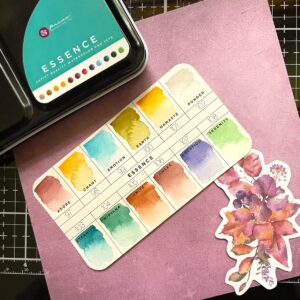
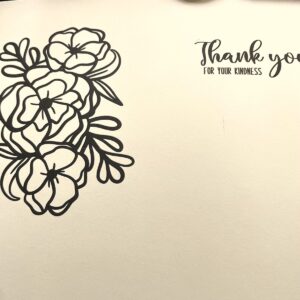
I would be using the piece of mauve paper as the background for my card.  The die cut provided the color palette which I found in this paint palette.  I printed out my design onto watercolor paper along with the sentiment. 
Using the die cut and the paper as a guide I watercolored my image.
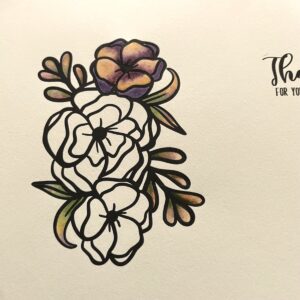
I like to start with my leaves first. I always use more than 2 colors on my leaves.  They support the main elements which are the flowers and they can get lost pretty easily.  I try to make them subtly stand out by painting them sometimes up to 7 different colors.  I probably used about 5 total here.
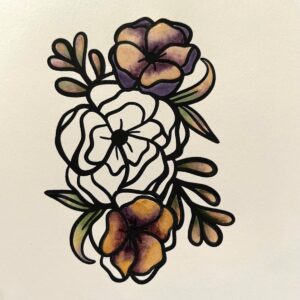
I tried to keep the top and bottom flower fairly consistent with one another so the middle one could stand out a bit more.
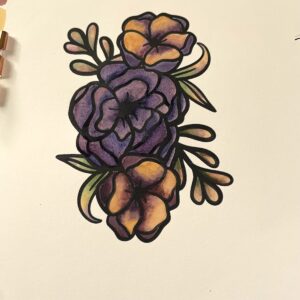
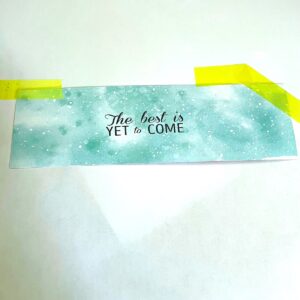
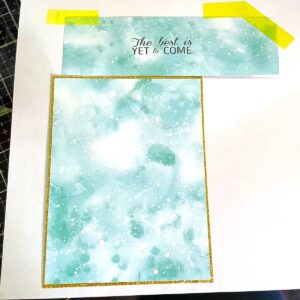
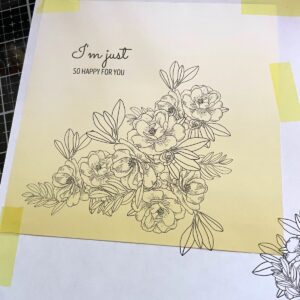
Once that was painted and fairly dry I decided to go with a sentiment from the  Always In Style digital stamp set.  I wanted it printed right on my background paper so I dropped in the sentiment onto my digital file and taped my background paper to the original watercolor piece and sent it through but this time upside down.
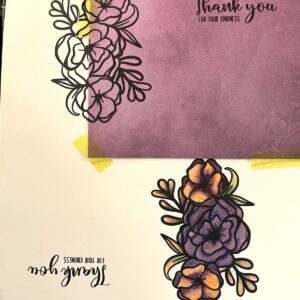
As you can see from the photo, it didn't get in the way of my painted piece at all.  Next I fussy cut my flower piece, edged it with a black marker and then trimmed the background panel.  I covered a white top folding A2 size card base and covered it with a deep burgundy card stock.
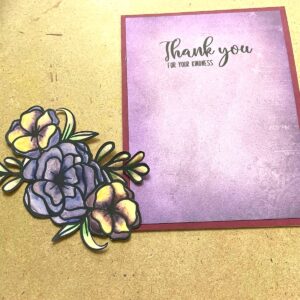
I adhered my floral piece flat to the card.  I used a glaze pen to go over the Thank You for a bit of added shine and texture.
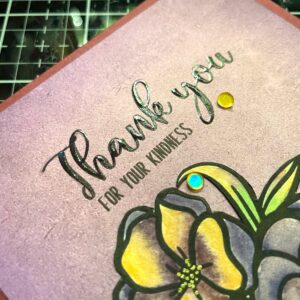
For added sparkle I added some gold holographic confetti and that finished my card!
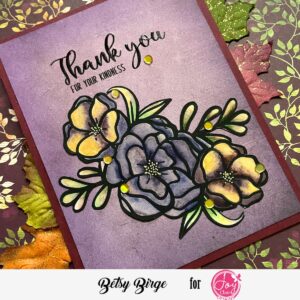
I hope you enjoyed today's tutorial and I've inspired you to create something beautiful!  The Digital Stamp Sets are so gorgeous!  See them all at

Joy Clair Designs

I hope I've inspired you today.  Thanks so much for spending time here!

Betsy

In my capacity as a design team member for Joy Clair Designs, I do receive the products I use from them. All opinions and creative decisions remain my own, and I only work with companies/use products that I love.


Sunday, August 7, 2022

You Fill My Day Butterflies with Joy Clair Designs


Hello everyone!  Today I'm here with more inspiration from the 

Joy Clair Designs

Summerlicious Release 

You Fill My Day Digital Stamp Set

This is such a beautiful image to work with.  Let me show you how I made my card!

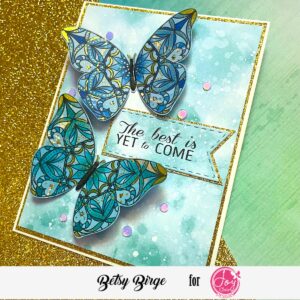
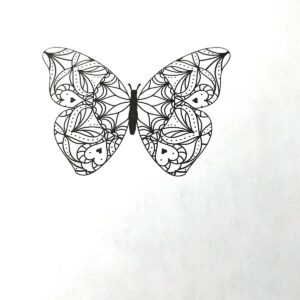
As usual, I started in the computer with the butterfly image.  I sized it.  I would get back to the sentiment later on in my process.  I printed this out onto white copy paper.

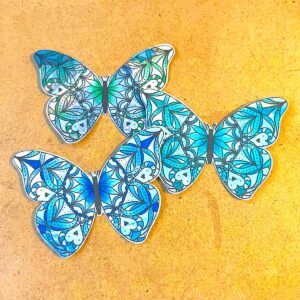
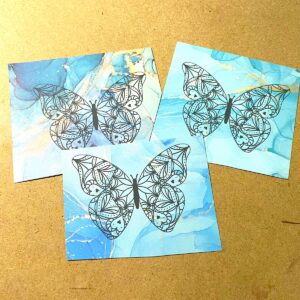
This quite an intricate image.  I wanted to stamp it onto patterned paper.  The paper would have to be  quite plain without too much of a pattern.  I wanted to make 3 butterflies.  I took my patterned paper and taped it to the copy paper over the butterfly image and sent it through my printer.

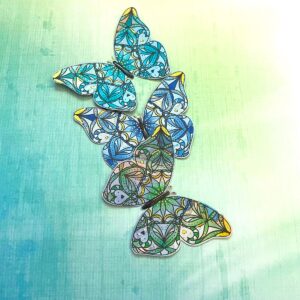
I did this 3 times on different colors of paper: blue/green, blue and aqua.  Then I trimmed them down so I could color them with my Copic Markers.  I let the paper color govern the marker colors here.  I used more of a green color combo on the blue/green paper, a blue blend on the blue paper and an aqua blend on the aqua paper.

I did minimal shading on these and I didn't color everything.  I just filled where I thought it would bring out the pattern in the butterfly.  After coloring I fussy cut them.

For the Green I used: G00, G02, G12, G05.  For the Aqua I used: BG01, BG05, BG18.  For the Blue I used:  B32, B23, B24, B28.  There are some tiny dots of black throughout the design.  I used a gold glitter pen and went over these dots.  I also filled in a few places.

I chose a piece of background paper.  It had a similar feel as the paper I printed the butterflies on but it was from another company.  I cut a panel of it for the background at 4" x 5 1/4".  With a scrap of that paper, I printed off my sentiment.

I felt the background panel was going to need something else besides the A2 white top folding card base that I had made, so I cut a piece of gold glitter paper just 1/8" bigger.  These really looked beautiful together.

I die cut my sentiment with a banner die and backed it with the gold glitter paper, leaving a narrow amount showing.  I also used a shimmer pen on the bodies of the butterflies and then put Gloss Accents on them and let them dry.  Time to put my card together.  I adhered my main panel to the card base.  Then I played around the with the placement of the butterflies.  I soon realized that using all 3 butterflies was not going to work visually.  So, I adhered the Blue and the Aqua butterfly to the front.  I bend up their wings before gluing them on.  The I tucked my sentiment in-between them.  For the last bit of sparkle I used moonstone confetti.  I was going to use gold but I realized that they would detract from the butterflies and the gold glitter paper.  The moonstone still gives sparkle without overtaking the background!

Thanks so much for coming today.  I hope you'll give this a try and make your own beautiful creation!

You can find the entire Summerlicious Release here!

Joy Clair Designs

Til next time

Betsy


Sunday, July 24, 2022

Summerlicious Release w/Joy Clair Designs


Hello everyone! Today I have another beautiful digital stamp set from the

 Summerlicious Release 

Joy Clair Designs

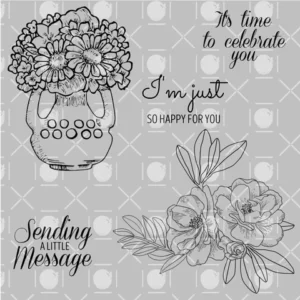
Sending a Little Message

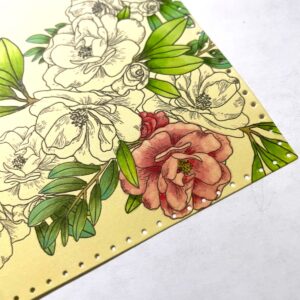
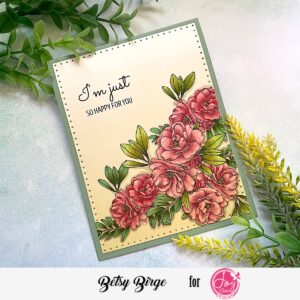
It is gorgeous!  Let me show you how I made my card!  As always I started out by composing the design in the computer.  I use Word in my Mac for a program...nothing fancy.  I took the one floral image and copy and pasted it at lease 7 times.  I wasn't quite sure where I was going with this!  I finally decided on where I wanted my elements and sized them accordingly.  I ended up only using 4 of the floral image and manipulated them by flipping and turning.

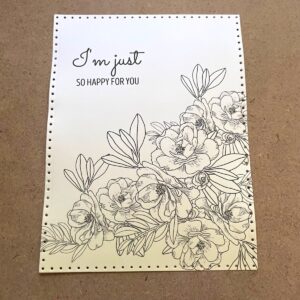
I print the image out onto copy paper and then place my designer paper over it and send it through the printer again.  Works beautifully with 6 x 6 papers.  I chose a yellow paper (and this one is quite desaturated) because green and red or pink both would look good with an underlay of yellow.  This particular paper had an ombre effect.  Once that was printed I die cut it with a pierced rectangle die.

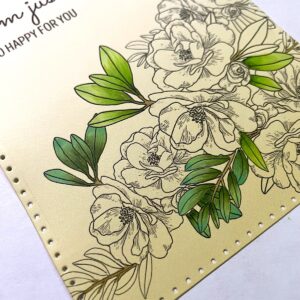
I took a piece of the scrap designer paper and tested out some colors.  Originally I chose only one green color combination.  But I did add another and glazed over both color mixes.

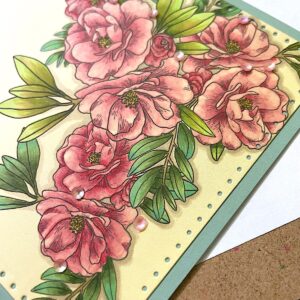
I ended up glazing the smaller leaves with a blue and the larger leaves with one of the reds.  I decided to go with red tones, knowing that the yellow underneath would alter the color somewhat.

I used the following Copic colors: YG11, YG63, YG67, YG23, YG06.  Glaze on the smaller leaves was B02 and on the other leaves was R02.  I moved onto the flowers.  I used: R81, R83, R85, R35 and my blender for lightening the outer edges.  The center were Y02, Y35, Y28.  I decided to add a cast shadow so I used W2 for the first and wider shadow and W3 to darken right up against the flowers.

I mounted the panel flat to an A2 size card base made from some very cool green card stock.  This really picked up the blue in the leaves.  I added some coral sequins and my card was done!

This was such a lovely set to work with!  See this set and the other sets released in the 

Summerlicious Release at Joy Clair Designs!

Thank you so much for stopping by!

Betsy

In my capacity as a design team member for Joy Clair Designs, I do receive the products I use from them.

 All opinions and creative decisions remain my own, and I only work with companies/use products that I love.

Thursday, July 14, 2022

You Fill My Day with Joy Clair Designs


Hello everyone!  Today I'm sharing another card made with one of the sets from the

  Summerlicious Release from

Joy Clair Designs

You Fill My Day

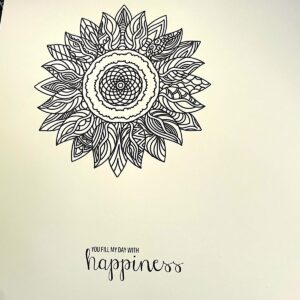
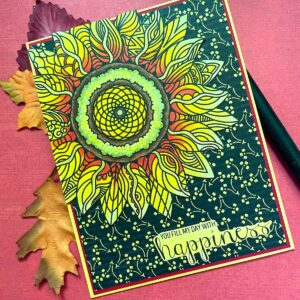
To me, this is a perfect summer card!  Let me show you how I made it!  As I normally do, I first sized my floral image in the computer and the sentiment.  I didn't want to to print this out attached to each other so I set the sentiment off enough to either fussy cut or die cut.  I printed the image out onto Neenah Ivory card stock.

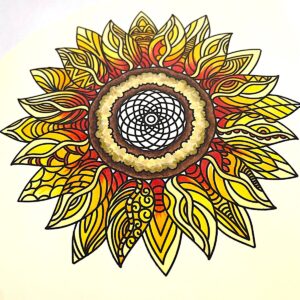
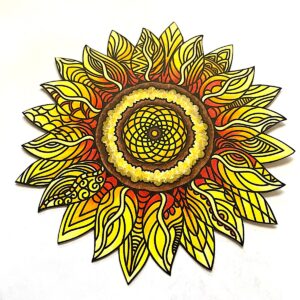
I trimmed away the sentiment part and set it aside while I did my coloring.  Of course, this image looks like a sunflower and it being summer, I chose to Copic color my image in yellows and a bit of red.

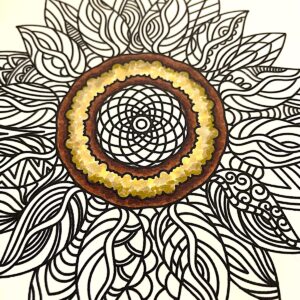
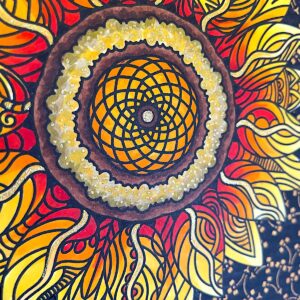
I colored the centers first using browns and yellow/golds.  I did this first so I would have something to gauge the rest of the coloring.

I started with my palest yellow first and then slowly worked toward the center of the flower.

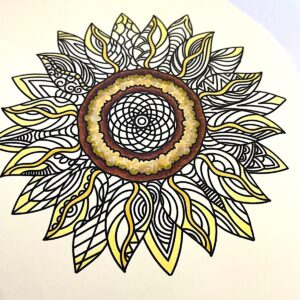
I kept coloring around and around the design.  The back petals I mostly colored as one unit, the front ones I varied the colors more.  I kept the veins in the front petals just a light pale color.

When everything was colored, I fussy cut the image and used a black marker around the cut edges and the bits in-between the petals.  Copic colors used: E57, E59, E79, E08, Y21,Y28, YG91, YG95, Y11, Y15, Y17, Y38, R05 and 100.  I made a base from yellow card stock, added a layer of red and on top of that added my black patterned paper...all 1/8" smaller than each other.  I fussy cut my sentiment and went over it with one of my yellow Copic.  I positioned my flower in the upper left corner, adhered it flat to the card and trimmed off the excess.  For embellishment I used a gold glitter gel pen.  I put it in the center of the flower, I dotted the yellow ring in the flower center and I went up part way on the veins in the petals.

 And that finished my card!

The Summerlicious Release is so gorgeous!  So many great sets to choose from!  And it's available as a bundle!  Great way to save!  Check it out at

Joy Clair Designs

Thanks for being here today!  I appreciate your interest!

Betsy

In my capacity as a design team member for Joy Clair Designs, I do receive the products I use from them.

 All opinions and creative decisions remain my own, and I only work with companies/use products that I love.
 

Thursday, July 7, 2022

First of All with Joy Clair Designs


Hello everyone!  Today I'm sharing another gorgeous card from

Joy Clair Designs

First of All

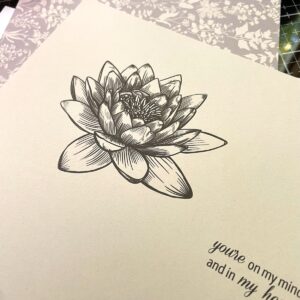
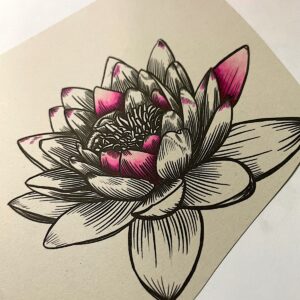
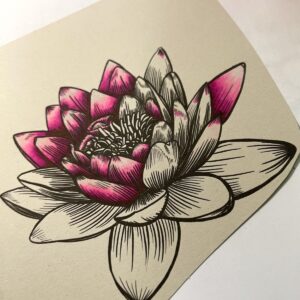
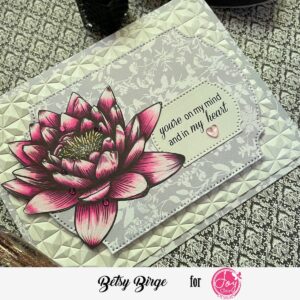
with another gorgeous digital stamp from the Summerlicious Release !  This has the loveliest  Lotus flower image!  Let me show you how I created my card today!  I started by first choosing my background paper which was rather putty gray flower pattern.  Then I chose a coordinating plain card stock close to that gray.  It was on this plain card stock that I printed off my lotus flower and sentiment.

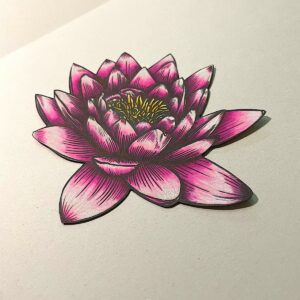
I Google-imaged a lotus flower to get my colors right.  I decided to go with the very deep pink one at the base that tips in white.

I colored a few petals to make sure I was on the right track with my colors.

I was pleased how this was looks.  The tips needed to be whiter so I used a white colored pencil.  This really helped.  For Copic colors I used:  RV00, RV02, RV04, RV06, RV17, RV69, Y02, Y17 & Y38.  After I finished the coloring, I fussy cut the image right up to the line and then went along the edge with a black water-base marker.

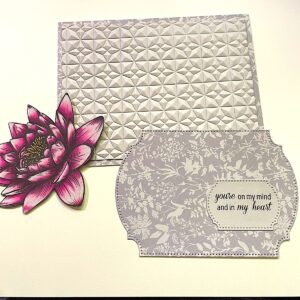
I prepared an A2 white card base.  I covered it with the patterned paper.  I took a panel of the gray card stock and and embossed it with a 3D embossing folder.  Using a die set, I cut a larger panel with the biggest die and the sentiment with the smallest die in that set.

I adhered the embossed panel with liquid adhesive to the base.  Then I added the bigger die cut with foam panel.  I adhered the lotus flower and the sentiment flat on top of that.  I added a clear pink heart to the sentiment, a few tiny dew drops to the flower and shimmer pen to the flower center.

This was not a complicated card and it came out so pretty!  I already have someone in mind to send it to!  You can find this gorgeous digital stamp set at

Joy Clair Designs

First of All digital stamp set 

 Summerlicious Release 

Happy paper crafting!

Betsy 

In my capacity as a design team member for Joy Clair Designs, I do receive the products I use from them. 

All opinions and creative decisions remain my own, and I only work with companies/use products that I love.
 

Tuesday, June 28, 2022

Summerlicious Release with Joy Clair Designs


Hello everyone!  It's time for a new release at

Joy Clair Designs
Summerlicious 
For all of you Joy Clair Designs fans this is such a beautiful release!  So
many florals and beautiful images and meaningful sentiments.  Today
I'm featuring the "My Path" digital stamp set.  This is so pretty and the
butterfly really set my creative mind into high gear!  Let me show you
how I made my card!


As always, I started my card by composing it in my computer.  I only
have an inkjet printer so no fancy equipment.  I printed the image out
onto copy paper and then tape my piece of watercolor paper over it and
send it through the printer again.


My watercolor paper is Bee paper that is 140lb weight.  It prints up
beautifully and is nice to paint on.  I decided to use watercolor color
pencils.  Any brand would work well.  I started by coloring my big
butterfly.  I lay in all my color first - shading colors and base colors,
blend it out with a wet paintbrush.Then, when that layer is dry I can 
go in with another layer.


I moved along with my colors trying to balance out tones and trying new
color combos on each flower.  


Once the coloring was complete, using a rectangle die, I traced around the
die with a pencil where I wanted to cut the image.  I couldn't actually use the die because
the wing of the butterfly was deliberately off the page.  I cut it by hand, cutting
right up again the butterfly wing bits.  I ran a black waterbed pen around the
wing parts that were sticking out.


Next I made a white top folding A2 card base from white card stock.  I cut
a black/grey plaid panel to 4" x 5 1/4".  I cut a piece of black card stock that
is 4 1/8" x 5 3/8".  I mounted the plaid onto the black and then that whole
panel onto the card base.  I backed the stamped panel with a bright yellow/
orange card stock.


When I went to adhere the stamped panel onto the card, I realized I had to
off set the stamped panel to accommodate the butterfly. Even though it's not centered,
 I liked how this looked.  To add something sparkly to this card, I used a gold glitter
 pen and filled in all the little berry parts on the image and the inside bits of the
flowers.  I also added a bit to the veining in the leaves.  I used a shimmer
pen on the body of the butterfly as well as the white dots on the wings
and where the wings meet the body.  And that finished my card!


Here is another card I made with this same set!


Here is the link to the entire collection:

Here is the link to the Joy Clair Blog that will show you all
of the beautiful cards the team has made with this release!

Are you new to digital stamping?  Not really sure how to do it?
Please feel free to ask any one of us your questions.  Digital
stamping is such a great way to stamp on a budget or buying a
stamp set when you need it immediately!  Just ask us!

Thanks so much for stopping!  I hope you love this release as much
as I do!

Betsy

In my capacity as a design team member for Joy Clair Designs, I do receive the products I use from them. 

All opinions and creative decisions remain my own, and I only work with companies/use products that I love.