Hello everyone! Today I'm here with more inspiration from the
You Fill My Day Digital Stamp Set
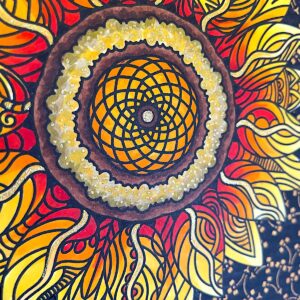
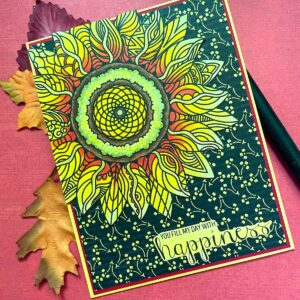
This is such a beautiful image to work with. Let me show you how I made my card!
As usual, I started in the computer with the butterfly image. I sized it. I would get back to the sentiment later on in my process. I printed this out onto white copy paper.
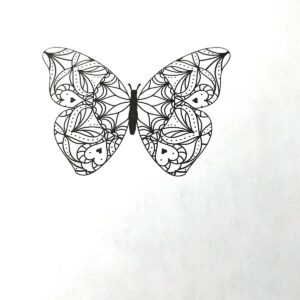
This quite an intricate image. I wanted to stamp it onto patterned paper. The paper would have to be quite plain without too much of a pattern. I wanted to make 3 butterflies. I took my patterned paper and taped it to the copy paper over the butterfly image and sent it through my printer.
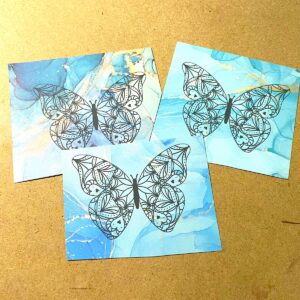
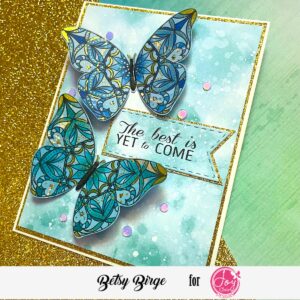
I did this 3 times on different colors of paper: blue/green, blue and aqua. Then I trimmed them down so I could color them with my Copic Markers. I let the paper color govern the marker colors here. I used more of a green color combo on the blue/green paper, a blue blend on the blue paper and an aqua blend on the aqua paper.

I did minimal shading on these and I didn't color everything. I just filled where I thought it would bring out the pattern in the butterfly. After coloring I fussy cut them.
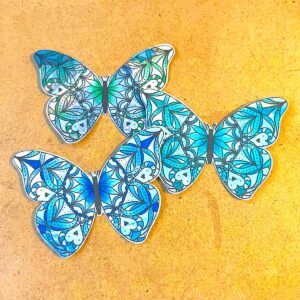
For the Green I used: G00, G02, G12, G05. For the Aqua I used: BG01, BG05, BG18. For the Blue I used: B32, B23, B24, B28. There are some tiny dots of black throughout the design. I used a gold glitter pen and went over these dots. I also filled in a few places.
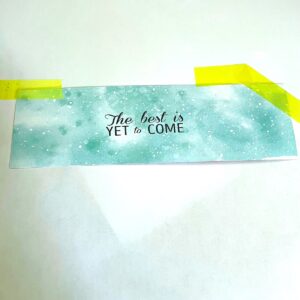
I chose a piece of background paper. It had a similar feel as the paper I printed the butterflies on but it was from another company. I cut a panel of it for the background at 4" x 5 1/4". With a scrap of that paper, I printed off my sentiment.
I felt the background panel was going to need something else besides the A2 white top folding card base that I had made, so I cut a piece of gold glitter paper just 1/8" bigger. These really looked beautiful together.
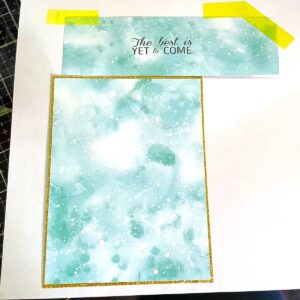
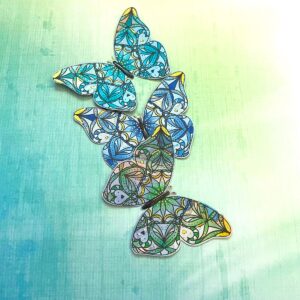
I die cut my sentiment with a banner die and backed it with the gold glitter paper, leaving a narrow amount showing. I also used a shimmer pen on the bodies of the butterflies and then put Gloss Accents on them and let them dry. Time to put my card together. I adhered my main panel to the card base. Then I played around the with the placement of the butterflies. I soon realized that using all 3 butterflies was not going to work visually. So, I adhered the Blue and the Aqua butterfly to the front. I bend up their wings before gluing them on. The I tucked my sentiment in-between them. For the last bit of sparkle I used moonstone confetti. I was going to use gold but I realized that they would detract from the butterflies and the gold glitter paper. The moonstone still gives sparkle without overtaking the background!
Thanks so much for coming today. I hope you'll give this a try and make your own beautiful creation!
You can find the entire Summerlicious Release here!
Til next time
Betsy