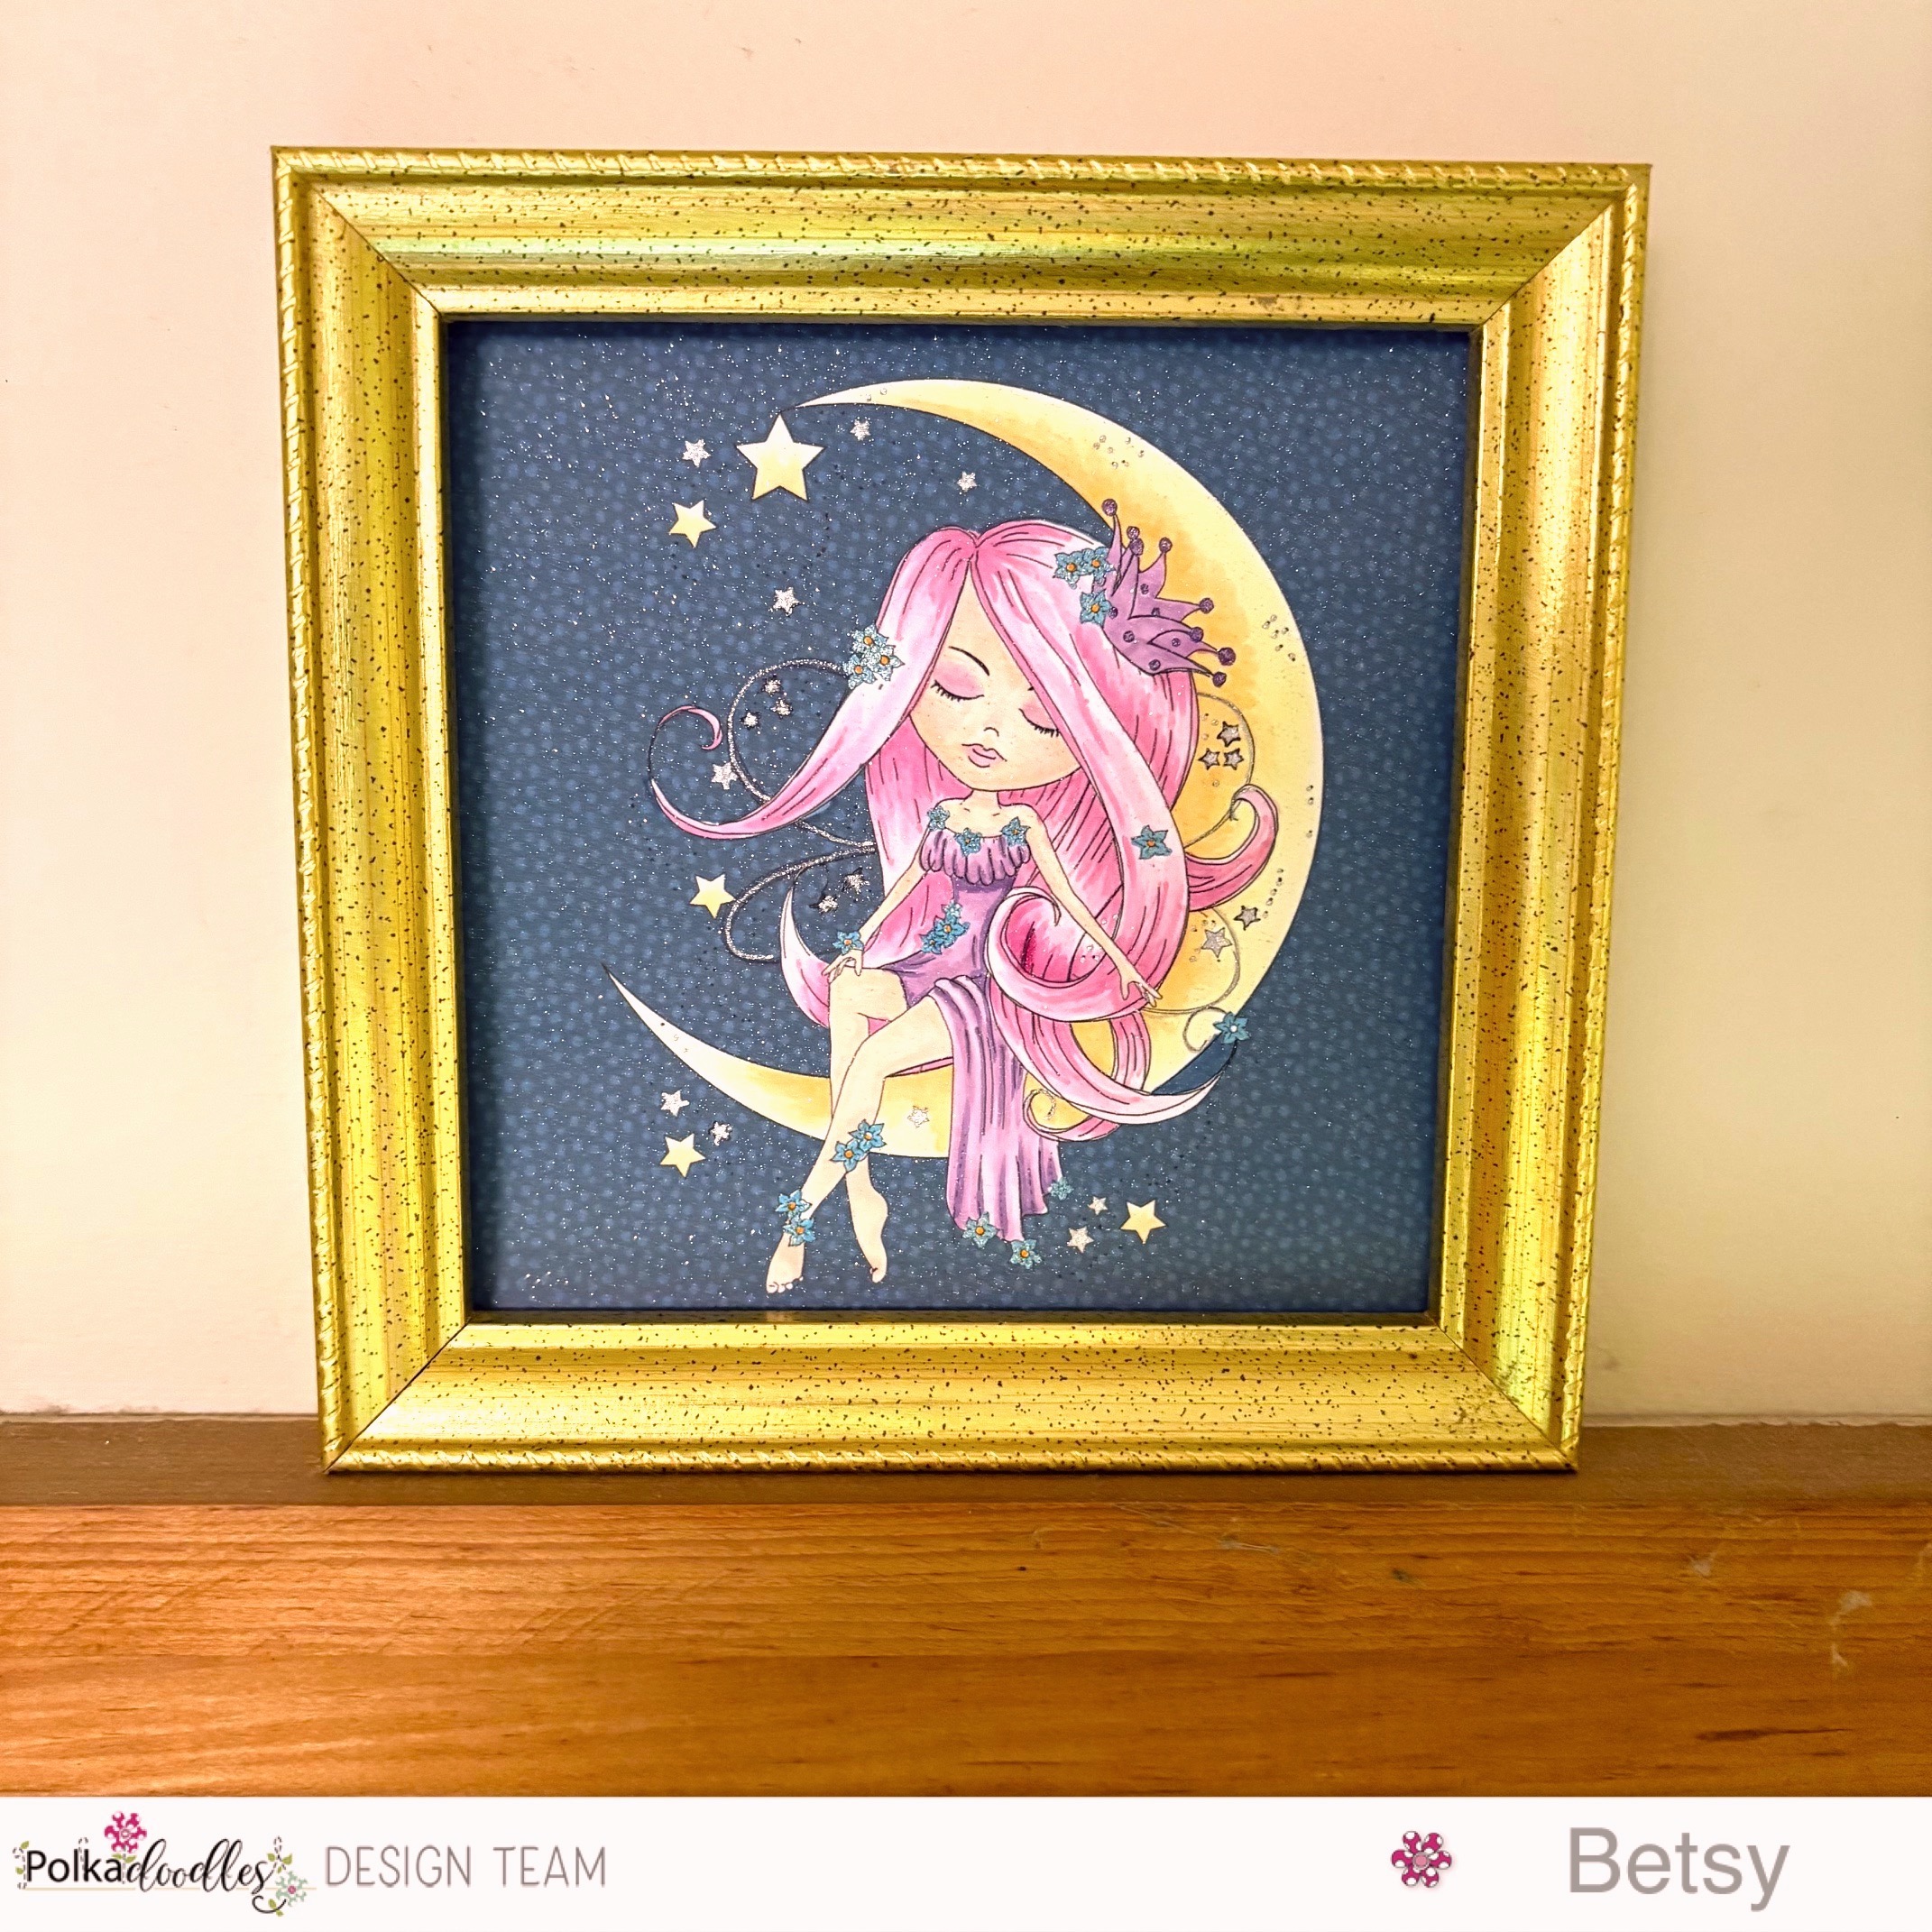
Hello everyone! Spring is on its way and I am so glad. Winter
seemed especially gray and dark this year. To make my
center cut-away card I'll be using products from
This is a very versatile set with lots of images. Let me show you how I
made this fun fold card!
I started by composing my images. I copied and pasted the grass
stamp several times. I printed this out onto white card stock.

Next I took a 6 ½” x 5” white notecard and cut away 1 ¼” on
each side of the front. This leaves a nice 4” center panel on the
base to put the focal on.

At this point I die cut my image with a 3 ½” x 4 ½” fancy
rectangle die. Then I chose my papers. I needed 2 that went
well together. I chose the blue for the center panel because
I didn’t want to color the background of my image. And having
a blue panel underneath gives the idea of sky on a spring day!
I deliberately chose the plaid paper with a “Spring” color palette.

I started my coloring by identifying the main colors and placement.
I color matched to the plaid paper.

The coloring was really quite quick. I did 2, 3 and 4 color blends
for the elements.

This image colored up nicely and it looked really good with the
plaid paper. At this point, I covered the center panel on the card
base with the blue and the side panels plaid. My side panels
were only about 1/8” underneath the center flap.

The side pieces of plaid paper could be edged with a cute
edge die.
For embellishments I adhered tiny yellow flowers amongst
the grass with Stickles in the centers along with some green twine.
And I placed 3 tiny butterfly sequins around the flowers in the can. I
did not add a sentiment, but this could be used as a get well card
and so many other occasions. I foam taped the focal to the center
blue panel of the card.

This card project worked up quite quickly. With only a smaller
focal, the card base and papers did the rest of the work! I hope
I’ve inspired you to try making one of these side cut-away cards.
If you do, tag us on social media…we would love to see it!
Supplies used:
Hoppy Easter stamp set
5” x 6 ½” white card base
2 coordinating papers
White card stock
Fancy rectangle die
Tiny butterfly sequins
Tiny yellow flower sequins
Orange Stickles
Green twine
Foam tape
Copic colors used:
BG11, C1, C2, Y11, YR21,
YR00, YR02, R81, R83, R85,
YG11, YG03, YG63
Til next time…
Betsy
In my capacity as a design team member for Kate Hadfield Designs, I do receive the products I use from them.
All opinions and creative decisions remain my own, and I only work with companies/use products that I love.


In my capacity as a design team member for Pajama Crafter Stamps, I do receive the products I use from them.
All opinions and creative decisions remain my own, and I only work with companies/use products that I love.

digital stamps! I'll be using products from
I love owls and live in an area where in the summer and fall I can hear
the owls hooting to each other when they wake up in the afternoon! It’s always a treat to hear them! Let me show you how I made my card.
I first composed my images in the computer and printed them out onto white card stock.


I went over these areas of sky more than once so the color would be saturated and very dark.

Once I finished the sky, moved onto the rest of the coloring using browns and warm grays.

Once the coloring was done, I used a rectangle die from my stash to die cut the panel. I had to
Do some extending…as my coloring did not extend to the height of the die cut panel. Once I had done that, I die cut a circle for the moon, computer journaled the sentiment and colored the card stock it was printed on and foam taped it to the panel. I added tiny metal stars and
Star Dust Stickles to the moon which I adhered with foam tape. I adhered the whole panel to an A2 size card base in a soft gray and my card was done!

I hope you enjoyed today's tutorial. I think it's perfect for a new
baby welcome!
Supplies used:
Animal Pals - Owls
Copic Markers: B99, W0, W1, W3, W5, W76, W7, G94, G99, E33, E35, E37, E43,
E47, E55, E49, E71, E 77, E79, Y000, Y11, Y21
Rectangle Die
Small Circle Die
Sentiment – scrap of white card stock
Tiny Star embellishments
Star Dust Stickles
Foam Tape
Warm Gray card base
You can find the products I've used in my project today at
Til next time…
Betsy

Animal Pals-Wolves Digital Stamp Set
Let me show you how I this fun project!

I printed out my images onto white card stock. I also created a sentiment.

I colored the moon very simply using a 2 color blend. Also I knew that I was going to fussy
cutting the wolf and moon right along the outline, so it didn’t matter that I went outside the
lines with my coloring.

I worked at coloring the wolf and kept adding layers until I was happy with the blends
Copic markers used: Y11, Y21, W0, W1, W2, W3, W5, C3, C5, 100

I then fussy cut the 2 images out and edged them with a black marker.

I found a piece of 12” x 12” paper with a night sky on it. I used a tag die to cut it out. You could
cut another tag out of white paper to back it with. My paper was double-sided so I didn’t bother. I applied an eyelet and threaded some jute twine through it. I inked the edges with a dark blue Copic marker. Along the bottom I used a Q-tip to add some sticky glue. I didn’t do this to cover it. I swiped it back and forth so nothing is really solid. When it was almost dry, I laid some back foil over it. This worked out quite well and I liked the effect.

As I was laying out my project I realized I could cut one end of the tag off. I did this after I colored the tag with a Copic marker. I adhered the tag first, then the wolf, then the moon. For embellishments I used some twinkle sequins and then I added some diamond Stickles to the sky for stars. And that finished my tag/bookmark.

How fun would it be to gift a book and use this tag/bookmark…first as the tag, then it could be kept as a book mark! I hope I’ve inspired you today to create a project with a double use! You can find this digital stamp set and many more at
Til next time…
Betsy
In my capacity as a design team member for Kate Hadfield Designs, I do receive the products I use from them.
All opinions and creative decisions remain my own, and I only work with companies/use products that I love.


In my capacity as a design team member for Pajama Crafter Stamps, I do receive the products I use from them.
All opinions and creative decisions remain my own, and I only work with companies/use products that I love.


Time to color up these cuties!

I worked at the coloring and shading. I googled Copic marker color palettes
for the colors I used.

I really wasn’t concerned about coloring outside the edges except where it impacted
some other color. I had planned to fussy cut them.

Coloring is all done. I fussy cut the elements and then edged them with
a black marker.
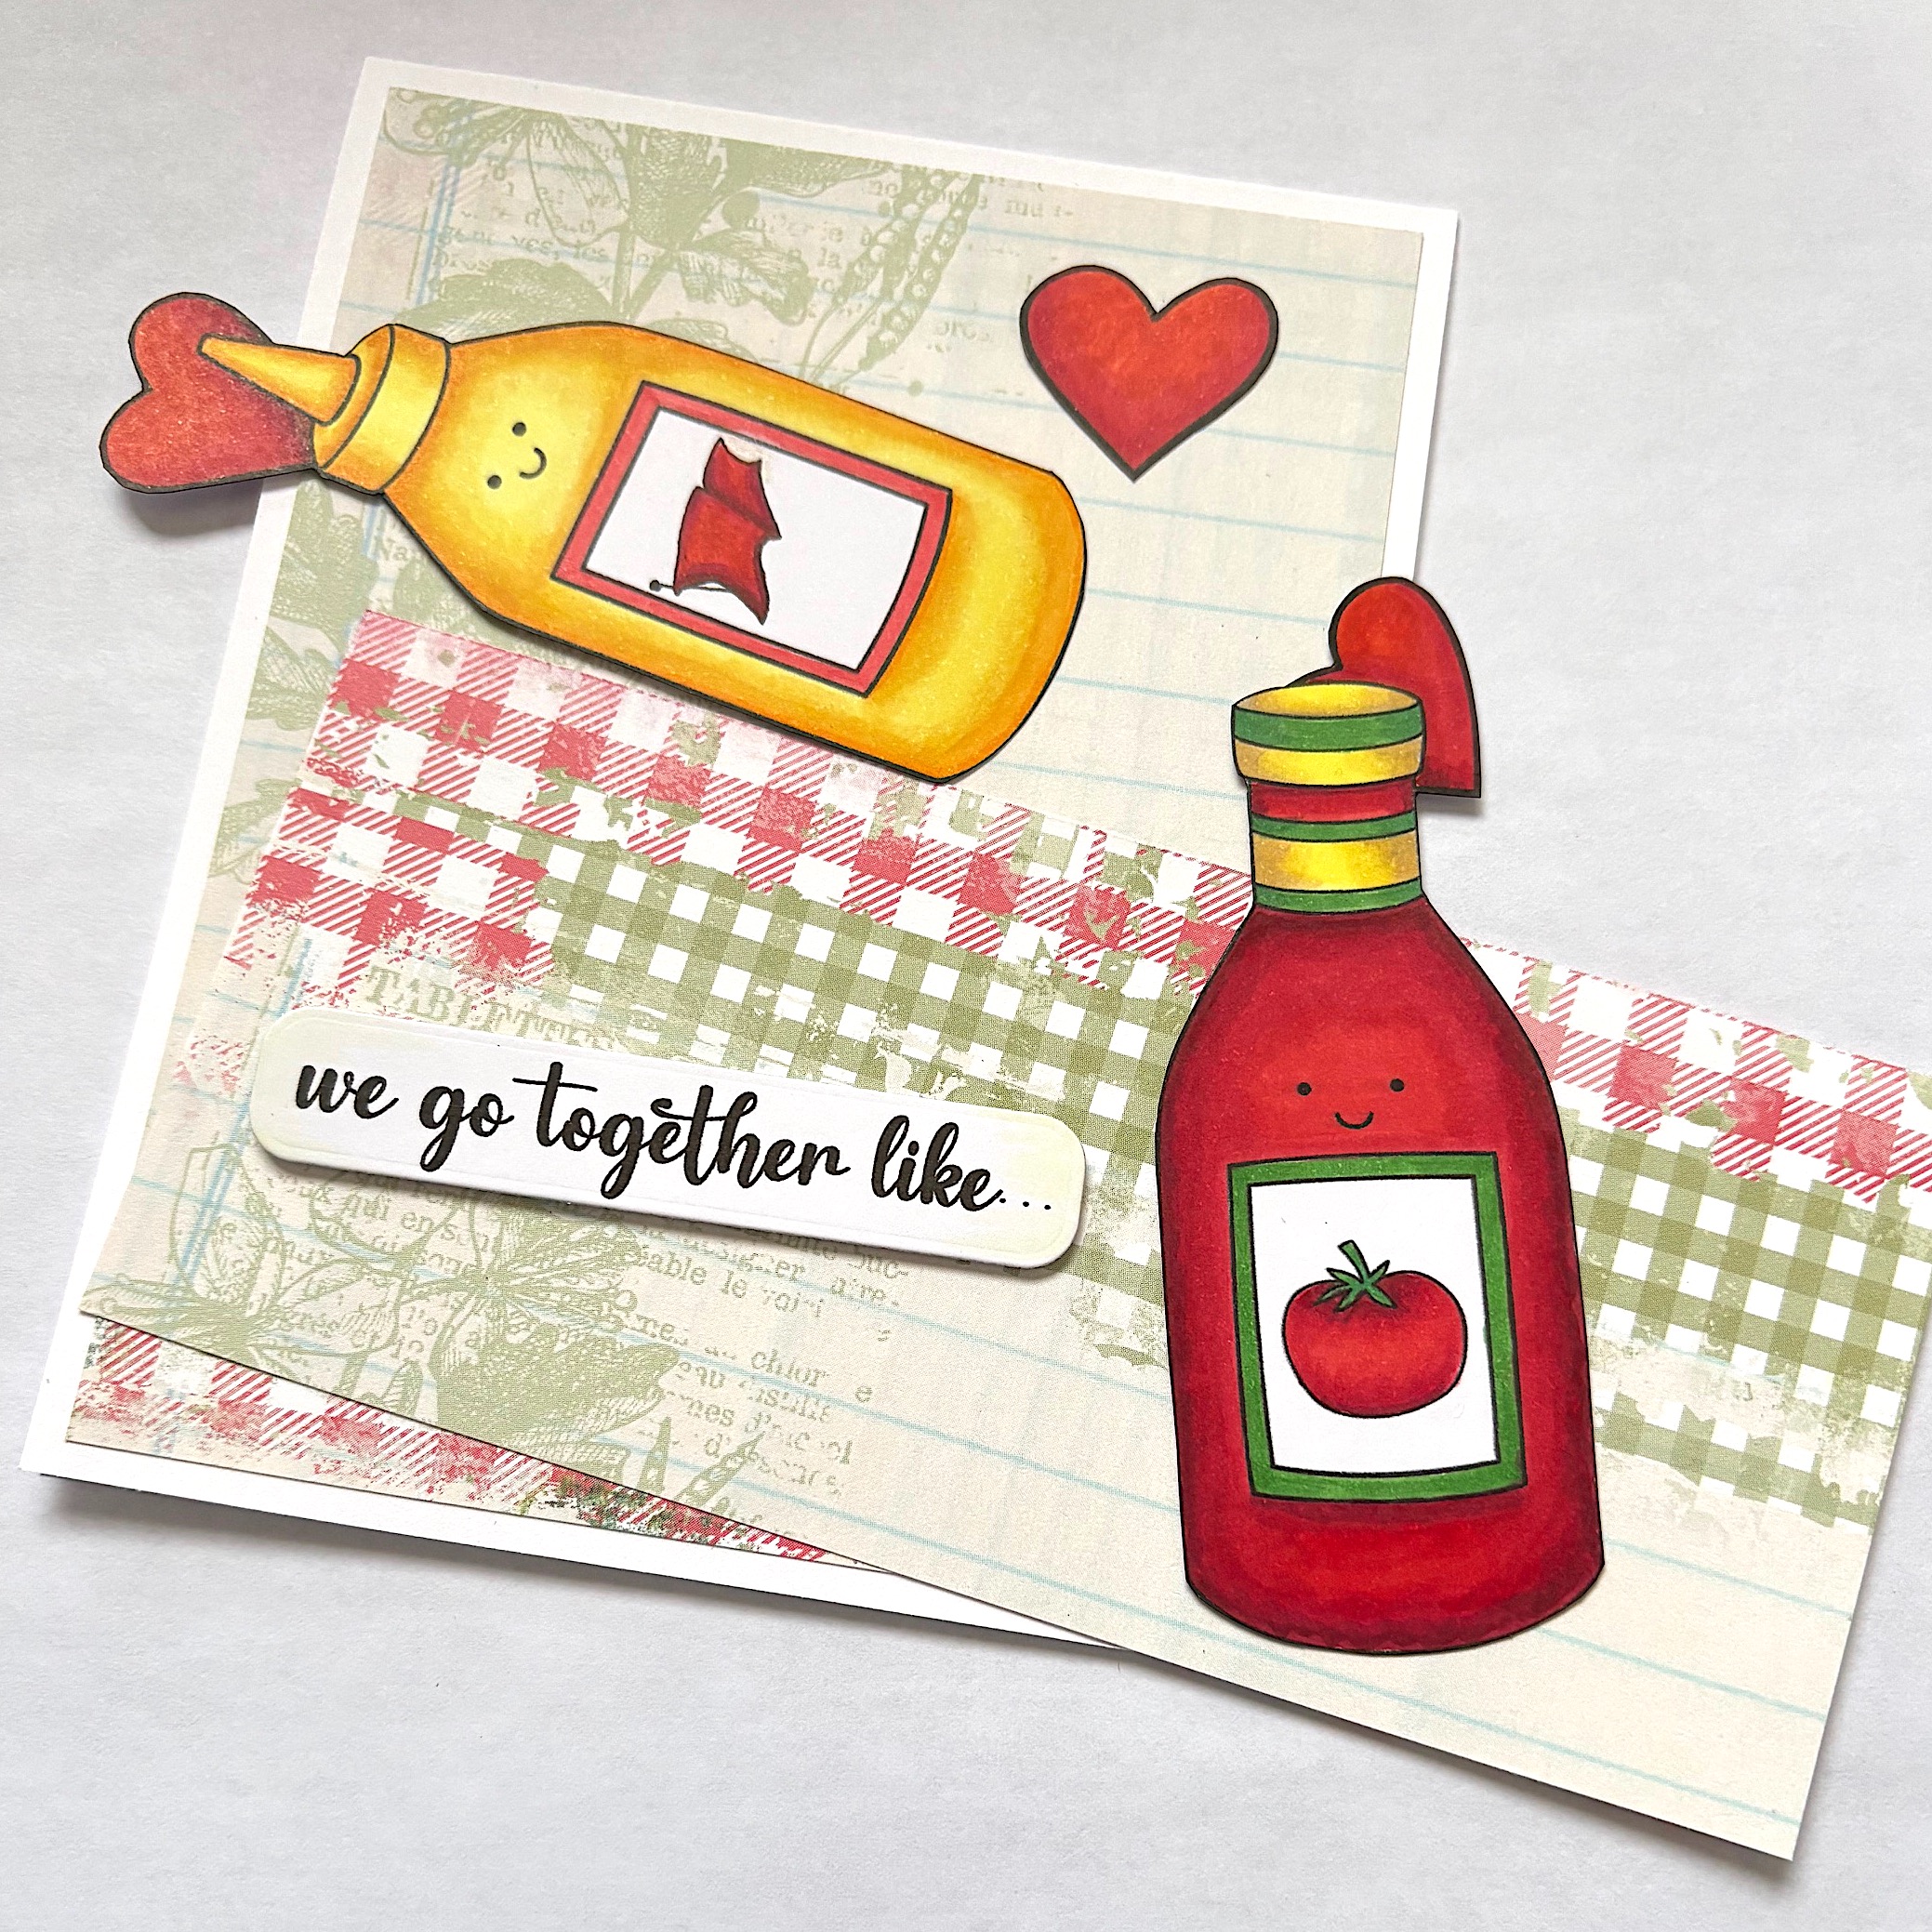
foam tape. When I printed out my images I also printed out a sentiment using
a font that I have in my computer. Then I die cut it. I sprinkled some tiny heart
sequins and that finished my card project!

possibilities for finding your perfect couple! This stamp set is available at
Supplies
We Go Together 3 stamp set
Copic markers:
R14, R27, R46, R59, G07, G17,
Y28, Y26, Y13, Y04, Y15, Y35, Y38
YG0000
Til next time…
Betsy
In my capacity as a design team member for Kate Hadfield Designs, I do receive the products I use from them.
All opinions and creative decisions remain my own, and I only work with companies/use products that I love.