Showing posts with label Candy Coat. Show all posts

Tuesday, November 22, 2022

Ribbon Curls with Brutus Monroe


Hello everyone!  Well, around here winter has begun!  There has been some
snow and lots of cold!  Today I'll be making a cool winter card using products from


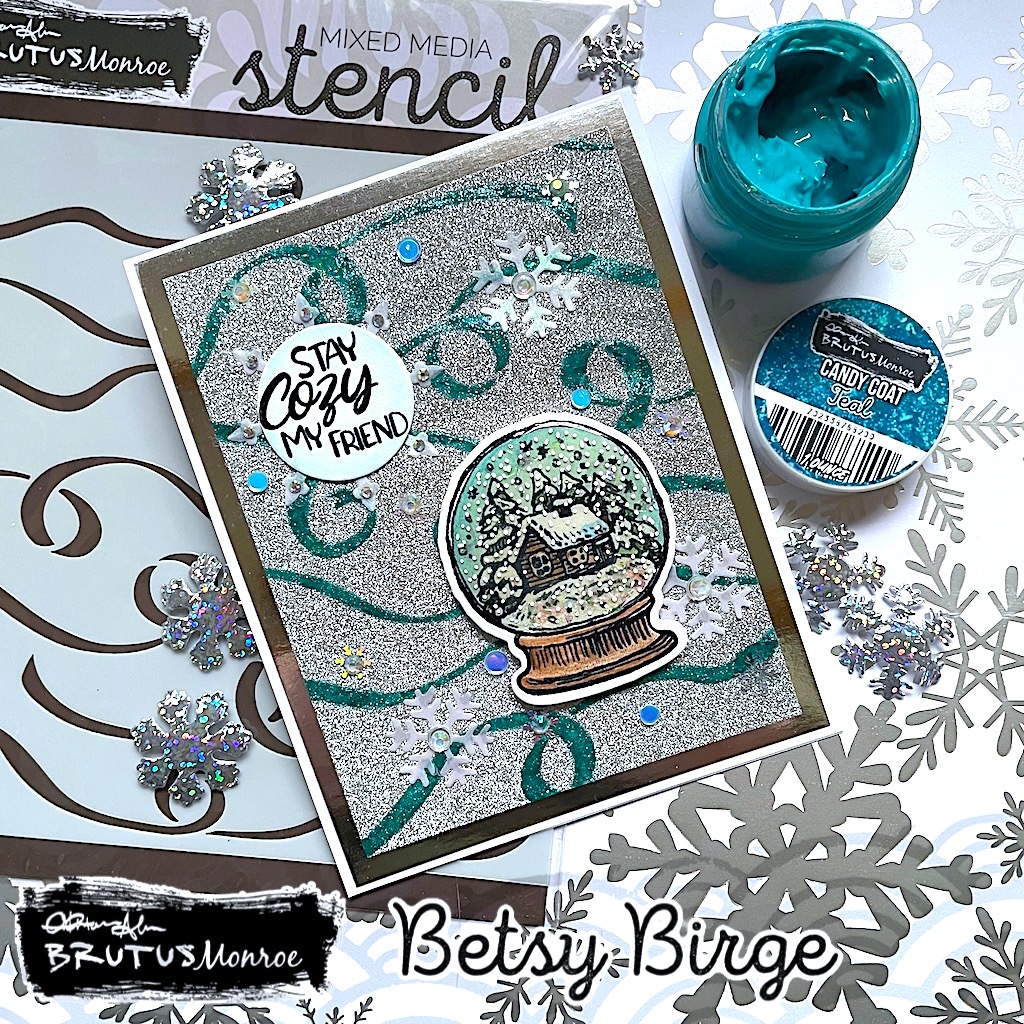
This card was so much fun to make with all of the sparkle going on!  Le me show
you how I did it!  I started by taking a piece of shimmer paper and stenciled it
using the Ribbon Curls Stencil and Teal Candy Coat!


As with many of the mediums in the Brutus Monroe line, this medium goes
on rather light and dull but when it dries it's gorgeous!  Sparkle and shine!
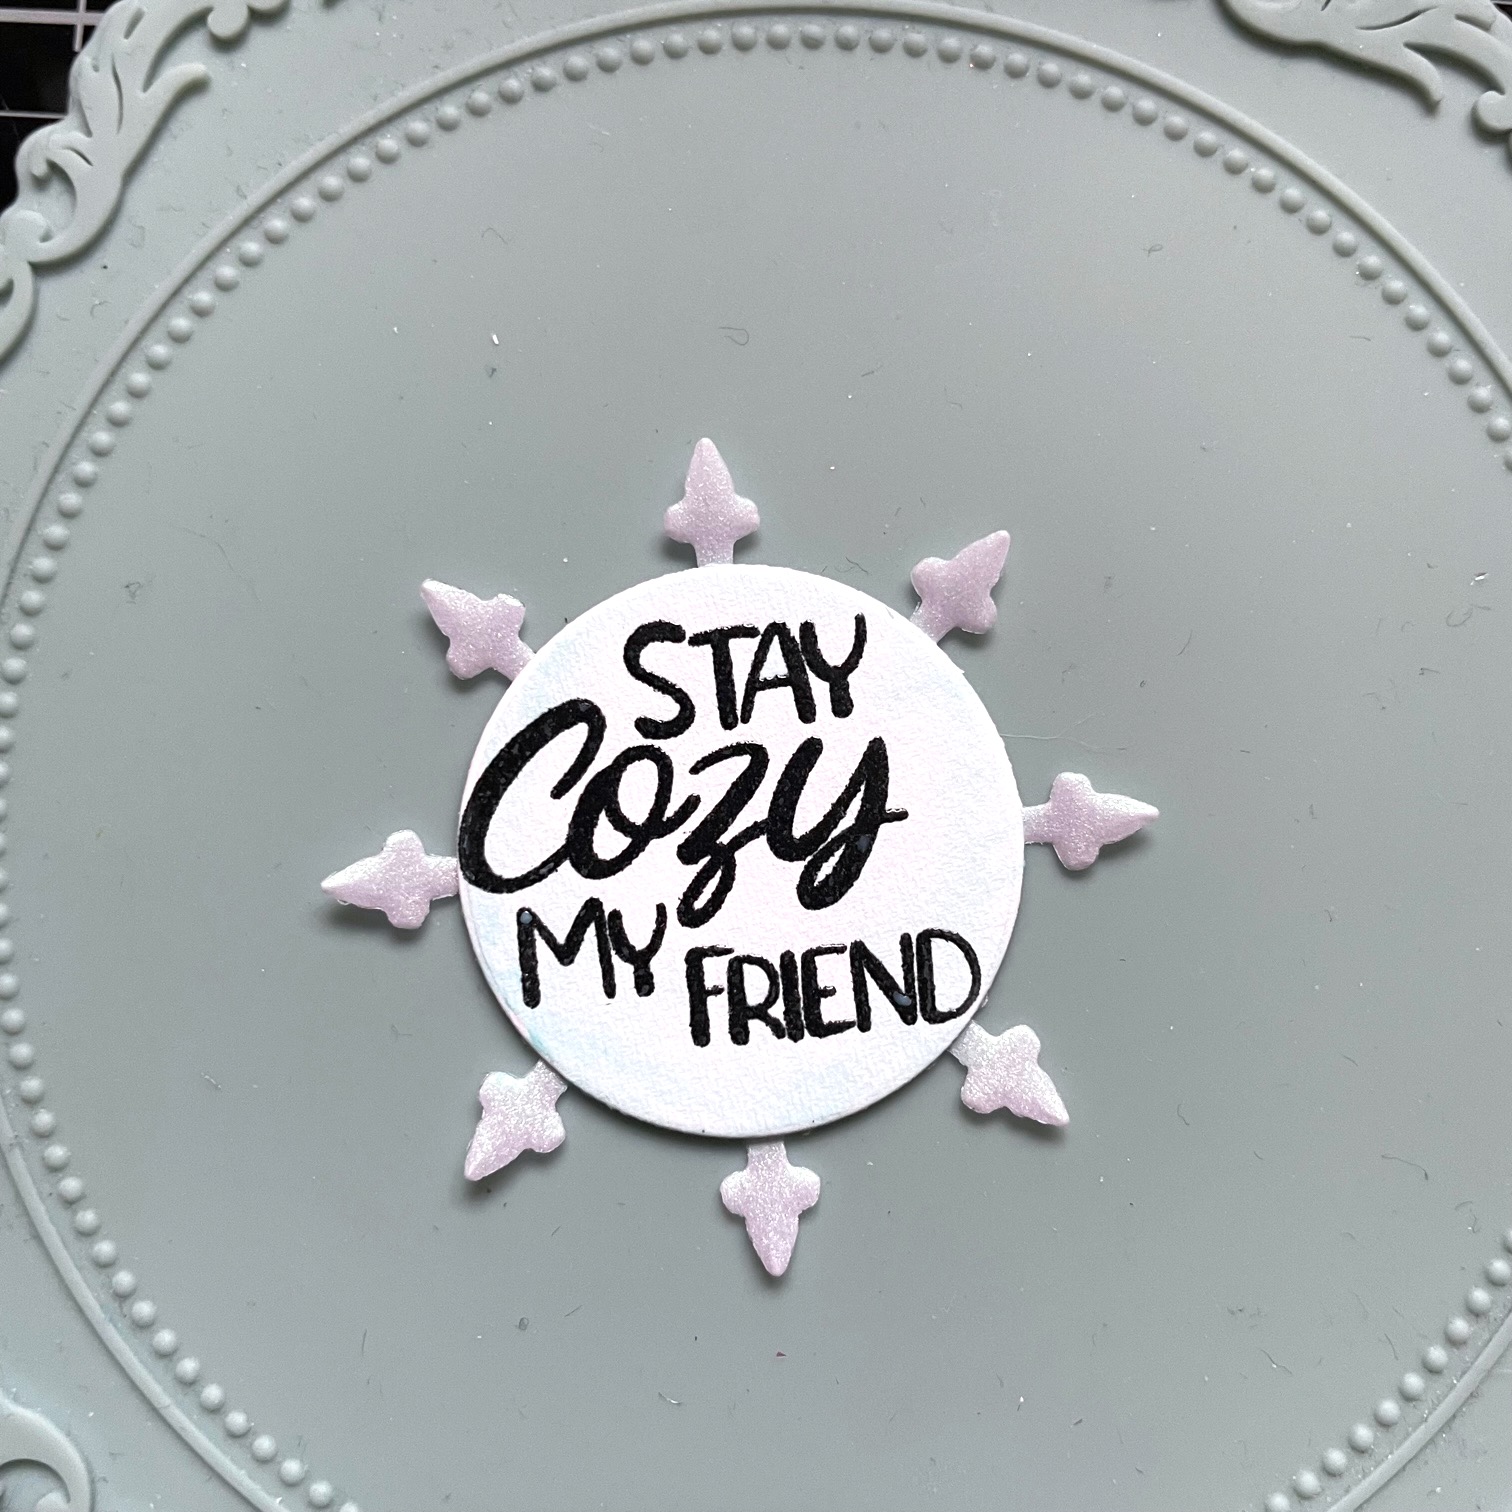
Next I stamped the Snow Globe Stamp Set and a sentiment from the Let It
Snow Stamp Set onto white card stock and heat embossed it black.


I colored these images with Distress Watercolor Pencils.  I went around the
edges of the sentiment very lightly just to give it a bit of color.  Once everything
was dry I die cut my snow globe with the coordinating die and I used a circle die
for the sentiment.


To the snow globe I added Fallen Snow Glitter Glaze on the snowy parts and
on the stars.  While it was still wet I added some Shimmer Flake.  


I cut out 4 snowflakes out of pearlized vellum with the Snowflake Cutting
Dies.  I adhered the biggest one behind my sentiment circle.


I trimmed my stenciled panel to 3 3/4" x 5" and adhered to a silver mirror
panel that measures 4 1/8" x 5 3/8".  Then I adhered that to a white top
folding A2 size card base.  I popped up the snow globe on foam tape and
then put Crystal Glaze on the globe part (this took quite a long time to dry!).


Once the Crystal Glaze was dry I added snow with a white Posca Pen.  I
adhered down the other 3 snowflakes and my sentiment and then I used clear
gems and holographic confetti.  And that completed my card!


I hope you enjoyed this super sparkly tutorial!  I love it when everything
shines!  You can find the products I used from


Thanks so much for stopping by!  I appreciate your interest!
Follow me on Instagram @betsybirgeart

Betsy

In my capacity as a design team member for Brutus Monroe, I do receive the products I use from them. 

All opinions and creative decisions remain my own, and I only work with companies/use products that I love.







Tuesday, July 5, 2022

Coral Reef with Brutus Monroe


Hello everyone!  Summer is upon us and I'll be showing you today how to
make this underwater scene with products from


Have you used Candy Coat yet?  This exciting product brings dimension and
sparkle to your projects!  Let me show you how I made my card!
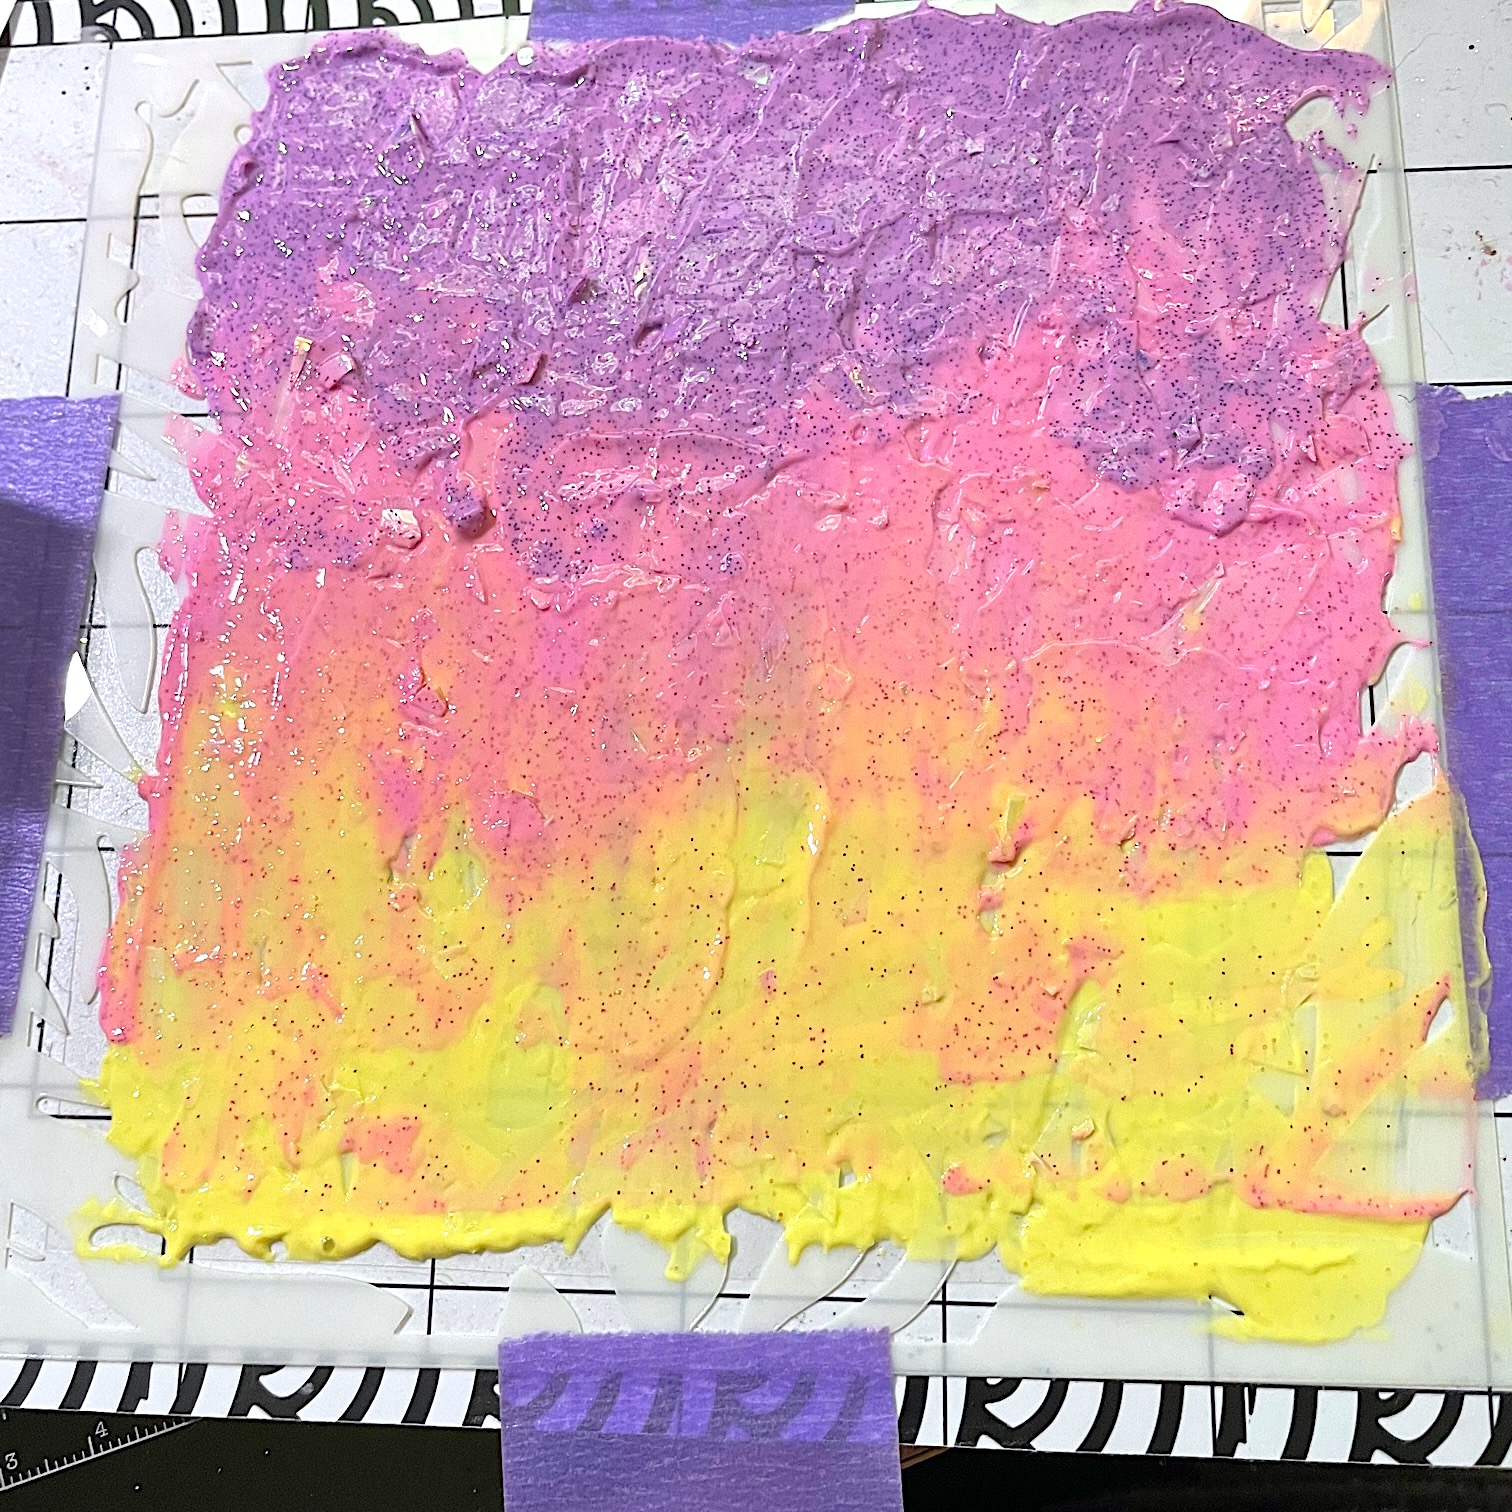
I decided to stencil on acetate!  I used the heat resistant acetate although
there was no heat involved.  It is a sturdier acetate so better suited to my card.
I placed my acetate onto my Stick & Stamp Mat and I taped down my
acetate.  I made the acetate sheet 5 1/2" 5 1/2" so it was quite big.


Although this definitely looks like a hot mess (LOL), I decided to
blended my Candy Coat colors on my project.  I used Yellow, Pink and
Purple Candy Coat.  I just slightly dragged one color into another.  I
let this dry over night after removing the stencil and washing it.  I
also lifted it up off my Stick & Stamp Mat and washed the mat down.


I was pleased with the blend when it was still wet.


I was even more pleased when it dried.  It reminds of the jelly shoes of
the 1980's!  I next prepared my paper to go underneath this panel.  I used
a piece of paper from the SeaLife Paper Collection.  I inked the edges.


I adhered some of my confetti pieces to this panel which measures
4" x 5 1/4".  I next stamped out my images to color.


The Copic colors I used were: YG23, YG06, YG67, YG63, W2,
W3, W5, W0 W1, Y02, Y17, YR04, BV02, BV13, Y06 and Y38.
I fussy cut these elements and then run a black marker around the
edges.  I stamped my sentiment with blue ink and die cut
it using the Circle Foundation Dies.  I ink blended around the
edges of this.


I prepared a white A2 top folding card base.  I covered that with some
Aqua card stock.  I adhered my inked paper panel to the base.  I
adhered my acetate panel to that hiding my glue underneath of where
the Candy Coat was.  I used foam tape to adhere my fish and sentiment.
I had a 1" wide piece of the acetate left, so I adhered that to the left
side of my card over one of the fish once again hiding my glue
underneath elements.  I used a shimmer pen on the fish and
the sentiment and that finished my card!


I hope you enjoyed today's project.  If you haven't given Candy Coat a try, what
are you waiting for?  Sparkly shiny fun!  Find it and the other products I
used at


Thanks so much for stopping by today. 

Betsy

In my capacity as a design team member for Brutus Monroe, I do receive the products I use from them. 

All opinions and creative decisions remain my own, and I only work with companies/use products that I love.


Tuesday, February 1, 2022

Antique Trellis with Brutus Monroe


Hello everyone!  I hope everyone is safe and doing well!  January is
over - YAY!  Closer to spring and warmer weather!  Today I'm sharing
a project made with some fun new products from

Brutus Monroe

This mini slimline is deceptively simple but so full of sparkle and
shine!  Let me show you how I made my card!
First - I was able to use the new Stick & Stamp Mat!  This is an
absolute game changer!  It measures 6 1/2" x 8 1/2" and has a
tacky surface that can be used over and over.  And, because of the
convenient size - it fits into an Original MISTI!  Clean up is a
dream with Squeaky Clean Mat Mist.  I placed my stencil on
top of my card stock that was placed onto the Stick & Stamp Mat.


Because of the generous proportions of the mat, it allows all of the
edges of the stencil to stick to it.  So convenient.  Using a palette knife
I applied the Teal Candy Coat on top of the stencil.  The stencil comes
right off and by bending the mat, my card stock piece also came off.


Like many other Brutus Monroe mediums, Candy Coat when applied is
quite opaque.  The magic happens when it dries!  The base has fine
sparkle in it and there are pieces of iridescent flakes.  When it dries this
has so much sparkle and shimmer.  While that was off to the side drying,
I heat embossed my sentiment using the Simple Strips - Crafty using
Alabaster Embossing Powder and the coordinating die.


Next I made my mini slimline card base out of white card stock and
covered it with turquoise Glitterstock.  I added to that a black panel.
I cut down my dry stenciled panel.


After adhering the stenciled piece I popped up the sentiment on foam tape
and adhered to the middle of the card.  I tied a triple bow of turquoise silk ribbon
and adhered it to theft of the sentiment.  I took a Q-tip and went around the
edges of the ribbon with Alabaster Glitter Glaze.  And as a final bit of
shimmer I added a few pieces of iridescent confetti.  And that finished
my card!


I love working with extra sparkle this time of year because it's so
drab.  This new Candy Coat is over the top with sparkle!  Expect to
see more colors of this as 2022 progresses!!!  ðŸ’«. You can find
the products I used at

Brutus Monroe

The new Stick & Stamp Mat is at a great price point!  The stencil is
available through a subscription program as well as being able to 
just purchase it.
Thanks so much for stopping by!

Betsy

In my capacity as a design team member for Brutus Monroe, I do receive the products I use from them. 

All opinions and creative decisions remain my own, and I only work with companies/use products that I love.


A Pirate's Life! ft. Kate Hadfield Designs

  Hello everyone!  Today I'm sharing this adorable pirate-themed wiper card.  A fun card to put together!     I'll be using products...