Tuesday, December 20, 2022

Welcome Winter with Brutus Monroe


Hello everyone!  Winter is settling in and we are nearing the longest day
of winter.  YAY!  It only gets lighter from there!  👍. Today I'll be sharing
a winter project with products from


What a fun project this was!  Lots of die cutting to make this winter
vignette.  Let me show you how I made my card.
I started by taking a piece of light blue card stock.  I used one half for the
base of my card and the other half I stenciled using the Subtle Spots
Stencil with Alabaster Glitter Glaze.  While the Glitter Glaze was still
wet I added Snowflake Shaker Fill.  


I set that off to the side to dry.  I then die cut my pieces for the bird.  I really
wanted to make a Bluejay for this card.  I used a blue that was darker than the
base of my card and I die cut the underneath black layer. 


I wanted to do someheat embossing on the blue layer.  I used an
 embossing pen for this.


I didn't get it solid white and I was ok with this, knowing that by
having missed some places would give this texture.  I was using a
photo reference from Googles Images.  I next heat embossed my black
layer using the same method.


I know it looks a bit weird around the eye, but with a black Copic marker
and a black gem for the eye, it came out great!


I was ok with the final result.  I took a blue and black Copic marker and
made feathers on my Blue Jay.


I was pleased with the final result.  Even though he looks a bit rough, it
does all come together in the end!  Next I die cut the branches, snow,
spruce boughs, pine cones and sentiment.  I put Fallen Snow Glitter Glaze
 on the pine cones.  


I adhered everything onto my card that had the stenciled panel glued
to it flat.  After all was on I added more Fallen Snow Glitter Glaze to
the spruce boughs and pine cones.  I added some antique gold gems
and felt they really enhanced the pine cones.  And that finished my card!


I hope you enjoyed today's tutorial!  I really enjoyed making something
more unexpected with this die set!  You can find the products I used at


Thanks so much for stopping by!

Betsy

In my capacity as a design team member for Brutus Monroe, I do receive the products I use from them. 

All opinions and creative decisions remain my own, and I only work with companies/use products that I love.


Tuesday, November 29, 2022

Fall Florals with Brutus Monroe


Hello everyone!  I am writing this after a long weekend off from work!  How
lovely to have the time to create!  Today I'll be using products from


I wanted to really think outside the box on this project.  I did this by taking a
themed stamp set - fall - and making it into a not-so-fall card!  Let me show you
what I did!
I first took a piece of heavyweight white card stock and the Basket Weave Stencil
and used Chroma Mists.  I used Lilac and Candy Apple Red Chroma mists watered
 down with water that had mica powder in it.  I used a stencil brush to apply the Mists.


While I was waiting for that to dry, I stamped and heat embossed in black my
5 flowers.  I stamped 3 of the pansies and 2 of the mums.


I painted these flowers with the same mix of Chroma Mists.  I watered some
of it down with the water/mica powder.  To get darker areas, I waited until the
first coats were almost dry and then went in and added more.  As long as
you wait for the layers to dry, you can keep adding color to get darker shades.


Once these were dry I added the black beard part with my black Copic marker and then
 added a small yellow part in the center with a Yellow Posca Pen.  Then I die cut them with 
the coordinating dies.


I next cut an A2 size side folding white card base.  I folded it and then cut
off 1 1/4" on the right front.


I then cut a piece of black dotted acetate from my stash that I adhered to the back 
of the front panel and just the 1 1/4" of it shows on the front of the card.


I cut down the stenciled panel to fit on the front white card stock piece.
It measures 2 3/4" x 5 1/4".  


You can see some weird markings on the right side of this panel.  I was going to
go in a completely different direction, but it didn't work out.  However, I knew these
markings would be covered up by my flowers.  I adhered this panel to the front of the card.


Time to adhere my flowers!  I adhered one pansy at the top and one at the bottom
flat to the card and straddling the space between the card stock and acetate.  Next
I added the mums.  I popped those up on foam tape.  I placed one facing one way
and the other facing the opposite.  And lastly I added my last pansy to the middle
also on foam tape.  I added some mirror confetti and my project was done!


This card was fun to make!  I stepped out of my comfort zone to do the
acetate on the front, but I love the effect.  I might have to send this card
to my bestie!  I hope you enjoyed today's tutorial.  You can find the
products I used at


Thank you so much for being here and taking an interest!

Betsy

In my capacity as a design team member for Brutus Monroe, I do receive the products I use from them. 
All opinions and creative decisions remain my own, and I only work with companies/use products that I love.


Tuesday, November 22, 2022

Ribbon Curls with Brutus Monroe


Hello everyone!  Well, around here winter has begun!  There has been some
snow and lots of cold!  Today I'll be making a cool winter card using products from


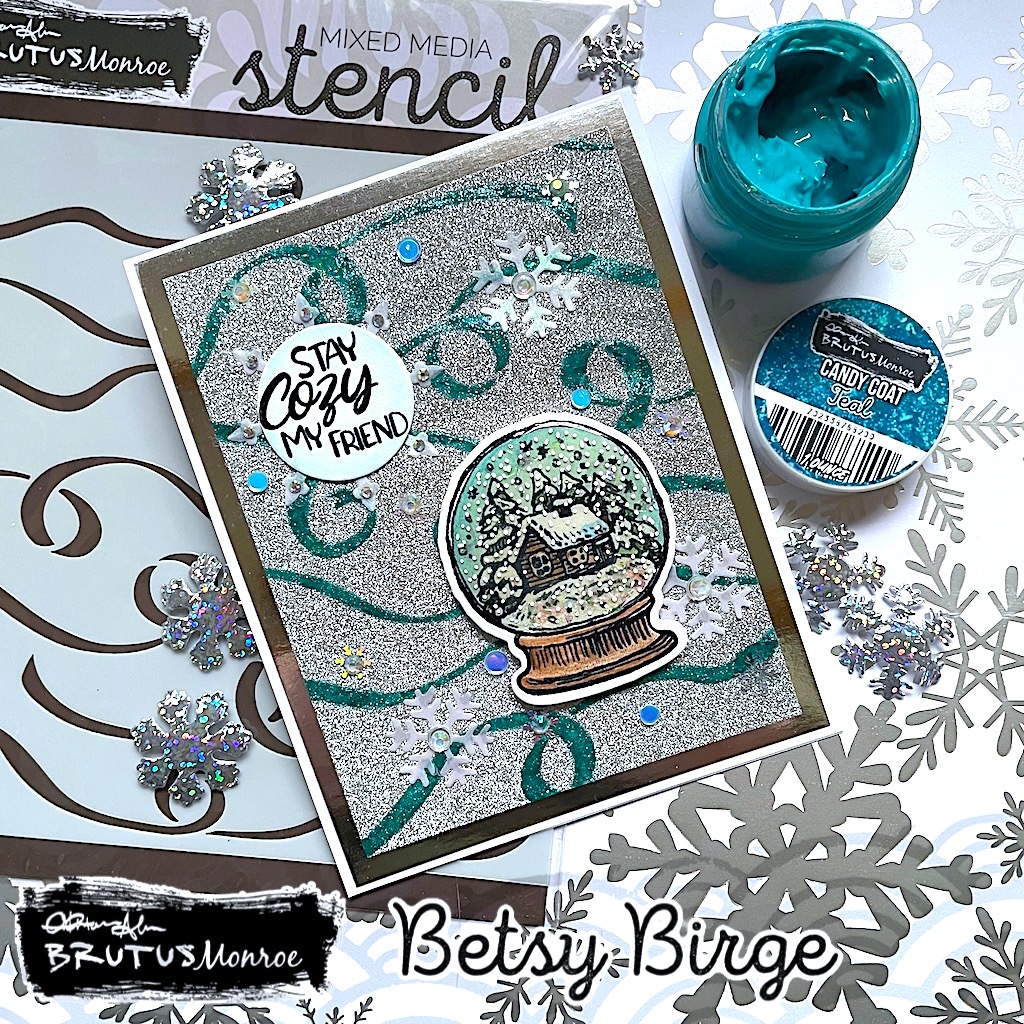
This card was so much fun to make with all of the sparkle going on!  Le me show
you how I did it!  I started by taking a piece of shimmer paper and stenciled it
using the Ribbon Curls Stencil and Teal Candy Coat!


As with many of the mediums in the Brutus Monroe line, this medium goes
on rather light and dull but when it dries it's gorgeous!  Sparkle and shine!
Next I stamped the Snow Globe Stamp Set and a sentiment from the Let It
Snow Stamp Set onto white card stock and heat embossed it black.


I colored these images with Distress Watercolor Pencils.  I went around the
edges of the sentiment very lightly just to give it a bit of color.  Once everything
was dry I die cut my snow globe with the coordinating die and I used a circle die
for the sentiment.


To the snow globe I added Fallen Snow Glitter Glaze on the snowy parts and
on the stars.  While it was still wet I added some Shimmer Flake.  


I cut out 4 snowflakes out of pearlized vellum with the Snowflake Cutting
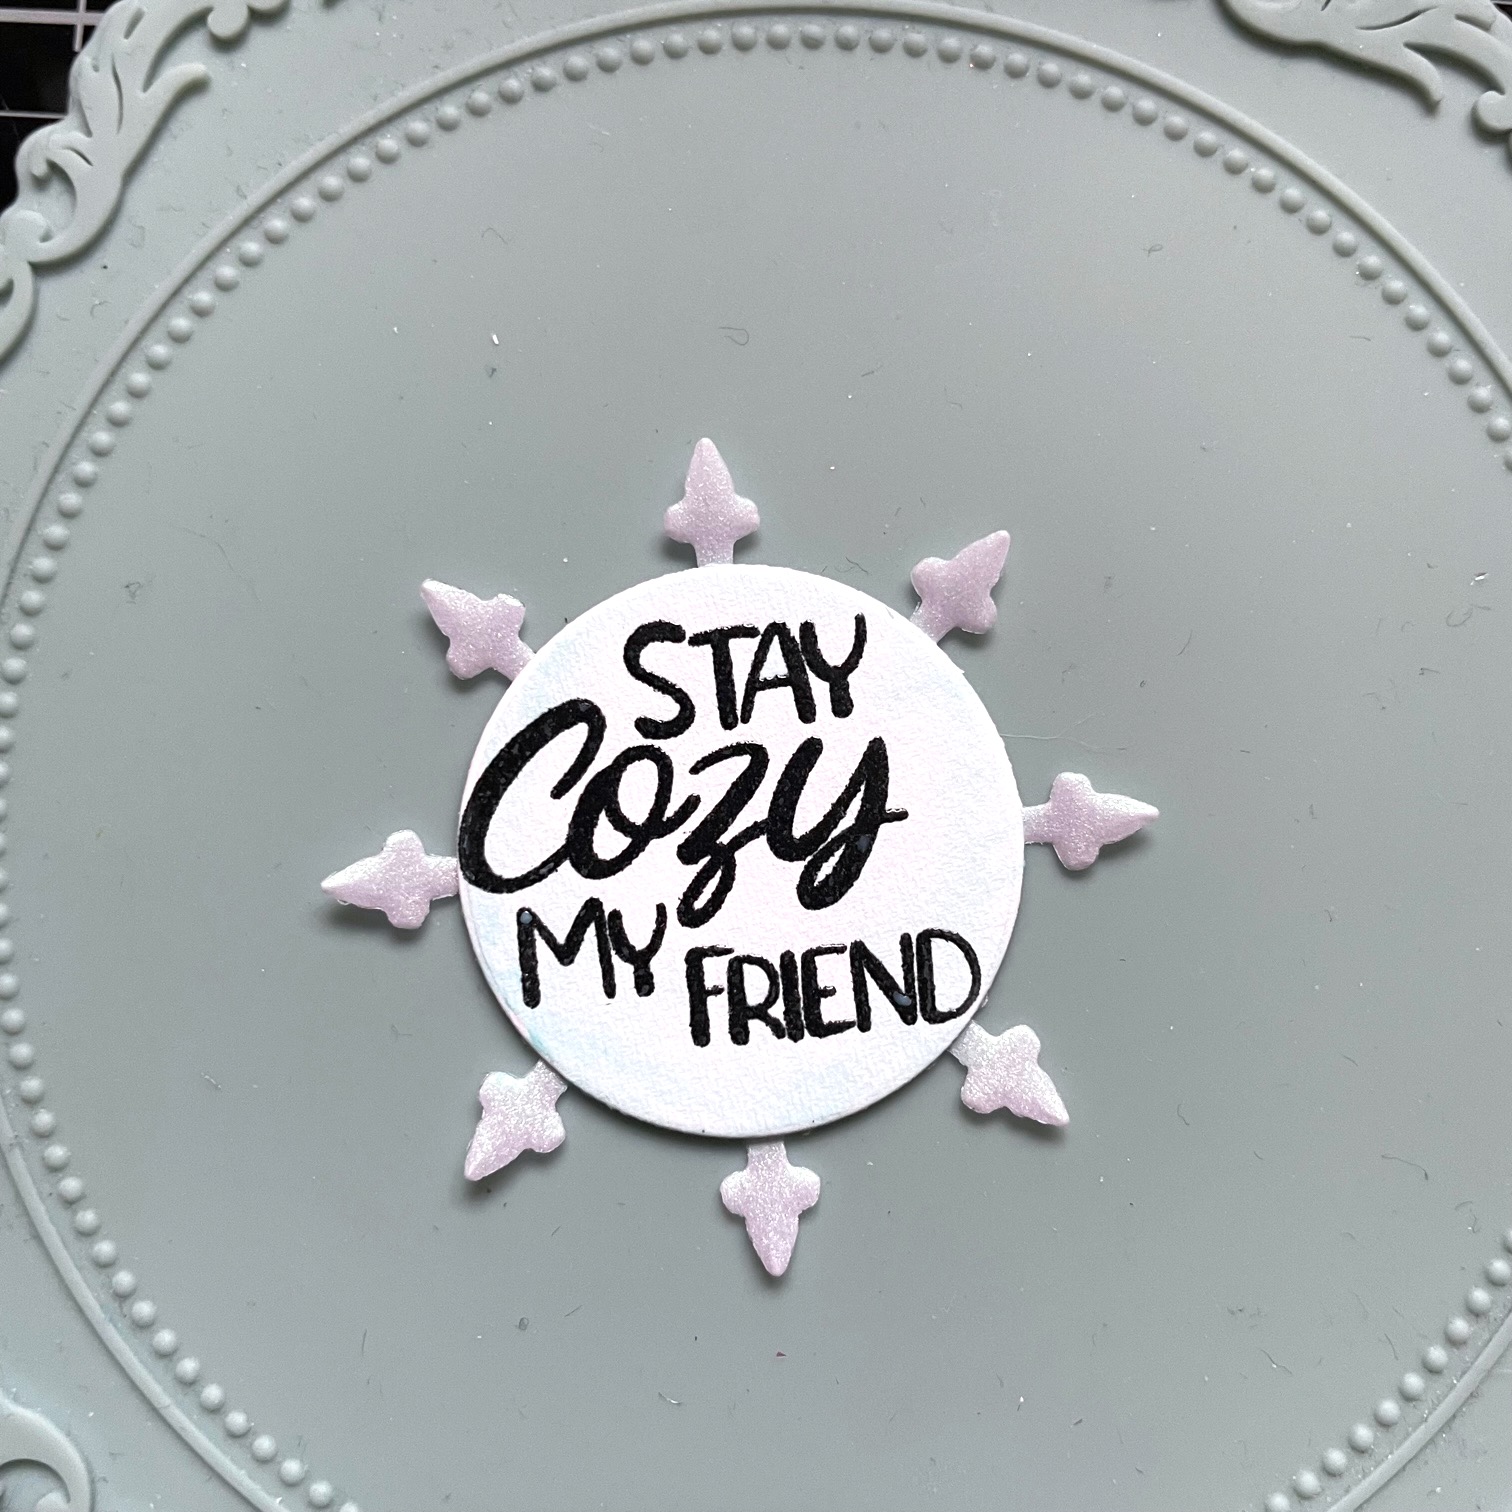
Dies.  I adhered the biggest one behind my sentiment circle.


I trimmed my stenciled panel to 3 3/4" x 5" and adhered to a silver mirror
panel that measures 4 1/8" x 5 3/8".  Then I adhered that to a white top
folding A2 size card base.  I popped up the snow globe on foam tape and
then put Crystal Glaze on the globe part (this took quite a long time to dry!).


Once the Crystal Glaze was dry I added snow with a white Posca Pen.  I
adhered down the other 3 snowflakes and my sentiment and then I used clear
gems and holographic confetti.  And that completed my card!


I hope you enjoyed this super sparkly tutorial!  I love it when everything
shines!  You can find the products I used from


Thanks so much for stopping by!  I appreciate your interest!
Follow me on Instagram @betsybirgeart

Betsy

In my capacity as a design team member for Brutus Monroe, I do receive the products I use from them. 

All opinions and creative decisions remain my own, and I only work with companies/use products that I love.


Tuesday, November 15, 2022

Rustic Sunflowers with Brutus Monroe


Hello everyone!  Sunflowers are so...sunny!  We've been having some dark days
here so these sunflowers brighten up everything!  I'll be using products from


I wanted this card to be sunny and bright!  So easy to do with the products I
used.  Let me show you how I made my card!  I started with the stenciled panel
for the background.  I mixed Banana Split and Pumpkin Patch Velveteen
Glazes together. When dry, these Glazes are darker.  So I mixed the 2 
together to get a lighter orange.  I used the X-pattern Stencil on white card stock.


These velveteen glazes dry to an amazing texture!  Next I stamped out my images
onto white card stock using a hybrid black ink.  I wanted to color these images
with my Copic Markers.


I stamped these images twice.


I went through and colored all the leaves first, then the centers of
the sunflowers.


Copic Colors used:  G82, G85, G94, Y02, Y15, Y38, R89
E35, E37, E49, Y26
Once these images were all colored I used the coordinating die
set and cut them out.  I stamped out my sentiment with some
dark brown hybrid ink and die cut it with an oval die.  Just
for added interest I made stitch lines around it with a dark
brown fine marker.


I made an A2 size top folding card base from white card stock.  I die
cut a frame using a piece of plaid paper from the Baked Fresh Paper

I adhered the stenciled panel behind this plaid frame.


I arranged my die cut sunflowers and leaves along the left side of the
panel and along the bottom.  A few were popped up on foam tape while
others were adhered flat.  I popped up my sentiment on foam tape. I
sprinkled some rich orange confetti on my card and it was finished!


I love making brightly colored cards when the weather is dark and gray!
It's a great pick me up!  You can find the products I used at


Thank you so much for stopping by!  I hope I've inspired you to make
a bright and happy card!

Betsy

In my capacity as a design team member for Brutus Monroe, I do receive the products I use from them. 

All opinions and creative decisions remain my own, and I only work with companies/use products that I love.