
Hello everyone! Today I'm showing you how to step up your digitally stamped panels with die cuts! I am using a stamp set from:
This is probably my favorite image from this stamp set. Let me show you how I made my card! I first printed my card and sentiment onto white card stock.
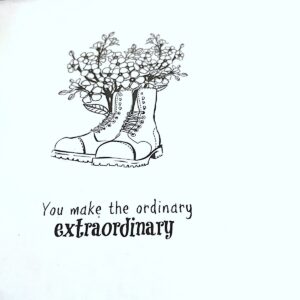
My image measures about 2 3/4" tall. I took a rectangle die and die cut the image of the boots and flowers first. Then, using a banner die, I die cut the sentiment. I wanted to color my image with Copic Markers. I wasn't sure what colors to use, but I love blue and brown together.
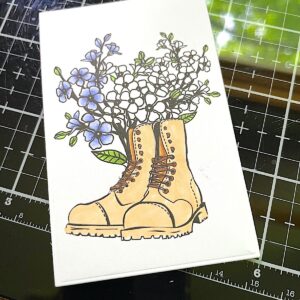
I wanted the flowers to be that cornflower blue...I love that shade so much!
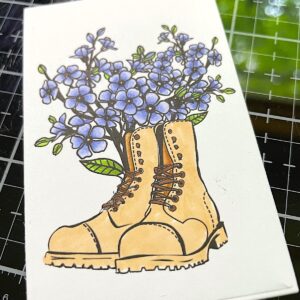
I colored the flowers and leaves first, using simple blends - 2 colors on the leaves and 3 colors on the flowers. Then I colored the boots.
I was pleased with how well these colors worked together. For Copic colors I used the following: B60, B63, BV04, YG06, YG63, E31, E33, E35, E37, E59. I dotted each of the flower centers with a gold glitter pen. I cut the sentiment down to be the same width as the main panel. Next I prepared my die cuts. I took about 6 different small multi-leaved branch stems and die cut them from some green marbled paper. I cut a quite a few.
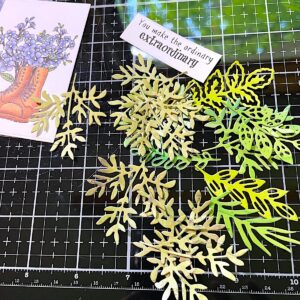
There was one die I favored over the others and that is what I ended up using the most of. It was a branch that had 3 distinct sections of smaller leaves - great for cutting down. I next prepared my background panel. I used a piercing die and some cornflower blue card stock.
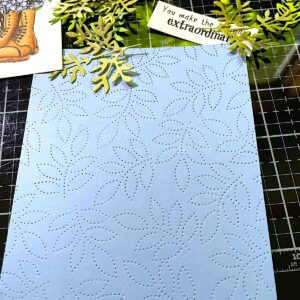
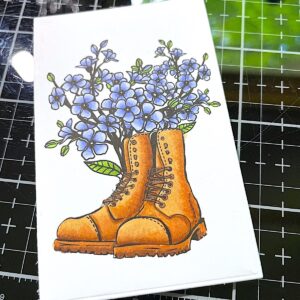
I cut a black card stock panel just slightly bigger to mount this blue panel on. Then I adhered that to a white A2 size top folding card base. Using adhesive foam, I first adhered my colored panel onto the card. I cut up some of the leaves and placed them along the bottom edge. Then, using the same kind of adhesive foam, I adhered my sentiment panel.
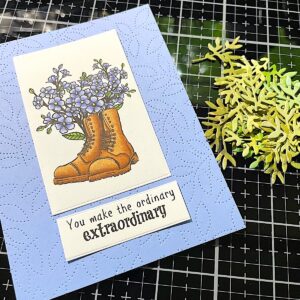
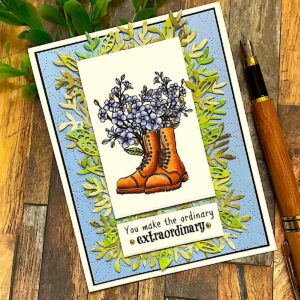
Then I continued with the leaves around the whole 2 panels. I cut them and tucked them and placed them at different angles until the image looked full. To highlight the gold glitter pen in the middle of the flowers I added some tiny gold foil pearls and that finished my card for today!
Thanks for stopping by today. I hope I've inspired you to dig out those dies and step up your digital stamping! You'll find this set and many more great digital stamp sets at:
I hope I've inspired you to create something beautiful with digital stamps!
Betsy
In my capacity as a design team member for Joy Clair Designs, I do receive the products I use from them.
All opinions and creative decisions remain my own, and I only work with companies/use products that I love.


No comments:
Post a Comment