
All of the instructions for entering the hop will be at the end of my post here! So exciting when we get to share a hop with all of you for a chance to win a prize from Joy Clair Designs! Let me show you how I made my card.
I was really inspired by this paper...it's called Champagne and to me just highlights everything we love and get excited about coffee! I used the Coffee Mood Digistamp. I love this set just for the variety of coffee cups!!! As I said, I already had my paper chosen and it's a slimline size. So I composed my design in the computer and printed it out onto Neenah 80lb Classic Crest Solar White card stock.
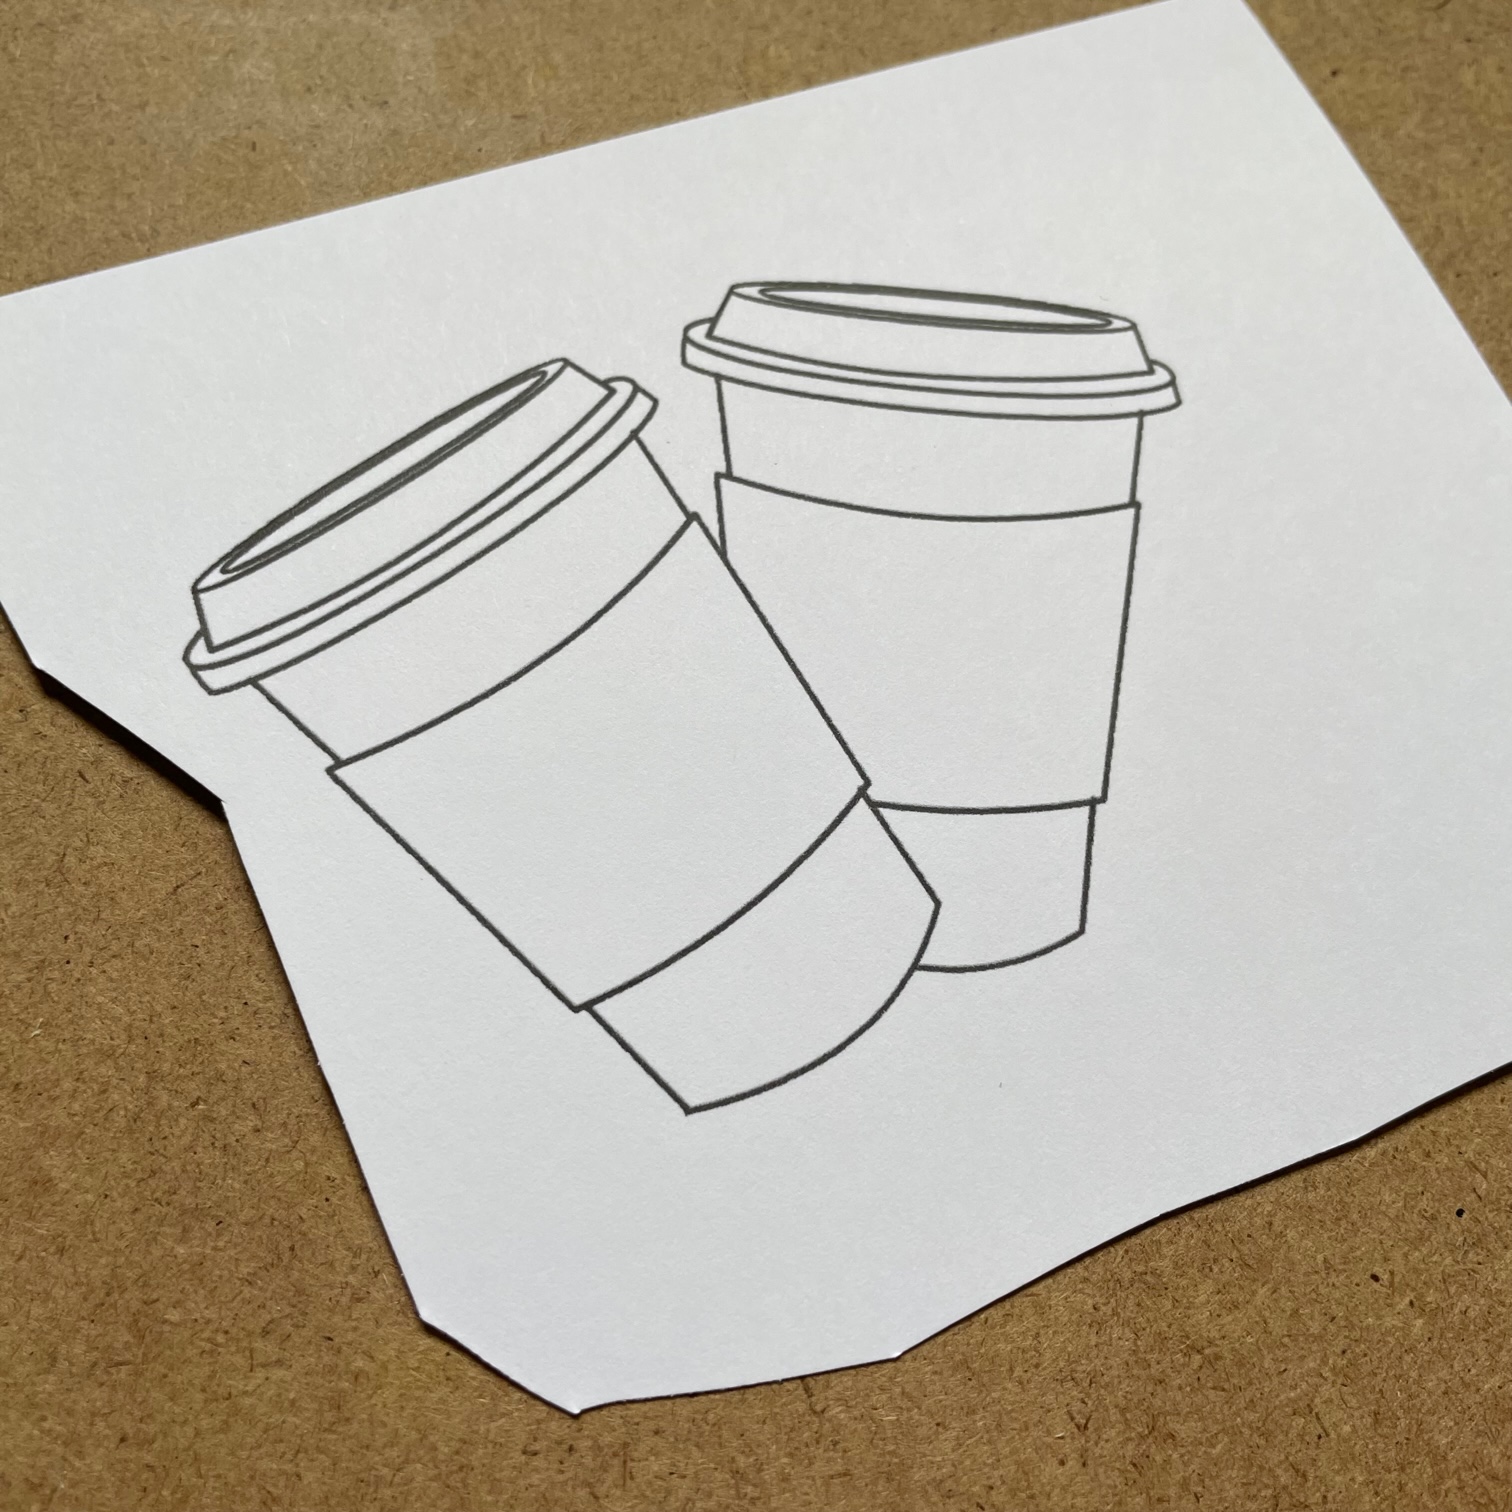
I wanted to cut these out and paper piece them...so easy with digistamps. I printed out the design
again onto copy paper and then cut out the 2 sleeves. Then using a pencil I traced around them onto
my patterned paper. I would have printed directly onto the patterned paper, but it is coated and
with the fussy cutting right up to the edge it would not have worked.

I cut them out and then really trimmed them to fit and then went around the edges with a
black marker.

Next I colored the cups with Copic Markers. My coloring was simple but enough
to give the cups some depth and dimension. For the cup shading I used: BG70,
BG72, BG75. For the lids I used E31, E33, E35.
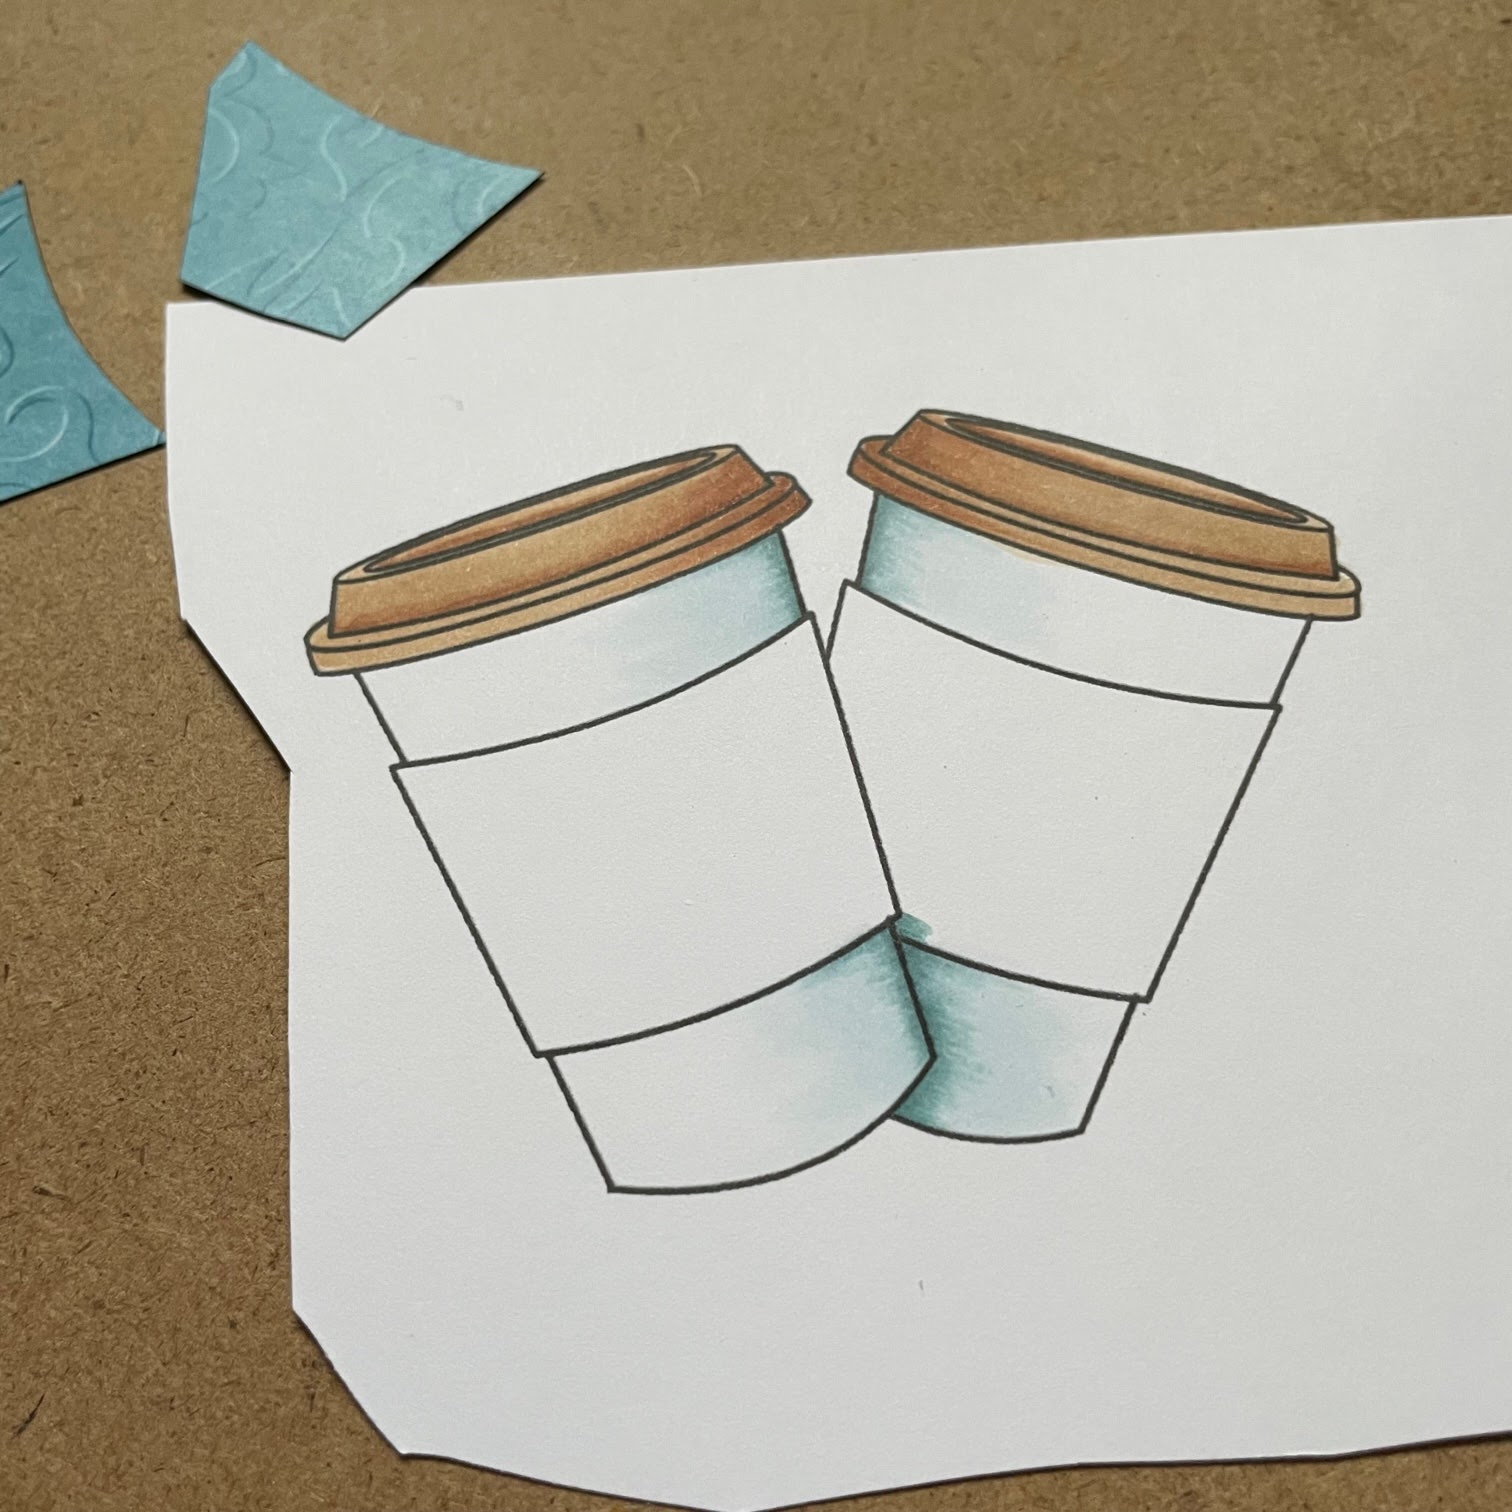
I then adhered the sleeves with liquid adhesive.

I then took my BG75 marker and give a bit more shading to the inside edge
of the sleeves.

Next I fussy cut the image. This has such clean lines that it was a snap to fussy
cut. Then I went around the edges with a black marker. I made a white slimline
base for my card. The card when folded measures 3 1/2" x 8 1/2". I printed
the sentiment on the left side of this paper in my computer.

I took it out of the printer and immediately poured clear embossing powder
over it and heat embossed it. The paper has a coating on it and I knew that the
printer ink would not dry properly and most likely smudge. I added some
darker gold gemstones to the panel.

Next I added the coffee cup piece popped up on foam tape to the right
side of the card. I added 2 mirror gold heart stickers to the cups and
that finished my card!

And now for the hop and SALE info!

GIVEAWAY
Just leave a comment here in this post and in each designer blog post and you will have the opportunity to won a Surprise Stamp Package from Joy Clair Designs with a value over $25 dollars. Comments must be made between today and May 13, 2022 midnight! Winner will be announced in Joy Clair Designs Blog on or about May 19, 2022.
SPECIAL DETAILS:
Here is the permalink of Joy Clair Blog Post: https://joyclairdesigns.com/?p=8171
Thanks so much or stopping by! I hope you join us and I hope you win!!!!!
Betsy
In my capacity as a design team member for Joy Clair Designs, I do receive the products I use from them.
All opinions and creative decisions remain my own, and I only work with companies/use products that I love.


Great personalized background and love the pair of to go cups... fun card.
ReplyDeleteLove the background, and the embossed coffee sleeves!
ReplyDeleteLike your soft coloring on the cups! Wonderfully designed card!
ReplyDeleteThe coffee sleeves are so realistic embossed. Lovely work!
ReplyDeleteI like the background and sentiment and the paper you used for the coffee sleeves.
ReplyDeleteLove the textured coffee sleeves and the fun sentiment!!
ReplyDeleteThank you for sharing your techniques with us. Wonderful card!
<3 J
jwoolbright at gmail dot com
HerPeacefulGarden.blogspot.com
Amazing card! Love the background and the teal cups! Thanks for the step by step and all the inspiration!
ReplyDeleteWhat a pretty card, with a warm and cozy feel. The gold hearts are a great touch on your coffee sleeves.
ReplyDeletePretty card
ReplyDelete