Hello everyone! Can you believe it's a new year already? I don't
know about you but I'm ready for new and better year! So, to kick
off January 2022 my project will be using products from
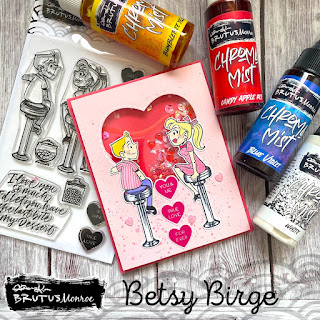
This Love You More Stamp Set is so cute! I had to make a shaker
with it! Let me show you how I made my card!
I first stamped my images with Raven Detail ink onto Whitewash card
stock. I cut a light pink top panel to 4" x 5 1/4" and die cut a heart
shaker window. This darker pink card stock in the photo will be my
card base.
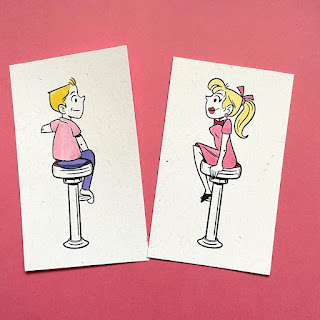
I started my coloring with Chroma Mists. I used Blue Violet, Bumblebee
Yellow, Candy Apple Red and White.I mixed the Red and White for my
pink areas and Yellow and White for their hair.
For the skin tones I used Copics E51 and for the stools I used
C0, C3, C7 and 100. I added a little R20 for their cheeks.
With a glitter gel pen I added stripes to the boy's shirt and polka dots
to the girl's dress. I also added a bit of white gel pen around the
pupils of their eyes. Once these were dry I fussy cut them. I also took
a smaller piece of the dark pink card stock to go behind the shaker
bits and sprayed it with an iridescent spray and then adhered it
into place.
Now it was time for the base of the card. Placing the evacuated heart back into
it's space to protect the piece of acetate I had adhered there, I splattered Chroma
Mists that I had mixed - the Red and White - to make a matching pink.
Once that was dry I took out the evacuated piece and flipped over the
main panel to add foam tape. I used 2 layers of the Brutus Monroe Foam
Tape. I was going to use some rather chunky shaker bits and I wanted
them to shake freely. I put a pile of shaker bits onto the base and then
gently placed my top over it.
For a sentiment I used 3 of the candy heart stamps in the set. For
ink I used Simon Hurley's Prom Queen. I stamped them on the light
pink card stock and then fussy cut them.
To finish I adhered my couple onto the card using liquid glue and
leaving enough room in-between so one of the candy hearts would
fit into the space, then I adhered the candy hearts vertically. Finally I
adhered 3 puffy hearts (same ones used as shaker bits) around the
bottom of the card.
I hope you enjoyed the project today. I had so much fun designing
and making this card! You can find the products I used at
Thank you so much for stopping by today!
Betsy
In my capacity as a design team member for Brutus Monroe, I do receive the products I use from them.
All opinions and creative decisions remain my own, and I only work with companies/use products that I love.


No comments:
Post a Comment