
Hello everyone! Today I'm sharing a project with new products from
I also used the new Stick & Stamp Mat for my stenciling. The Glitter
Glaze I'm using today is Fallen Snow. This is definitely my favorite
Glitter Glaze because it's transparent. That means when it dries there is
a lovely sparkly iridescent shimmer that is left that lays over any color
that's underneath it.
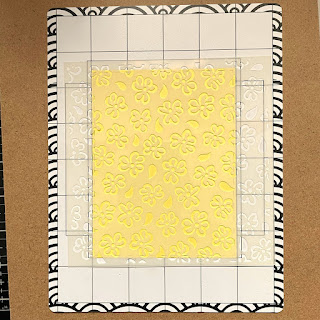
Let me show you how I made my card! I started with a die cut panel
of Buttercream Card Stock using a smaller rectangle die.

I laid that on my Stick & Stamp Mat and then positioned the stencil
over it making sure the sides were sticking down securely.
Using pink, yellow and green inks from Simon Hurley's line and a small blending brush,
I applied my ink to the stencil. It didn't slip at all and stayed securely in place while I
was stenciling.

With the stencil still in place I applied my Fallen Snow Glitter Glaze.

Right after the application of the Glitter Glaze I removed my stencil and washed
it. I removed my panel from the Stick & Stamp mat by bending the mat to
release the panel. I set that aside to dry. I took a scrap of pink card stock that
was a very good match to the pink on the panel. Using a palette knife I
applied Fallen Snow Glitter Glaze to this piece.

I let this dry and then die cut my sentiment from it using the
Christopher's Sentiments Die Set. I die cut the shadow piece using
a piece of gold shimmer vellum.

I adhered the 2 together to form my sentiment. I made an A2 size card
base from the Buttercream card stock and then but a green card stock
panel to 4 1/8" x 5 3/8". I tied a pink silk ribbon around the left side
of the stenciled panel.

I adhered the green panel to the card base and then the stenciled panel
popped up on foam tape. I adhered my sentiment down. I took the
Fallen Snow Glitter Glaze and with a Q-tip went over the sentiment again
and I went along the edges of the bow. I also took a toothpick and
made tiny dots between the flowers on the panel. Once all that was
dry my card was finished!

I hope you enjoyed today's tutorial. I love using new products and finding
new ways to use the products I have! You can find what I have used at
Thanks so much for stopping by today!
Betsy
In my capacity as a design team member for Brutus Monroe, I do receive the products I use from them.
All opinions and creative decisions remain my own, and I only work with companies/use products that I love


No comments:
Post a Comment