
Hello everyone! Hope your start to the winter has been good! If you live
in a snowy climate - has it snowed yet? Today I'll be showing you how
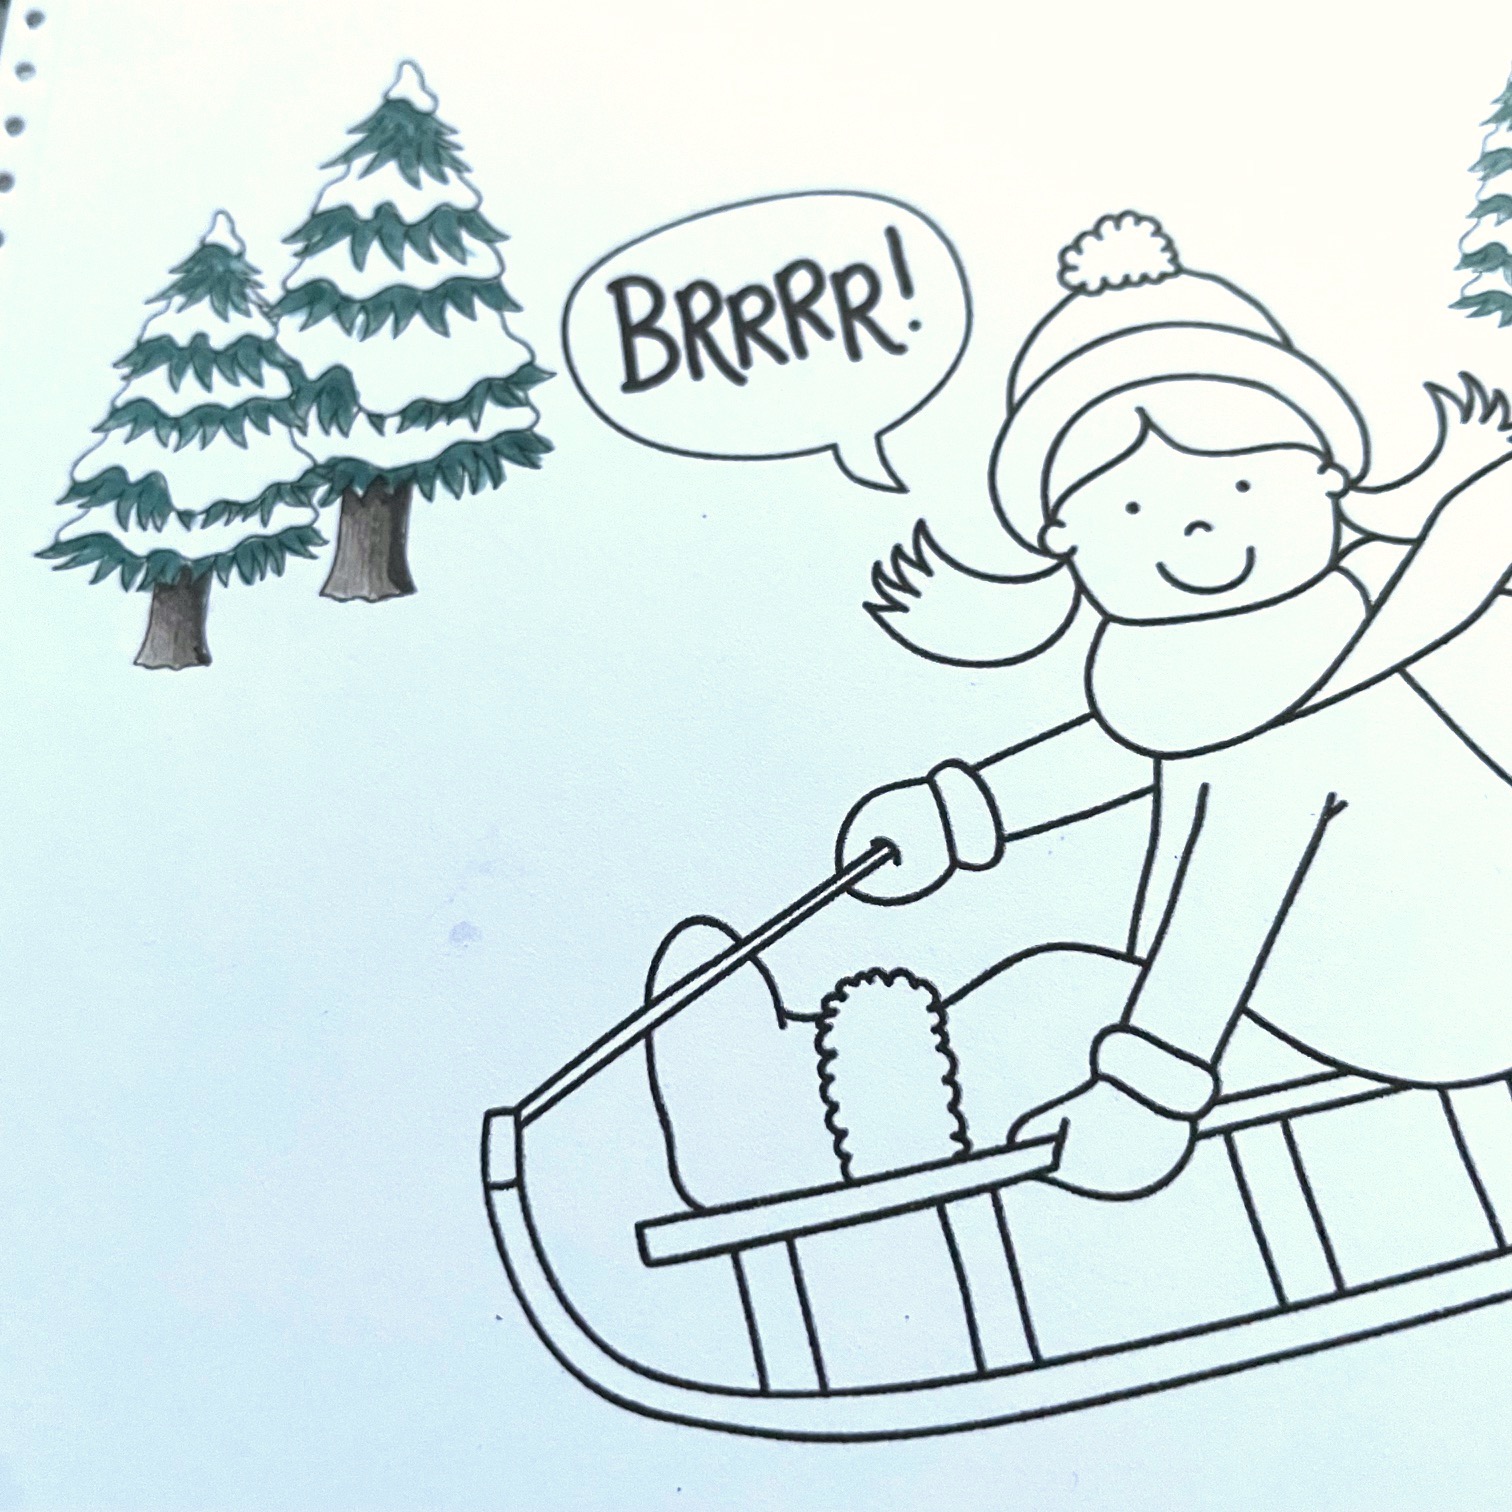
I created this adorable sledding girl using products from
This was lots of fun to create! Let me tell you how I made my card! I
first composed my design in the computer and printed it out.

I printed this onto 80lb white card stock. I have an ink jet printer - so nothing
special. Originally this was going to be a one layer card, so I printed the
whole image at first. Then I printed another image of just the little girl
so that I could fussy cut and pop her up on foam tape.
I started by die cutting my panel. I used a pierced rectangle die.
I then started my coloring with my Copic markers. I kept these blends to a
minimum, starting with the trees first.

I colored my little girl image the same way...simple blends of blue,
purple and aqua. Copic colors used: W3, W6, W8, BG 72, BG75, BG78,
B41, B32, B24, RV02, 100, C5, C8 E37, E47, E49, E30, E34, E33, E35,
BV00, BV02, BV13, BG00, BG13, BG15

Once my little girl was colored I fussy cut the image and popped her up on
foam tape. I used a silver sparkle pen and gave touches to the fringe on her
scarf, her hat, her cuffs and her boots. I also chose my background paper.
It's from Whimsy Stamps called "Chilly". I used a shimmer pen on the snow
on the trees and the sentiment.

Next I wanted to add some dimensional snow. I mixed some Picket Fence
Paper Glaze Velvet in Winter Snowfall and some Nuvo Glimmer Paste in
Moonstone. Using a palette knife, I spread this around, adding a little daba
to the tops of the trees, the sentiment, a little on the sled runners, her hat,
and scarf. I let this dry naturally - I did not use a heat tool. Although it
warped a little, it was not bad. To adhere this panel to my card, I covered
my white A2 size card base with the background paper, then I used a
solid piece of double sided adhesive foam. By using a solid piece of
foam there would be no sagging part and the warping of the paper was
no longer an issue. I added a few holographic snowflake sequins and
my card was finished!


I hope you enjoyed this tutorial with digital stamps. They are so easy to work
with! You can find this set and many others at
Thanks so much for stopping by!
Betsy


No comments:
Post a Comment