I'm Betsy from Caring Heart Cards. On the blog today I will show you how I created this beautiful Rainbow Congratulations card that is part of #thedailymarker30day color challenge hosted by Kathy Rac!

Supplies that I used for making this card are:
- Kaleidoscopes Traditional Colouring Pad by Hunkydory (available on Amazon)
- Prima Watercolor Confections: Tropicals
- A pre-printed card base or you can make your self one using black & white patterned paper
- Black fine line marker
- Black peel-offs (Love From Lizi or Paper Wishes - called Dazzles)or thin strip black paper for edging
- Black enamel dots or Nuvo drops for accent
- Paintbrushes: I used a #2 and a #6 round
- A palette for your paint...I use a plastic palette from Watercolor Impressions
- Paper towel for blotting, a cup of clean water and a tissue
- Scissors suitable for fussycutting
- Glue and foam tape

There were several places that I used only one color. It was on the border piece on the blue scalloped edge and the orange border above it. Other than that I used 2 colors. I paired #21& #19, #22 & #23, #16 & 21, #16 & #13. Between each section I rinsed out my brush thoroughly and started with clean water. The paper towel should be used for blotting your brush and keep the tissue handy in case you get too much water or paint in an area and have to blot it out.
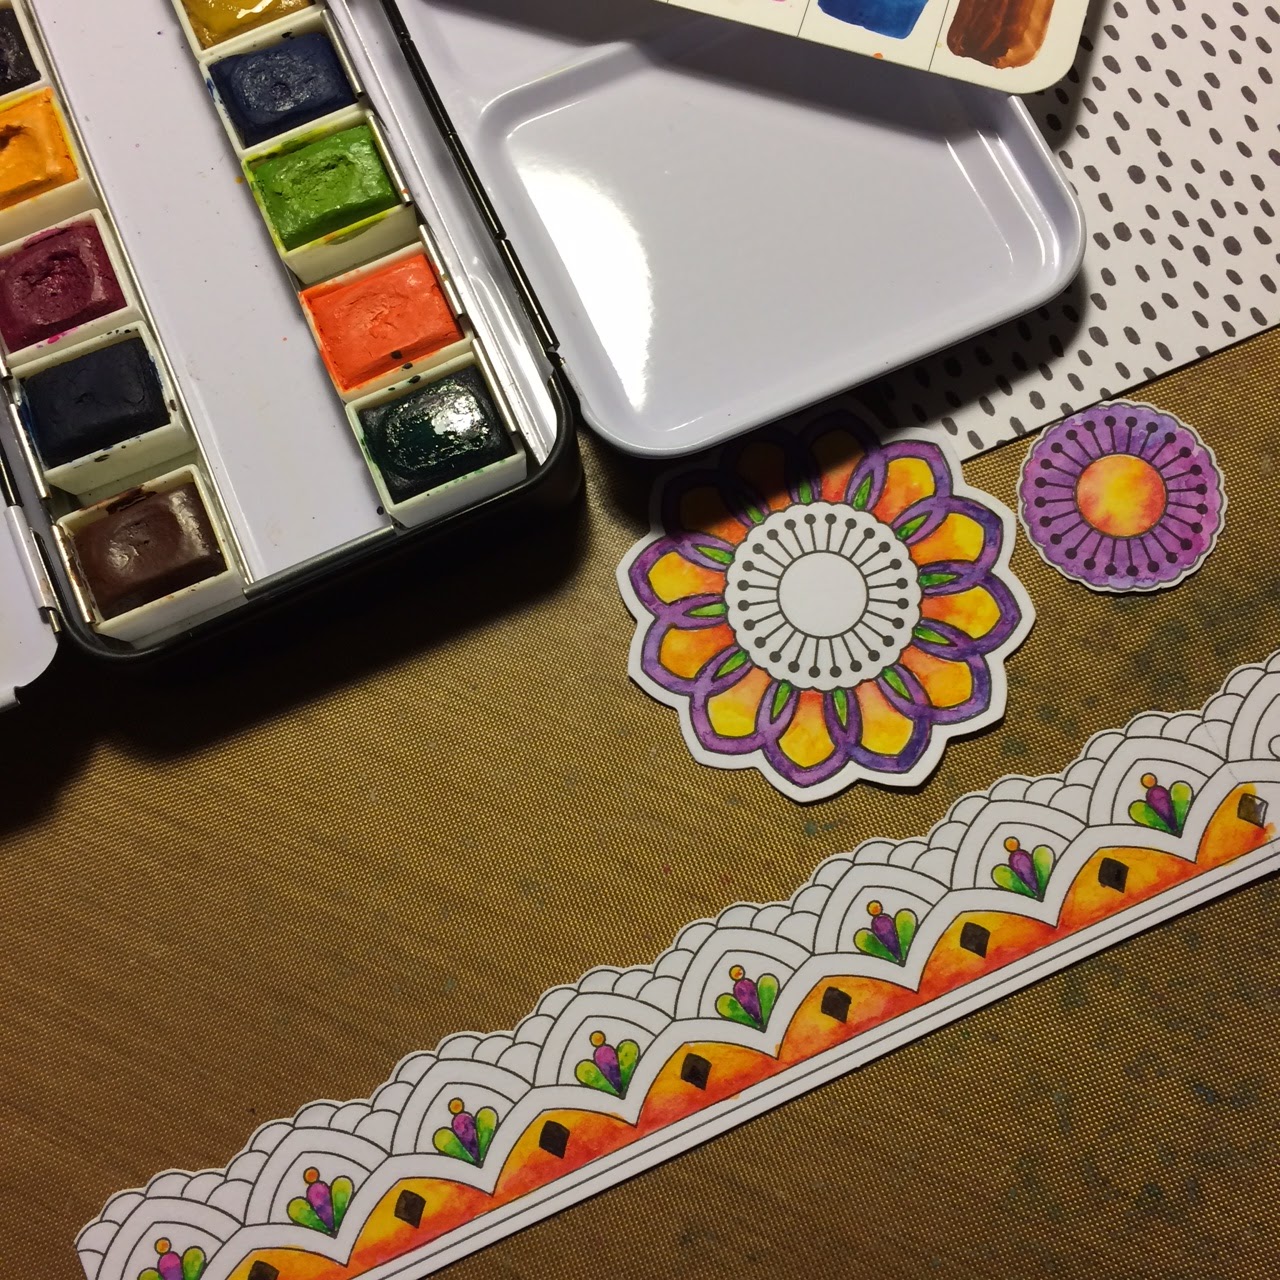
After the painting was done and dried I trimmed up the border and filled in the little diamond shaped area with the fine line black marker. I also trimmed the sentiment piece and the middle piece of the mandala. I left the white edge as it was on the bigger part of the mandala. I foam taped the center section of the mandala and also the sentiment. Then I added black peel-offs to the bottom of the border strip and the bottom of the sentiment. I also added a black enamel dot in the center of the mandala. And that's it!
I think you could do some very nice variations of this card...adding more small mandalas or maybe one of the big ones, a different sentiment or a different color scheme.

Until next time - happy paper crafting!!!!!
Betsy


Pretty card :)
ReplyDeleteThank you Cheryl!
Delete