Tuesday, December 26, 2023

You Warm My Heart with Prickley Pear


Hello everyone!  Hope everyone is well and enjoying this time of year!  Today I'm
sharing a cute winter card using a digital stamp from


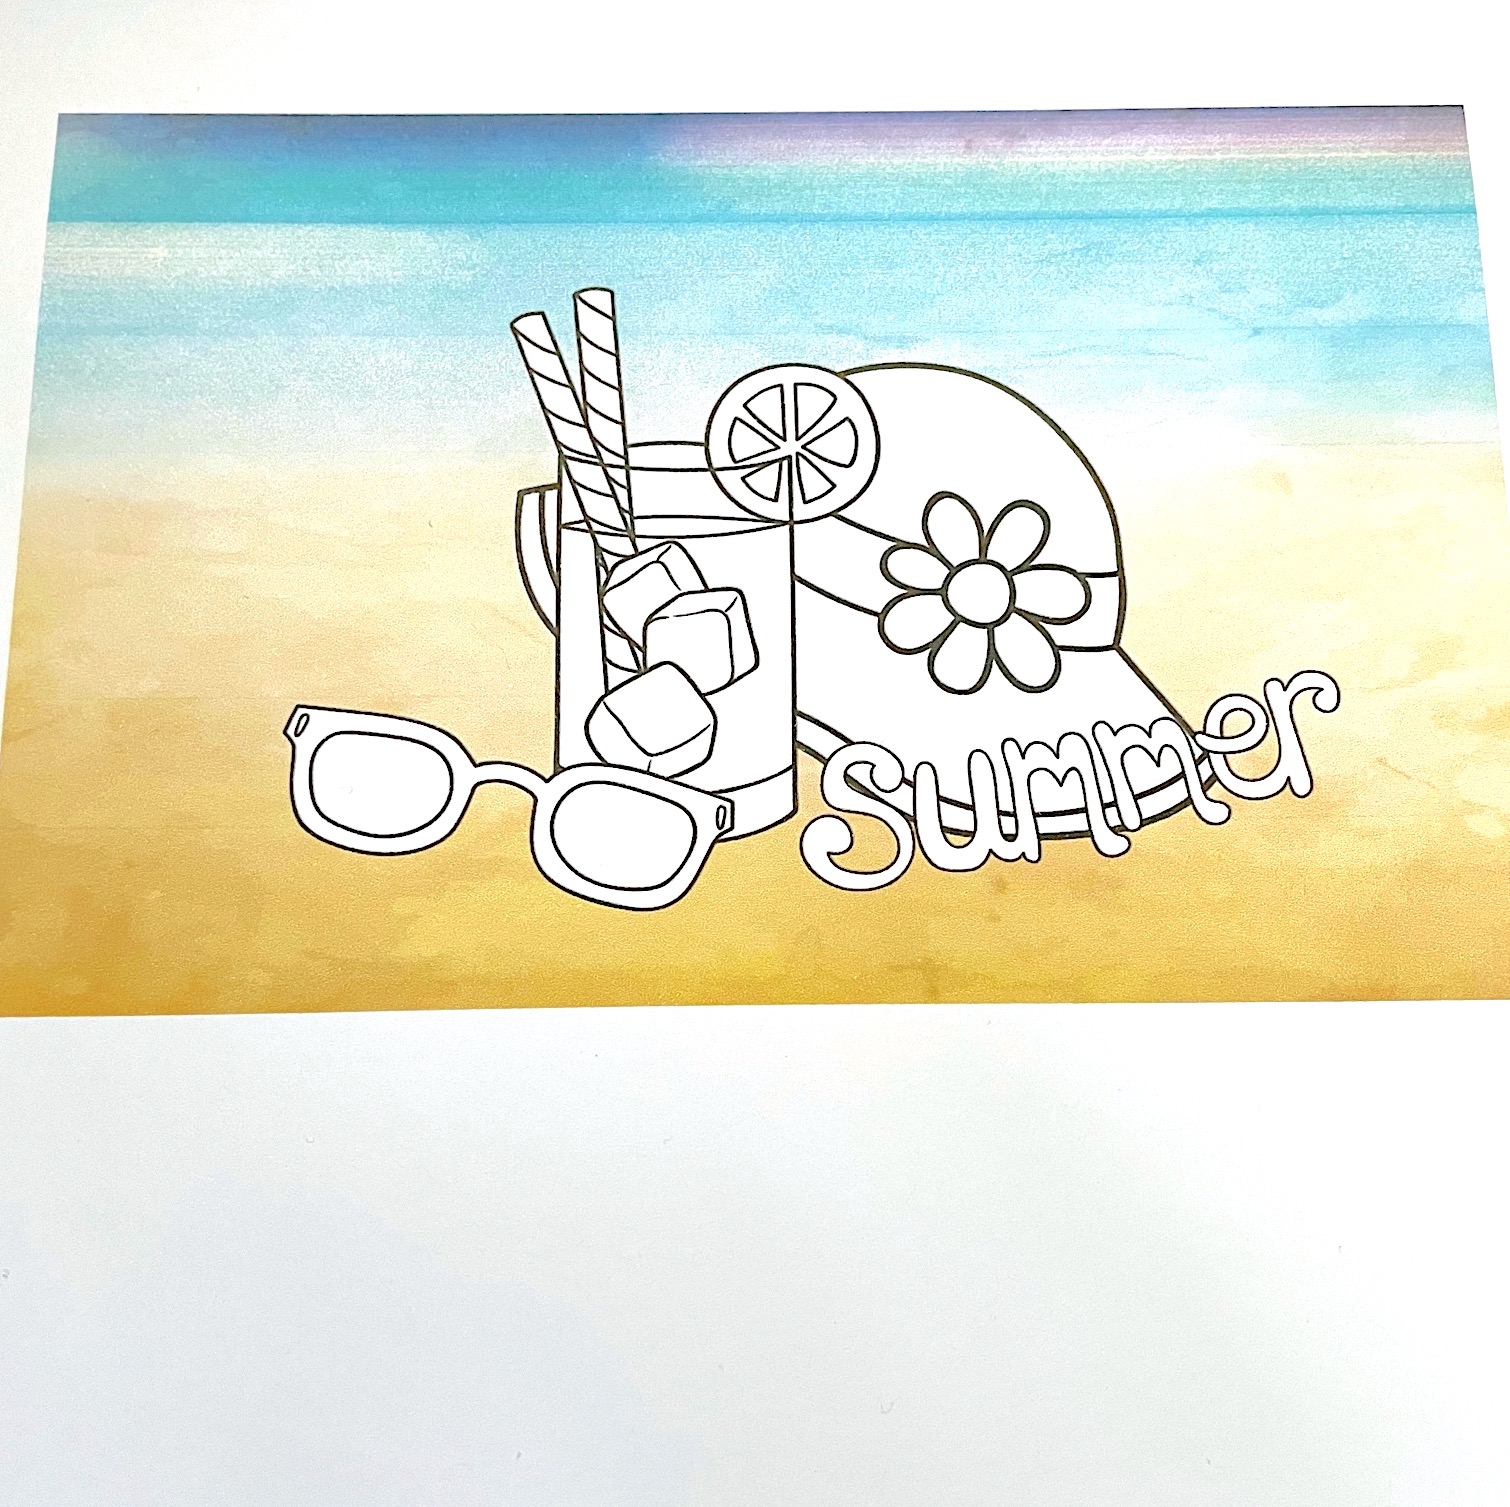
This is such a cute digital stamp!  I wanted to make use of the fun background that
is included in the set.  I first sized it in my computer and then printed it out along
with the sentiment.


I wasn't sure what I was going to do for my card.  I finally decided to die cut
the image with part of the background with my Gina K Designs Fabulous
Labels Die set.  Everything fit into the label so well!


I then prepared my background panel from a piece of Bazzill Ocean card
stock.  Then I embossed it with Simon Hurley's Sparkling Snow 3D Embossing
folder from Spellbinders.


I colored my image with Copic markers that were the same shades found
in the digital background.  Copic colors used:
C0, C1, C2, C3, C5, C7, 100
R00, R02, R20, R22, B00, B12, B23


On the raised parts of the embossed panel I applied Twinkle Stickles with
a pointed cotton swab and set it off to the side to dry.


I felt that just mounting the label with the embossed background would not be
enough.  I needed another layer between the card base and the blue embossed panel.
I decided to use a piece of Silver Luxe Glitter card stock from Simon Says Stamp.  I
love the effect of that very glittery paper peaking out from behind the embossed
panel!  So much sparkle!


I die cut my sentiment using an oval die I had in my stash.  I made an A2

Monday, November 27, 2023

Pumpkin Spice with Kate Hadfield Designs


I hope everyone's had a chance to have your fill of pumpkin spice lattes, pumpkin
pie and anything else you love that's pumpkin!  Today I'll be sharing with you a
cute pumpkin time card using products from:


This was a fun kit to work with...so many images!  I started out my usual way when
working with digital images, by composing the design in my computer.


I used a piece of digital paper in my stash and only brought it up half way on my
images.  My sentiment left a border around my design which I didn't want, so I
trimmed down my card panel before I started the coloring.


I wanted to color these images using Copic markers.


I love the pumpkin colors against the pale teal of the background papers.


Copic markers used;
YR23, YR15, YR16, YR92, YR07
E15, E08, E21, E31, E35
YG91, YG95
B00, Y02, Y38

I also used a white gel pen to highlight some spots.  After the coloring was
 finished I picked out my mat layer and a coordinating background piece.


I adhered all of these pieces together and then I applied some Frosted Lace
Stickles to the whipped cream topping just to give it a bit of sparkle.  I also
added some small leaves and an acorn by stamping them on the background.  And
that finished my card project!


I had fun coloring up these elements from the Pumpkin Spice Digital
Stamp Set.  You can find this set and more at:


Thanks so much for reading!

Betsy


Friday, September 29, 2023

Autumn Afternoon w/Kate Hadfield Designs


Hello everyone!  Autumn is truly upon us and I am so ready to create fall
cards!  Today I'll be showing you a shaker card made with


This set is full of fall images to create scenes with.  I didn't have a shaker
card in mind when I started, but it just was screaming to be shaken!  ðŸ˜‚
Let me show you how I made my card.


I started out by composing my images in the computer and printing them out onto
white card stock.  I also printed out a sentiment.  At this point I chose my background
paper so I would have a color palette to work with.  This paper is from Scrapbook.com.


Using a scrap piece of card stock I tested my colors and held them up against the
background paper to make sure they worked well together.


As I colored my image I continually held it up against the background paper just
to see how it was going to look.


Copic colors used:
BG0000, BG70, BG72, BG75, R02, R05, R17, R35,
W1, W3, W5, Y15, Y17, YG91, YG95,
YR14, YR15, YR16, YR18,
E08, E15, E18, E19, E23, E30, E33,
E34, E35, E37, E47


Next I made an A2 size top folding card base from Lunch Bag card stock from
Brutus Monroe.  I die cut a circle in the middle of my background panel that was
big enough to encompass the design.  I adhered a piece of acetate behind the circle,
then added foam tape around the circle and the rest of the panel.  I had lightly
drawn a circle on my colored image so I would know where to adhere it to the
card base.  I added leaf shape sequins (from Amazon) to the middle of the
colored image and then placed the die cut background over it.  


Using a banner die, I die cut the sentiment and used one of the lighter 
Copic colors so it wouldn't be stark white.  I adhered this flat to the front of 
the card and I was finished!


You can purchase these digital stamps and more at


Thanks so much for stopping by!

Betsy

In my capacity as a design team member for Kate Hadfield Designs, I do receive the products I use from them. 

All opinions and creative decisions remain my own, and I only work with companies/use products that I love.


Monday, July 31, 2023

100 In The Shade w/Kate Hadfield Designs


Hello everyone!  Hope you are all well and enjoying summer activities.  Hard to believe it
will be over in a month!  ðŸ˜ž. But in the meantime, I've been playing with some beach-
themed cards  ðŸ˜€ using


This is a cute digital set with all kinds of elements - 25 in total!  That's a whole lot of fun to
makes scenes with!  I made a small grouping of elements for today's card.  Let me show you
how I did it!
I wanted to use digital paper for my project so I was able to find a pretty one in my stash. But, it
had been so hot and humid here where I live that my printer was not printing well at all.  Not
all of the ink was laying down, etc.


I decided to go with it, thinking I could fix the top with markers.  So, the first thing
I did was take my markers to the blue on top.


I was fairly pleased with how this came out, but decided that I could ink blend out
the remaining lines that I could see.


I started coloring the image with Copic Markers and decided to do the ink blending
at this point.  I used a darker blue for the top and decided to shade the sand along
the bottom of the panel as well.  Then I moved on to more coloring.


I had stopped coloring on the panel for the day and decided to add Star Dust
Stickles to the wedges in the lemon and the center of the flower.  That way it
could dry overnight.  I continued with the coloring.


I used the Stickles again on the frames of the sunglasses and then added Glossy Accents on the
glass part of them after the coloring was done.  Again I set it aside until it was dry.


I colored the word "summer" with 2 different shades of marker - a pink and a
yellow, knowing they would make orange in the middle...nice summer colors!
I also used 3 shades of brown marker to makes tiny dots to represent sand.
Then I used a gold metallic marker as well.  I cut my panel down to
4" x 5 1/2" and backed it with a panel of copper glitter paper that was
4 1/8" x 5 3/8" and then mounted it onto a White A2 size side folding
notecard.  As a final bit of sparkle I added shimmer pen to the waves in the
blue part of the water along with white gel pen.  I used the shimmer pen on the
petals of the flower and the word.  I also added 3 small shell sequins!


This card was lots of fun to make!  Hanging onto summer for as long as
I can!  ðŸ˜Š. Find this stamp set as well as many other at


Thanks so much for stopping by!  Questions about digital stamping?
Ask me - I'd be glad to help!

Betsy

In my capacity as a design team member for Kate Hadfield Designs, I do receive the products I use from them.

 All opinions and creative decisions remain my own, and I only work with companies/use products that I love.