Showing posts with label Best Glue Ever. Show all posts

Sunday, November 1, 2020

How to Make Seasonal Napkin Rings

llo everyone! Today I'll show you how to make seasonal

napkin rings using The Best Glue Ever!  They are so easy and can be made to match any decor!

These were really quite simple to make and they look so pretty!  I started by

die cutting my leaves.

I used 2 types of specialty paper here.  And the insides of my leaves come out, so I

traded inside bits within the outline.  This gives a nice variation on the leaves!

I used a piece of tape on the back of each leaf skeleton, but I also used the Best Glue Ever

as this would ensure my pieces would not fall out.

This was a 4" die so these leaves really make a statement!  To further stabilize the leaves

I backed them with a piece of dark brown card stock.

For the bands, I cut a 6" x 1" piece of the gold paper and a 6" x 1/2" piece of the

flowered paper.  I adhered the smaller strip on top of the wider strip using the

Best Glue Ever.

I glued each end of the strips together with the Best Glue Ever.  Then, I adhered the

leaves where the seam is and they are done!

I hope you enjoyed this project!  There are soooooo many possibilities to make your

table look festive and pretty!  And using the Best Glue Ever ensures that your project

stays firmly in place and able to use more than once!

Thanks so much for stopping by!

Betsy

Monday, August 17, 2020

How to Customize Your Layered Die Cut Stamping with Glitter

Hello everyone!  Today I'll be showing you how to customize your layered die-cut stamping with glitter using the Best Glue Ever with the No-Clog Writing Cap!

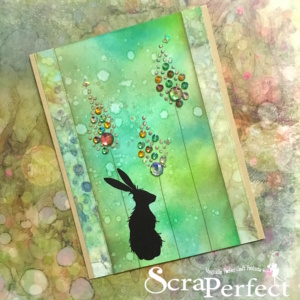
This was tons of fun to create!  I got my inspiration from the owner of ScaPerfect -Amy Rozak who got her inspiration from Lindsay Weirich - The Frugal Crafter!  I decided to use a stamp and die set.  The dies actually decrease in size for the flower,  so it has a very layered look - perfect for what I was doing!   I started by stamping my image 3 times onto white card stock.  I used a hybrid ink for this.  I think a water-based ink would smear and a pigment ink would not hold up to the Copic coloring!


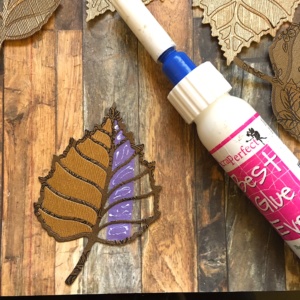
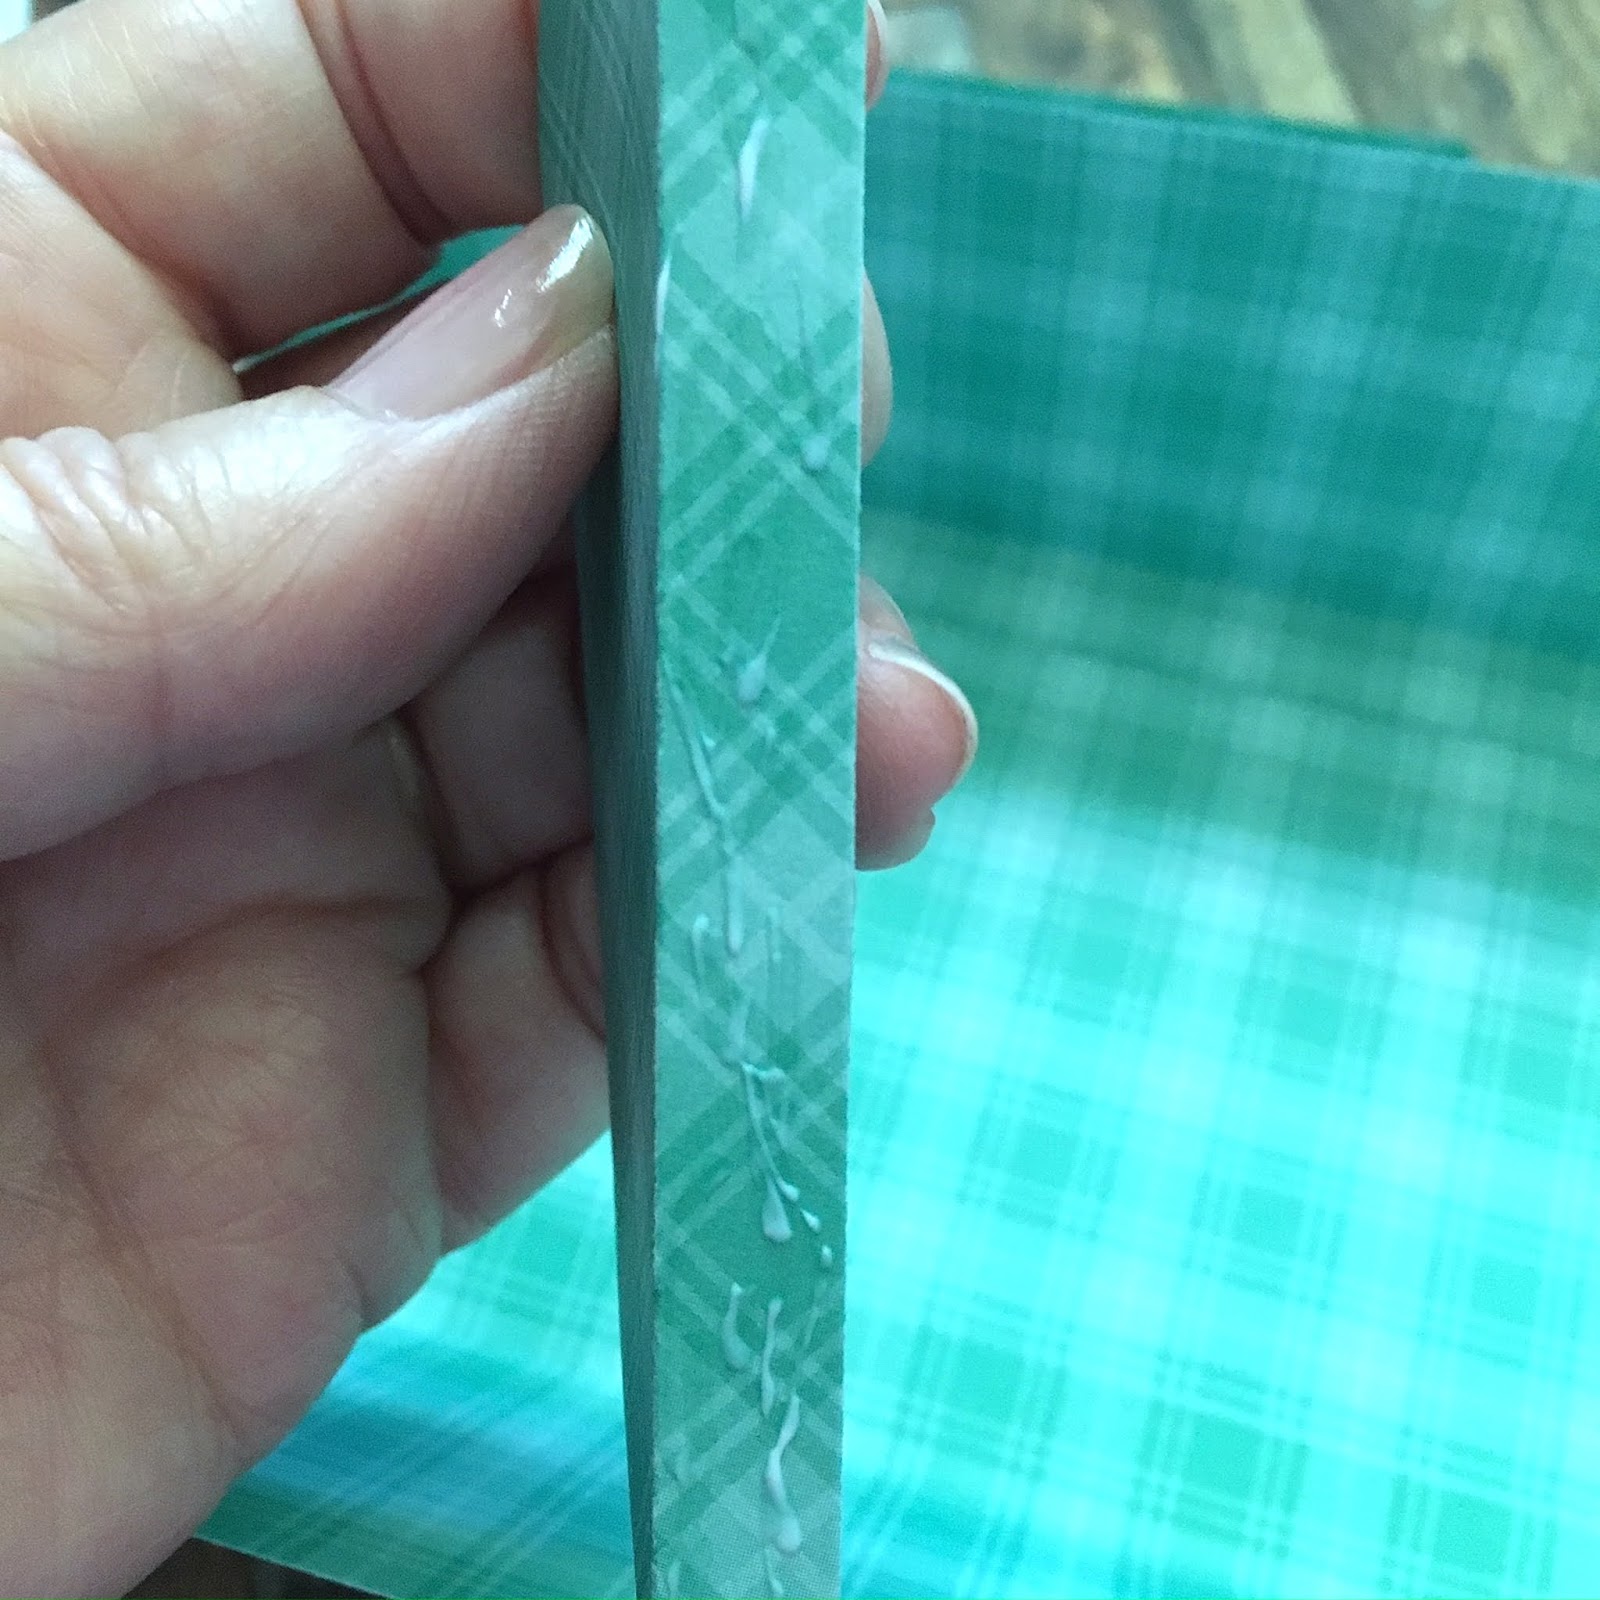
Next, taking a make-up wedge sponge I applied a thin layer of the Best Glue Ever to the images.  This is quite quick-drying so I had to move along.


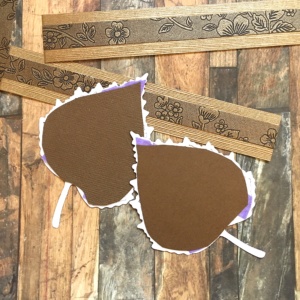
Once the glue was dry, which really didn't take any time at all, I cut them part and then applied glitter to them.


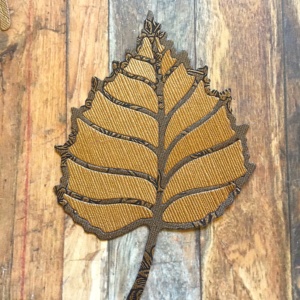
I tapped off the excess glitter and then burnished the glitter by placing a sheet of acetate over the images and burnishing with my teflon bone folder.  Then I took my Perfect Cleaning Cloth and rubbed it over the images to remove more excess.  Then I die-cut the images with the coordinating dies.
It was at this point that I noticed I got glue on my glass mat and there was glitter everywhere!  I grabbed my Best Cleaner Ever and my Perfect Cleaning Cloth and my problem was taken care of!


It was time to do the coloring.  I looked for inspiration on my flower colors on Google.  I found a pink/yellow dahlia that was perfect!


I found the coloring to be a bit precarious!  Some glitter came off on my markers, so I kept a piece of copy paper handy to wipe the tips off.  There was no hard blending with this, so I carefully blended my colors trying not to disturb the glitter underneath.


I was really pleased with the color combination I had chosen.


Copic Marker colors used:
YG23, YG17, G07, RV04, Y17, Y06

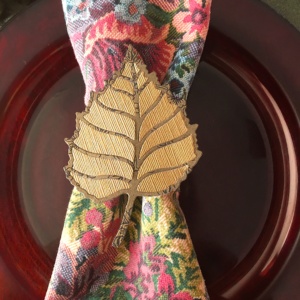
I next started preparing my card base which was an A2 size top folding white card base.  I covered that with a pearlized bronze paper.  Out of that same paper I die cut a decorative oval piece and my sentiment.  I cut a piece of patterned paper to 3 7/8" x 5 1/8".


I adhered my flower piece together with foam tape.  I glued the over piece to the
card base and then adhered both the flower and the sentiment.  As a bit of bling, I added
some small orange and pink acrylic dew drops.  And that finished my project!


I hope you enjoyed today's card!  I could not have done it without the awesome products from ScaPerfect:


Thanks for stopping by!  I really appreciate your interest and support!

Betsy


In my capacity as a design team member for SraPerfect, I do receive the products I use from them.
 All opinions and creative decisions remain my own, and I only work with companies/use products that I love.

Saturday, August 1, 2020

Handmade Envelopes You Don't Have to Worry About!


Hello everyone!  Today I'm sharing with you some tips
about homemade envelopes!
I don't know about you, but I am obsessed with slimline cards these
                        days!  Lots of interesting space to work with!  I also love envelopes that
match.  I just love making them!  But there's always that worry
that it might fall apart in the mail due to inadequate adhesives...for
me that's a tape runner.  So, I've found something better instead -
The Best Glue Ever with the No-Clog Writing Cap!  It means minimal
adhesive with NO CHANCE of it failing!  Let me show you my project.
I've die cut and folded all of my pieces for my slimline envelope.


I'll start by adhering each of the sides.  You'll see that I don't need
Much of the Best Glue Ever to hold them in place securely.

Jus this little bit of glue holds so well! 


 After adhering the sides,
I adhered the top flap and the 2 sides.
 before adhering the bottom flap.  I did not put glue on the top flap. 
 I usually use just a drop of the Best Glue Ever for that when 
I'm getting ready to mail it out.


Crafting is such a joy when using products like


Thank you so much for stopping by today!
I appreciate you!

Betsy

In my capacity as a design team member for SraPerfect, I do receive the products I use from them. 
All opinions and creative decisions remain my own, and I only work with companies/use products that I love.