Showing posts with label Subscription Stamp of the Month. Show all posts

Monday, January 18, 2021

Stamp & Stencil of the Month with Brutus Monroe


Hello everyone!  Today I'm sharing all kinds of crafty goodness from:


Both the Stamp and Stencil of the Month are adorable this month and all
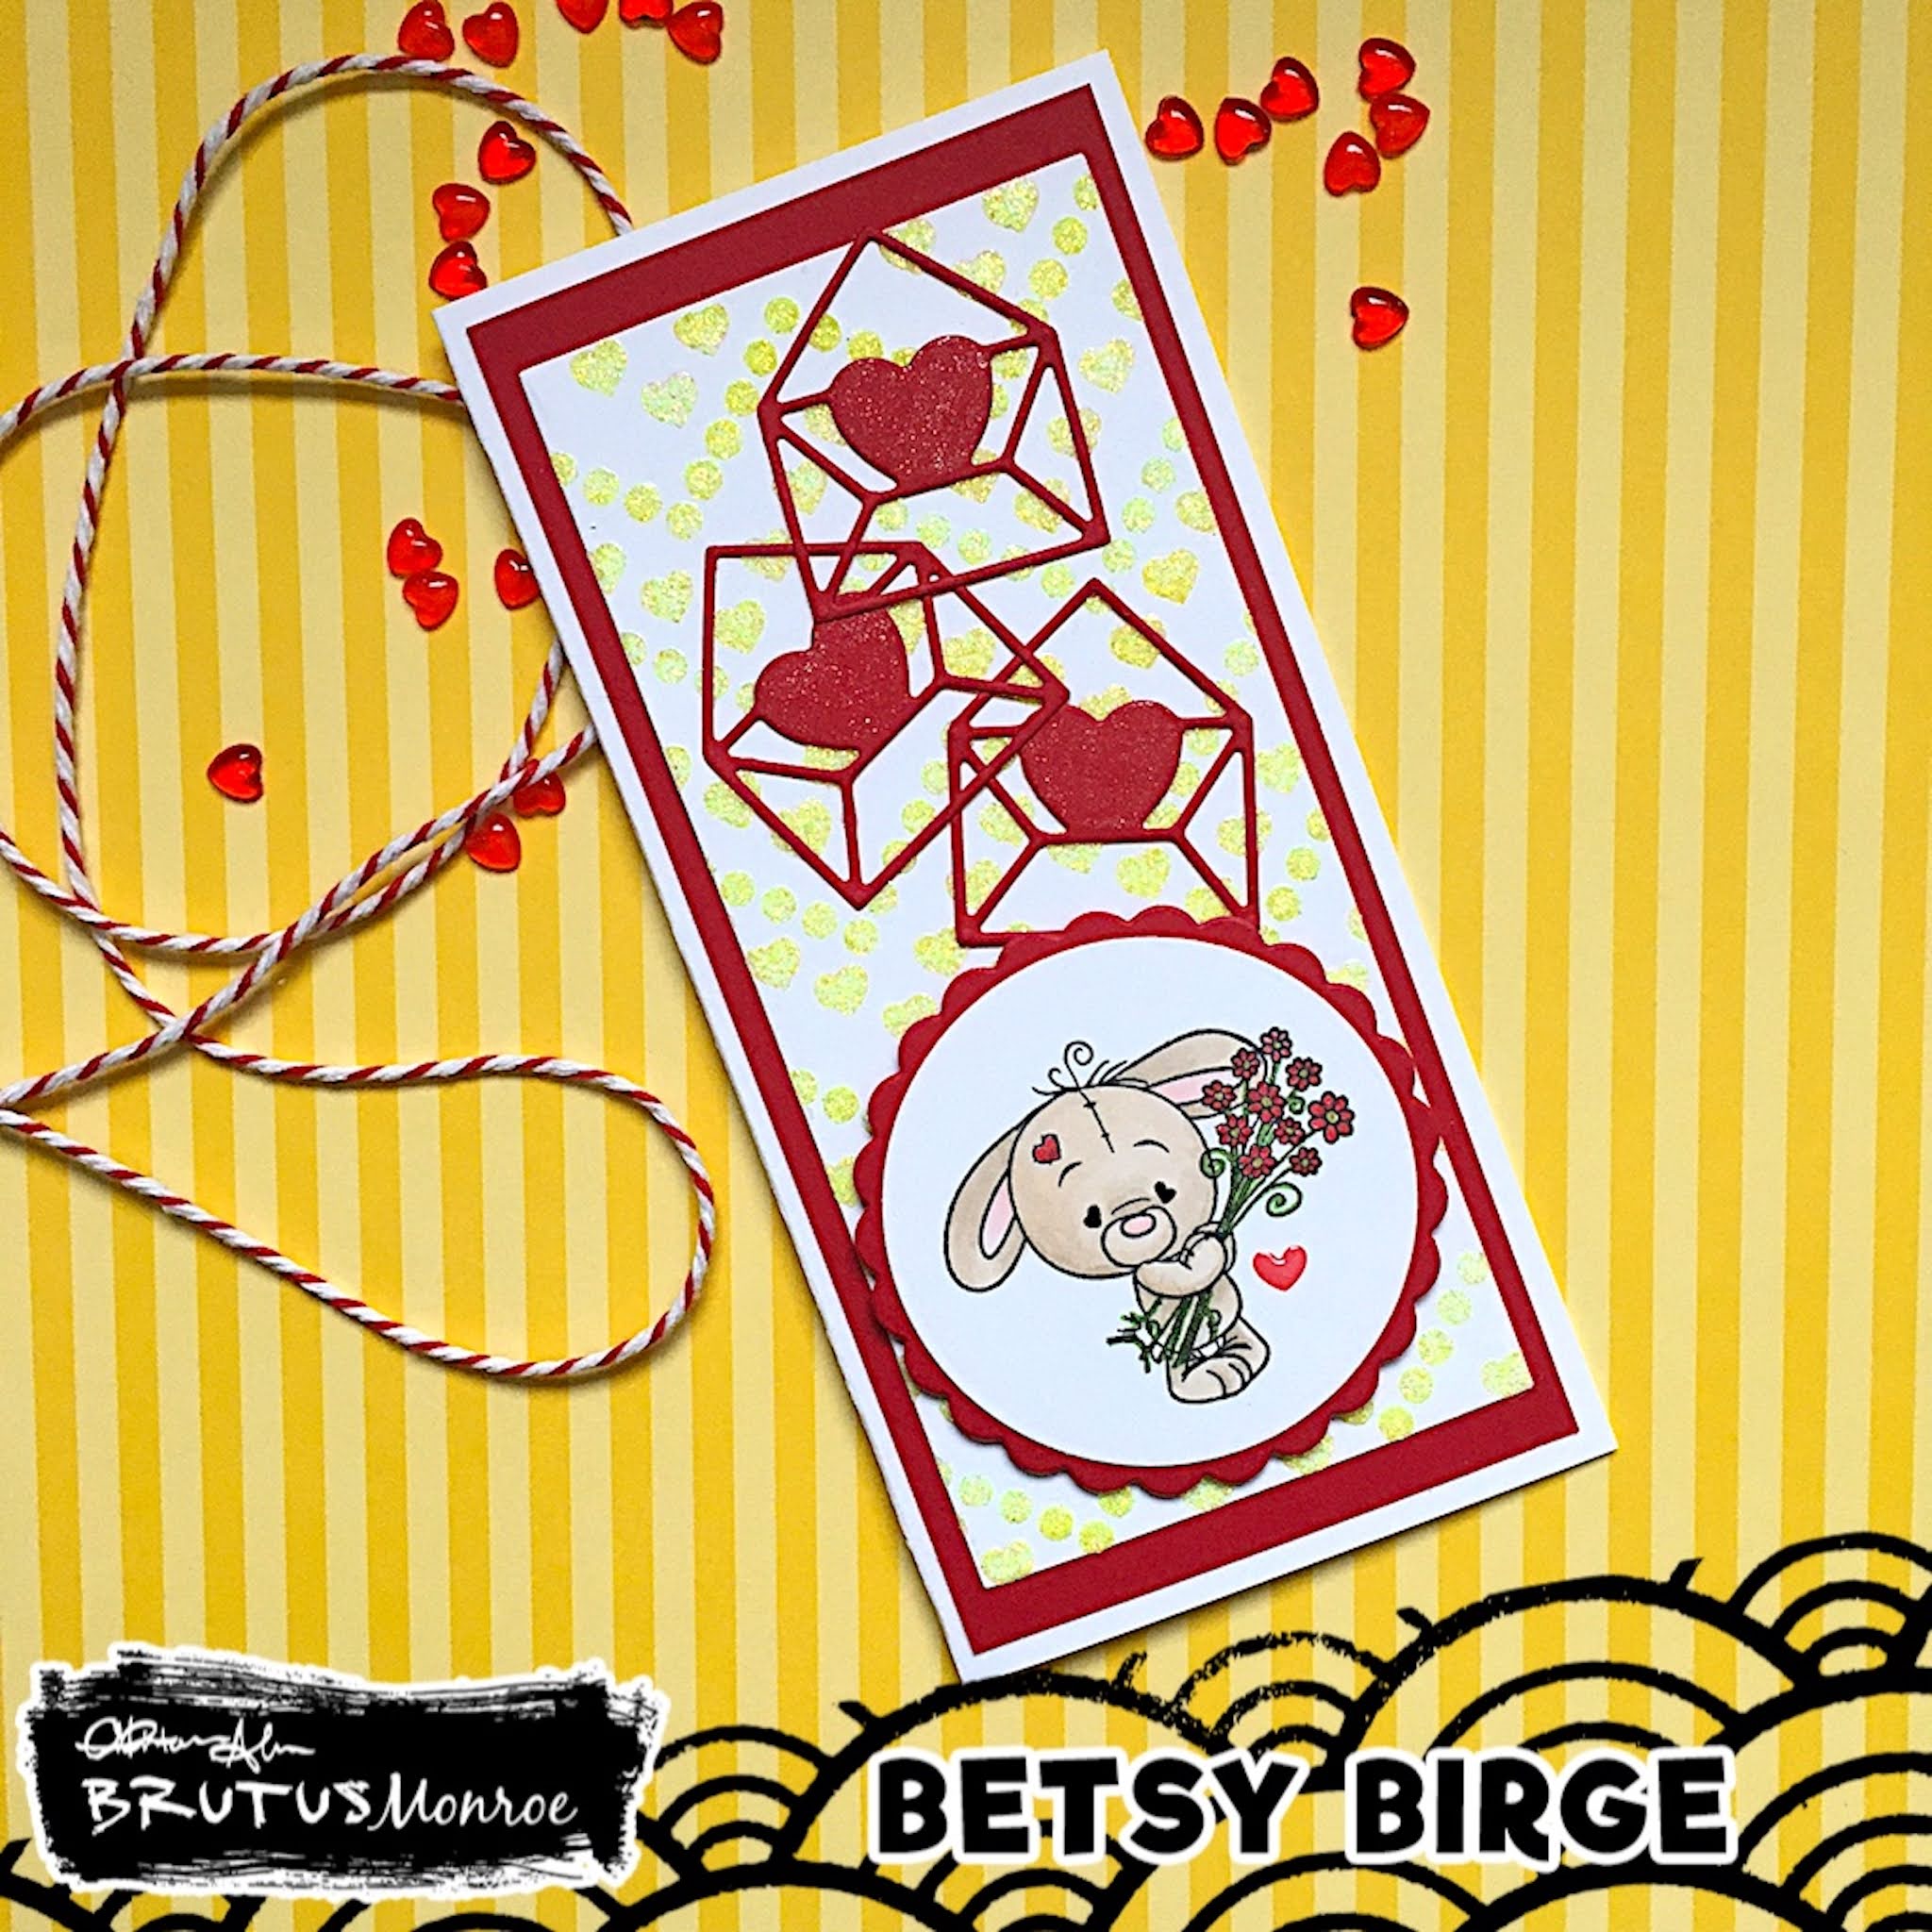
are love-themed!  Let me show you how I made my cute shaker card!

I first taped a piece of hot press watercolor paper to a hardboard.  I used
Cosmo Hydrowash, just gently moving down the paper with a back and
forth brush stroke until I achieved the smooth look I was going for.


You can see it buckled my paper.  I let it dry completely before moving onto
the next step.  When it's dry, the paper is completely flat.  With the panel still
taped in place, I used Pixie Spray to adhere my Stencil down and used the
Glitter Glaze of the Month - Poppy! And then let it dry completely before moving on.


Once this was completely dry I removed it from the board and trimmed it to
3 5/8" x 5".  Next I stamped my image using Raven Detail Ink and my MISTI.


I colored the image with Copic markers.  For colors I used:
W0, W1, W3, W5, RV10, RV02. RV06, YR02, R02
When my coloring was complete I fussy cut the image out.


Using a heart die from my stash I die cut a heart from the stenciled panel.
I placed it in the center a bit closer to the top.  My particular die cuts a frame
as well as the main heart image.


I prepared an A2 size top folding white card base and adhered a cut panel
of white glitter paper to fit behind the heart shape.  Using the top stenciled
panel as a guide, I adhered my frame inside onto the white glitter paper.


I gathered the components for my shaker card.  Then I die cut the "Hugs" from
Christopher's Sentiments Cutting Die Set.  I used the white glitter paper for the
letters and black card stock for the backing and adhered them together.  I adhered
a piece of acetate behind the heart opening on the main panel and then placed
foam tape on the back, making sure I surrounded the heart with continuous tape.
Onto the base of the card within the framed heart I added my Mermaid Sequins -
Pink & Red, then I placed the top panel over it to secure the shaker.


I added my little bunny and then the Hugs die cut over it and colored in the very
centers of the little flowers with an orange glitter pen. I adhered the left over
evacuated heart die cut to the inside of the card. 
And my card was complete!


This card was so much fun to make!  With so many great products, cards come
out special every time!  If you haven't shopped 


lately - go now!  Lots of new products in stock and always something on sale!

As always I appreciate your time and interest!

Betsy


In my capacity as a design team member for Brutus Monroe, I do receive the products I use from them.

 All opinions and creative decisions remain my own, and I only work with companies/use products that I love.


Monday, November 16, 2020

Stamp of the Month with Brutus Monroe


Hello everyone!  Today I'm sharing the new


It's so adorable!  This image would also work well for a Get Well card, too.
First I laid out my supplies.


I prepared my base first.  For my A2 size card base I used Whitewash card
stock.  This went really well with the patterned paper.  I used a piece of
embossed dotted green paper for the next layer.  I cut this to
4 1/8" x 5 3/8".  I made a separate panel for my center.  My patterned
paper, from the Paper Hearts paper pack, measures 2" x 4 1/2".  I used a
scrap of Whitewash card stock 1 1/8" x 4 1/2" leaving a bit of room for
adhering to the patterned piece.


With a decorative edge die I die cut a piece for the seam that matches the
yellow hearts in the patterned paper.
Next I stamped my image.


Again, I used the Whitewash card stock for a base.  I had decided to used
Prismacolor Pencils and this card stock is perfect for that!
I chose my colors as I went along.  I started with light layers.


I completed each color section before moving on to another.


I was swatching each color group onto a scrap of the Whitewash card stock and
making sure it matched the patterned paper before actually coloring.

Prismacolor Pencils used:
Green:  905, 992, 105, 901, 920, 1006
Yellow:  916, 917, 1011, 1002
Pink:  928, 926, 1031
Brown:  943, 945, 1030, 937


At this point I was undecided if I wanted to use Gamsol on the pencil work. I really
couldn't make up my mind.  I fussy cut the image leaving 1/8" edge around it...super
easy to cut out!  I stamped my sentiment onto the center piece using Simon Hurley
Tropical Tango ink...it was a perfect match!  I adhered my bear with foam tape to give the
 card a bit more dimension.  I added some Glossy Accents to 3 of
the pink hearts in the background and to the nose and eye of the bear.  Then I put
a couple of dots of Nuvo Jewel Drops in Aqua Plains.  My card was done, but
I did decide to use Gamsol on the coloring...I was much happier with how it looked!


I hope you enjoyed today's project!  I love how it turned out!
This project uses the Stamp of the Month which is a subscription product!
There are many more products that you can get by subscription!
Go to BrutusMonroe.com and check out all of their wonderful
products!  There's an awesome sale going on as well!

Thank you so much for stopping by and spending time here at my blog!

Betsy

In my capacity as a design team member for Brutus Monroe, I do receive the products I use from them.

All opinions and creative decisions remain my own, and I only work with companies/use products that I love.


Autumn Leaves ft. Kate Hadfield Designs